Advertisement
Table of Contents
- 1 Table of Contents
- 2 Precautions for Safety
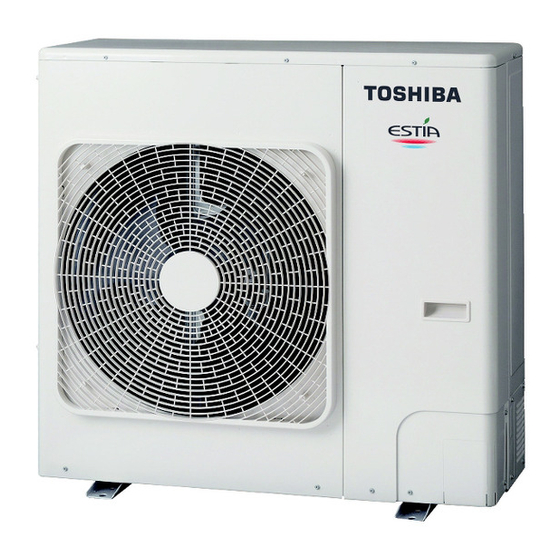
- 3 Accessory Parts and Refrigerant
- 4 Installation of New Refrigerant Air to Water Heat Pump
- 5 Installation Conditions
- 6 Refrigerant Piping
- 7 Air Purging
- 8 Electrical Work
- 9 Earthing
- 10 Finishing
- 11 Test Run
- 12 Annual Maintenance
- 13 Air to Water Heat Pump Operating Conditions
- 14 Functions to be Implemented Locally
- 15 Troubleshooting
- 16 Appendix
- Download this manual
Advertisement
Table of Contents


Need help?
Do you have a question about the HWS-805H-E and is the answer not in the manual?
Questions and answers