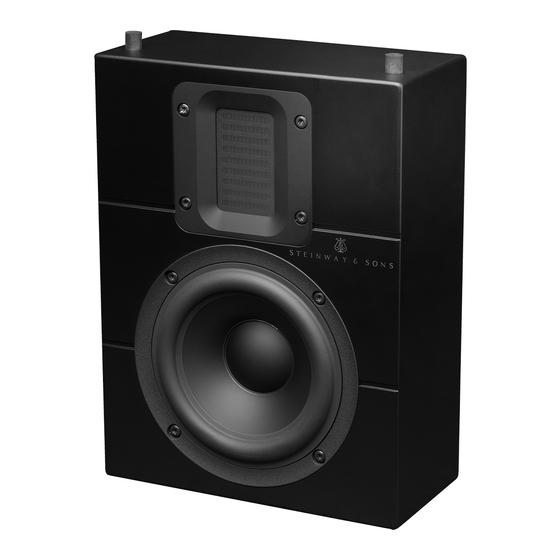
Summary of Contents for STEINWAY LYNGDORF IW-15
- Page 1 IN-WALL AND IN-CEILING INSTALLATION MANUAL IW15 IW16 IC16 IW26H IW26V IC26 September 2, 2019 [Skriv tekst]...
-
Page 2: Table Of Contents
Steinway Lyngdorf products and accessories comply with parts 15 and 68 of the FCC rules. Operation is subject to the following two conditions: (1) this device may not cause harmful interference;... -
Page 3: Unpacking
Carefully remove the components from the carton, and check for shipping damage. Contact both the shipper and your Steinway Lyngdorf representative immediately if products bear any sign of damage or if there is a discrepancy in the number of packages received. All Steinway Lyngdorf equipment is carefully inspected before leaving our factory. -
Page 4: Preinstallation
The speakers are heavy, and you must ensure that you are using screws, which fits the wall type, and which can handle the weight of the backbox and speaker in the chosen position. IW-15 3.5 kg / 7.7 lbs. IW-16 5.7 kg / 12.6 lbs. - Page 5 / It must be pushed in to the minimum size for installation in a standard 2x4” stud wall but extended for in-ceiling installations. The maximum dimensions of the backboxes are: Speaker: Depth Height Width Depth Height Width IW-15 118 mm 318 mm 252 mm 4.7 in 12.5 in 9.9 in IW-16 118 mm 338 mm 338 mm 4.7 in...
-
Page 6: Speaker Installation (Not Ic-26 - See Separate Section)
Speaker Installation (Not IC-26 – see separate section) Insert the backbox into the cutout and place it in the center of the cutout. If using a safety wire, you need to pull it now Secure the backbox in the ceiling/wall – the front bezel is adjustable for easy installation. Note: The backbox for the IC-16 needs to be mounted as deep as the adjustments allows for the driver not to engage the grill. - Page 7 Note that screws are not included. There are pre-drilled holes in all sides of the backbox; they are 4.5mm / 0.18in in diameter. Fix the bezel to the backbox. Mount the vibration dampers on the speaker...
- Page 8 Loosen the screws of the 4 brackets on the backbox and slide the brackets to the sides. Connect the speaker cable to the speaker Position the speaker in the backbox and...
- Page 9 Slide the brackets back into place for securing the speaker. Tighten the screws. Mount the grill by pushing it gently onto the frame until it snaps into place. This completes the installation of the speaker.
-
Page 10: Ic-16 & Ic-26 Dedicated Left And Right Installations
IC-16 & IC-26 Dedicated Left and Right installations Please note that there are two different versions of the IC-16 and two different types of Mounting Kits (backboxes) for the IC-26 to direct sound at the listening position. RTF / LTR (Right Top Front & Left Top Rear) LTF / RTR (Left Top Front / Right Top Rear) -
Page 11: Speaker Installation Ic-26
Speaker Installation IC-26 Insert the backbox into the hole and place it in the center in the cutout. Install the backbox securely into the ceiling. Screws not included. Pull the speaker cable through the backbox and connect it to the speaker. Attach the safety wire and secure it to the ceiling joist. - Page 12 Place the speaker into the backbox and angle the speaker into it behind the two metal supports. By using the pre-drilled holes in the backbox, the speaker can be angled +/- 10 degrees in the box to fine-tune its focus against the listening positions. Floor view:...
- Page 13 Mount the black fabric grill front by pushing it gently onto the backbox until the magnets snap into place. The front grille is 20mm larger than outer dimensions of the backbox, so it covers the edge cutout. This completes the installation of the speaker.
-
Page 14: Service Information
DK 7800 Skive Denmark In some cases, it may be necessary to return the equipment to Steinway Lyngdorf or an authorized service provider for repair; therefore, it is recommended that you save your original packing materials. Steinway Lyngdorf will not be responsible for any damage due to unauthorized packing or shipment in non-original packing materials.


Need help?
Do you have a question about the IW-15 and is the answer not in the manual?
Questions and answers