Table of Contents

Summary of Contents for Vent-Axia VAPL2TC-S
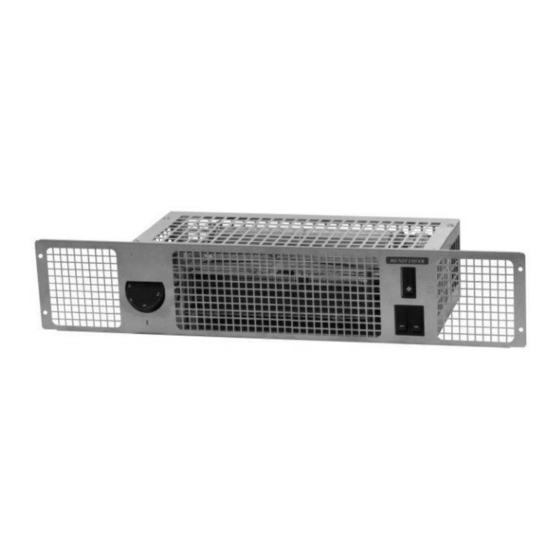
- Page 1 Plinth Heater Installation and wiring Instructions Model Stock Ref. N° VAPL2TC-S 459115A VAPL2TC-W 459116A VAPL2TC-B 459117A 220-240V~50Hz PLEASE READ INSTRUCTIONS IN CONJUNCTION WITH THE ILLUSTRATIONS PLEASE SAVE THESE INSTRUCTIONS...
- Page 2 Important:- Read these instructions before commencing the installation SAFETY This equipment has been designed and manufactured to the highest international standards, but like all electrical appliances which are operated by mains voltage, care must be taken if you are to obtain the best results and safety is to be assured. The appliance is not intended for use by persons (including children) with reduced physical, sensory or mental capabilities or lack of experience and knowledge unless they have been given supervision or instruction concerning use of the appliance by a...
- Page 3 Fig.2 Mounting Slot 1. Cut a hole in the plinth board, to the dimensions given in Fig. 2. 2. The power supply cable must be routed from the connecting unit into the plinth space. The cable shall be sufficiently long as to pass through the plinth space and plinth board.
- Page 4 Kingdom contact your local supplier. Vent-Axia guarantees its products for one year from date of purchase against faulty material or workmanship. In the event of any part being found to be defective, the product will be repaired, or at the Company’s option replaced, without charge, provided that the product:- ...


Need help?
Do you have a question about the VAPL2TC-S and is the answer not in the manual?
Questions and answers