Table of Contents
Advertisement
Quick Links
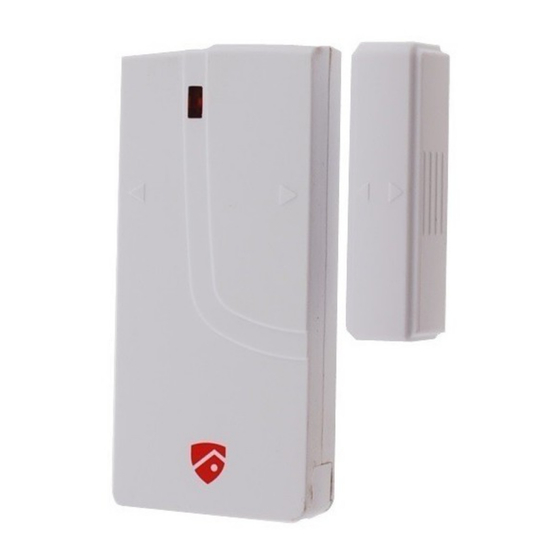
Model WS-102
RED SHIELD DOOR/WINDOW SENSOR
INSTALLATION AND OPERATING INSTRUCTIONS
For use with Red Shield Wire-free Home Protection System
Please keep these instructions in a safe place for future reference.
Kit contents:
1 x Red Shield Door/Window Sensor
1 x Magnetic contact
1 x Double-sided adhesive pad
1 x Instruction leaflet
1. Introduction
The Red Shield Door/Window Sensor consists of two parts, a transmitter and a magnetic contact. Once this
sensor is installed, with the transmitter fastened to the frame and the magnet to the door or window, the sensor
will trigger and transmit a message to the Wire-free Protection System Smart Panel when the door or window is
opened.
2. Location
First determine the location of the Sensor, which should be placed:
• in the most vulnerable rooms or near key entry/exit points
• away from extreme temperature sources (radiators, ovens, stoves etc.) and large metal objects that could
interfere with the wireless performance
• away from direct sunlight.
• indoors only and not behind partitions
• where better RF performance can be achieved (if necessary)
3. Installation and Operation
3.1 Powering up the Door/Window Sensor
• Remove the battery cover; insert new batteries noting the polarity as
shown in Fig.1 and replace cover. (Requires 2 x AAA batteries)
• Low battery indication: If the batteries need to be replaced, the RED LED
on the transmitter will flash slowly.
Fig. 1
. 1 .
Advertisement
Table of Contents

Related Manuals for RED SHIELD WS-102


Summary of Contents for RED SHIELD WS-102
- Page 1 1 x Instruction leaflet 1. Introduction The Red Shield Door/Window Sensor consists of two parts, a transmitter and a magnetic contact. Once this sensor is installed, with the transmitter fastened to the frame and the magnet to the door or window, the sensor will trigger and transmit a message to the Wire-free Protection System Smart Panel when the door or window is opened.
- Page 2 3.2. Installing the Door/Window Sensor • Mount the transmitter on a fixed surface such as a door or a window frame. • Mount the magnet on a movable surface such as a door or a window. • Ensure the >/< marks on the sides of the transmitter and magnet match up as shown in Fig.2. Fig.
- Page 3 5. Zone Code Settings The sensor is supplied with a pre-assigned Zone setting. The sensor can be assigned to a different zone as follows: • Unscrew and remove the jumper compartment cover on the rear of the sensor. • In the area marked “Zone Code” there are eight pairs of metal contacts with a number next to each. •...
Need help?
Do you have a question about the WS-102 and is the answer not in the manual?
Questions and answers