Table of Contents
Advertisement
Quick Links
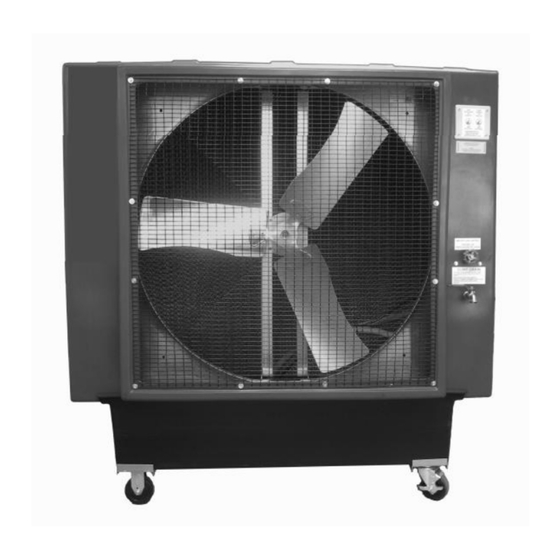
36" Maxx Air
Portable Evaporative Cooler
Owner's Manual
EC36D1 – Maxx Air 36" Direct Drive 1 Speed
File this owner's manual in a safe place for future reference. It contains operating procedures – maintenance procedures –
trouble shooting guide – replacement parts guide – order form – and contact information. You will need this!
1
Advertisement
Table of Contents

Subscribe to Our Youtube Channel
Related Manuals for Maxx air EC36D1


Summary of Contents for Maxx air EC36D1
- Page 1 Portable Evaporative Cooler Owner’s Manual EC36D1 – Maxx Air 36” Direct Drive 1 Speed File this owner’s manual in a safe place for future reference. It contains operating procedures – maintenance procedures – trouble shooting guide – replacement parts guide – order form – and contact information. You will need this!
- Page 2 WARNING Your Maxx Air unit must be plugged into a fused or circuit breaker protected 20 Amp, 120 Volt, 60 Hz circuit – unless specifically manufactured for another voltage / frequency configuration. See manufacturer’s label on cooler. A ground fault circuit interrupter protected circuit is strongly recommended.
-
Page 3: Table Of Contents
Introduction 1.1 Quick Start 1.2 Operate unit for 2 weeks before adding Evap-O-Matic Tablets How Evaporative Cooling Works Unpacking your new Maxx Air unit Set-up your Maxx Air unit 4.1 Connecting the electrical supply 4.2 Connecting the water supply Operating procedures 5.1 Filling the units reservoir with water... -
Page 4: Introduction
1.0 Introduction • Your Maxx Air was tested 3 ways. Your unit was tested for 1. Maximum air flow at operating static pressure. Only Maxx Air is tested in operating conditions with 2. Water and 3. Electricity before it is shipped. -
Page 5: Connecting The Electrical Supply
20 amps for the distance your cord is running. To be safe – make sure no other equipment is plugged into the same circuit. The Maxx Air should run smoothly on 20 amp, 120 volt, and 60 Hz circuit. -
Page 6: Adjust Water Flow
5.4 Turn-on Fan Once your cooling pads are wet – you may turn on your Maxx Air unit. Now you can begin to feel the Maxx Air difference in temperature. After your Maxx Air has run for 5 minutes or so, visually inspect the pads – if water is dripping outside the unit –... -
Page 7: Daily Maintenance
If you begin to detect an algae smell coming from your unit – it’s time to flush your Maxx Air reservoir with fresh water. Refer to and follow the steps above in 7.2 and you will only need to remove 1 or 2 of the cooling pads from the left side of the unit to gain access to your water reservoir. -
Page 8: Maxx Air Trouble Shooting Guide
Reduce the water flow with the water control valve located on the front of the unit. Note: Close the valve all the way – then open 1 ¼ turns. (Maxx Air units usually operate at peak performance at 1 ¼ turns). Damage to polyethylene housing. Note: Repair as necessary. -
Page 9: Storage
Remove pads as described above in 7.2 and rinse pads clean with fresh water. Dry cooling pads in sunlight. Drain water reservoir completely and wipe dry. Replace dry cooling pads. Replace top angle bar to hold pads in place. Store Maxx Air in dry, clean area and cover to prevent dust build up to have unit ready for the next hot season. -
Page 10: Warranty
10.0 Warranty LIMITED WARRANTY This warranty is underwritten by Falco Insurance Company and is extended to the original retail purchaser of this model or, if this unit is purchased and requires installation by a building contractor, to the original owner of the home. No subsequent purchaser of the unit or of a home in which it is installed is entitled to any of the benefits of this warranty.
Need help?
Do you have a question about the EC36D1 and is the answer not in the manual?
Questions and answers