Table of Contents
Advertisement
Quick Links
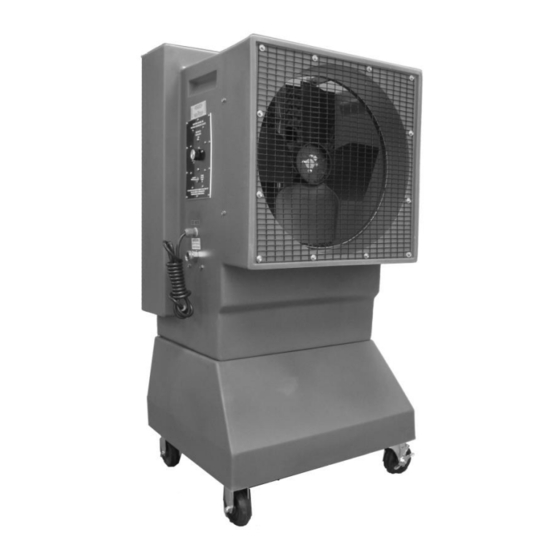
18" Maxx Air
Portable Evaporative Cooler
Owner's Manual
This Manual covers the EC18DVS Maxx Air Portable Evaporative Cooler.
File this owner's manual in a safe place for future reference. It contains operating procedures – maintenance procedures –
trouble shooting guide – replacement parts guide – order form – and contact information. You will need this!
1
Advertisement
Table of Contents

Related Manuals for Maxx air EC18DVS

Summary of Contents for Maxx air EC18DVS
- Page 1 Portable Evaporative Cooler Owner’s Manual This Manual covers the EC18DVS Maxx Air Portable Evaporative Cooler. File this owner’s manual in a safe place for future reference. It contains operating procedures – maintenance procedures – trouble shooting guide – replacement parts guide – order form – and contact information. You will need this!
- Page 2 WARNING Your Maxx Air unit must be plugged into a fused or circuit breaker protected 20 Amp, 120 Volt, 60 Hz circuit – unless specifically manufactured for another voltage / frequency configuration. See manufacturer’s label on cooler. A ground fault circuit interrupter protected circuit is strongly recommended.
-
Page 3: Table Of Contents
Introduction 1.1 Quick Start 1.2 Operate unit for 2 weeks before adding Evap-O-Matic Tablets How Evaporative Cooling Works Unpacking your new Maxx Air unit Set-up your Maxx Air unit 4.1 Connecting the electrical supply 4.2 Connecting the water supply Operating procedures 5.1 Filling the units reservoir with water... -
Page 4: Introduction
Maxx Air is easy to operate – needs only tap water and electricity to operate. • Maxx Air is easy to move – roll your Maxx Air to the area you want to cool. Maxx Air comes standard with straight and swivel / lock casters which make moving your Maxx Air a breeze. -
Page 5: Connecting The Electrical Supply
Once your Maxx Air cooling pads are saturated – then, you are ready to turn fan on high and begin to feel the cooling effect from your new Maxx Air. -
Page 6: Turn-On Fan
5.4 Turn-on Fan Once your cooling pads are saturated with water – you may turn your Maxx Air unit on high. Now you can begin to feel the Maxx Air difference in temperature. After your Maxx Air has run for 5 minutes or so, visually inspect the pads – if water is dripping outside the unit –... -
Page 7: Daily Maintenance
If you begin to detect an algae smell coming from your unit – it’s time to flush your Maxx Air reservoir with fresh water. Refer to and follow the steps above in 7.2 and remove 1 of the cooling pads from the left side of the unit to gain access to your water reservoir. -
Page 8: Storage
Replace dry cooling pads in proper position. Replace top angle bar to hold pads in place. Store Maxx Air in dry, clean area and cover to prevent dust build up to have unit ready for the next hot season. -
Page 9: 10.0 Warranty
10.0 Warranty LIMITED WARRANTY This warranty is underwritten by Falco Insurance Company and is extended to the original retail purchaser of this model or, if this unit is purchased and requires installation by a building contractor, to the original owner of the home. No subsequent purchaser of the unit or of a home in which it is installed is entitled to any of the benefits of this warranty.