Advertisement
Advertisement
Table of Contents

Summary of Contents for VibroSystM 797L
- Page 2 (Product # 9400-09M3A-101) This manual divides into the following sections: Section 1: Installation of the Piezoelectric Accelerometer and Cable Section 2: Datasheet: 797L Piezoelectric Accelerometer • Copyright © VibroSystM Inc., 2006 797L Piezoelectric Accelerometer_Installation Manual_Table of Contents - Rev. 1...
-
Page 3: Preliminary Considerations
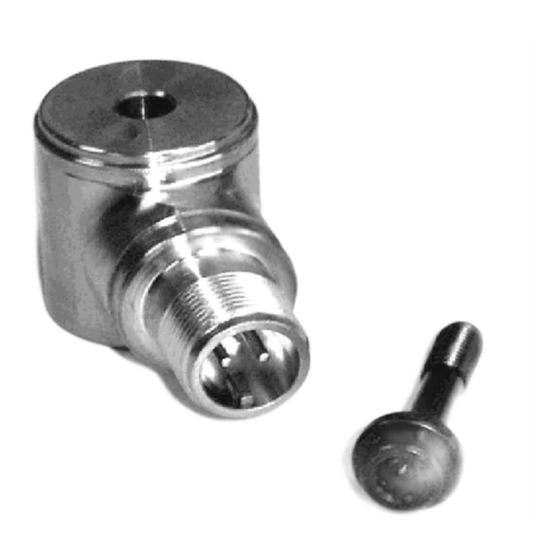
The 797L piezoelectric accelerometer is shipped with a captive screw for stud mounting. In selecting • mounting location, pay attention to accessibility. -
Page 4: Accelerometer Installation
Torque screwdriver • Caution: Use great care in handling the Model 797L accelerometer. NEVER DROP it or hit it against a solid object. Keep it stored in its box until you have surveyed and prepared the location suitable for installation. - Page 5 1. Shown here is an alternate mounting method. The sensor is installed on an insulating block. Copyright © VibroSystM Inc., 2006 797L Piezoelectric Accelerometer and Cable_Installation - Rev. 1...
- Page 6 2. Glue is applied on the block and insulated surface. 3. The sensor is held in place until the glue has set. The sensor can be mounted vertically or horizontally. Copyright © VibroSystM Inc., 2006 797L Piezoelectric Accelerometer and Cable_Installation - Rev. 1...
-
Page 7: Cable Installation
Step 2) Connection of the power and output cable 1. Connect the wires according to the following designation: PIN # WIRE COLOR DESIGNATION White Power/signal Shell Shield Ground Black Common Copyright © VibroSystM Inc., 2006 797L Piezoelectric Accelerometer and Cable_Installation - Rev. 1... - Page 8 Figure 4: Insulated bearing Step 3) Verification 1. Verify that the 797L piezoelectric accelerometer is functioning well: measure the voltage at the output of the accelerometer (e.g. between black and white wires, at input of the PCU-100 unit). Note that the warm- up time is about two minutes.


Need help?
Do you have a question about the 797L and is the answer not in the manual?
Questions and answers