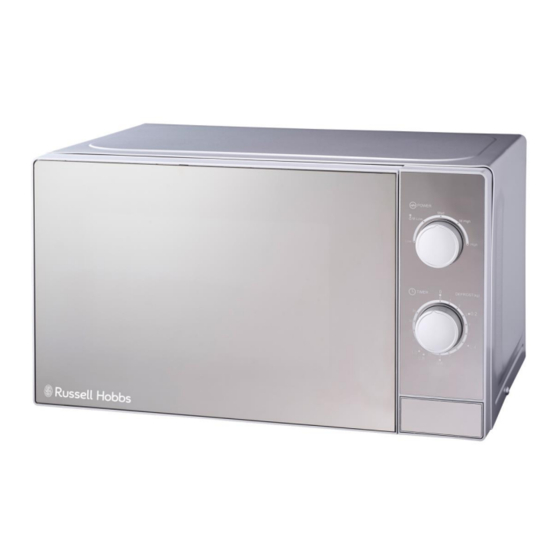
Summary of Contents for Russell Hobbs RHMA23L
- Page 1 INSTRUCTIONS AND WARRANTY MODEL NO. RHMA23L RUSSELL HOBBS 20L MANUAL MICROWAVE OVEN...
-
Page 2: Important Safeguards
Congratulations on purchasing our Russell Hobbs 20L Manual Microwave Oven. Each unit is manufactured to ensure safety and reliability. Before using this appliance for the first time, please read the instruction manual carefully and keep it for future reference. FEATURES OF THE RUSSELL HOBBS 20L MANUAL MICROWAVE OVEN ... - Page 3 11. This appliance is not intended for use by persons (including children) with reduced physical, sensory or mental capabilities, or lack of experience and knowledge, unless they have been given supervision or instruction concerning use of the appliance by a person responsible for their safety. 12.
- Page 4 25. Remove the plug from the socket by gripping the plug. Do not pull on the cord to disconnect the appliance from the mains. Always unplug the unit when not in use, before cleaning or when adding or removing parts. 26.
-
Page 5: Specifications
SPECIFICATIONS Model RHMA23L Rated Voltage 230V~ 50Hz Rated Input Power(Microwave) 1270W Rated Output Power(Microwave) 800 W Oven Capacity 20 L Turntable Diameter 3155 mm External Dimensions 440x350x259mm Net Weight Approx. 10.0 kg PRECAUTIONS TO AVOID POSSIBLE EXPOSURE TO EXCESSIVE MICROWAVE ENERGY ... -
Page 6: Radio Interference
This microwave oven must be placed on a flat, stable surface to hold its weight and the heaviest food likely to be cooked in the oven. Do not place the oven where heat, moisture, or high humidity are generated, or near combustible materials. -
Page 7: Utensils Guide
UTENSILS GUIDE The ideal material for a microwave utensil is material which is transparent. This allows energy to pass through the container and heat the food. A microwave cannot penetrate metal, so metal utensils or dishes with metallic trim should not be used. -
Page 8: Parts Diagram
PARTS DIAGRAM TURNTABLE INSTALLATION Never place the glass tray upside down. The glass tray should not be restricted. Both glass tray and turntable ring should always be used during cooking. All food and containers of food should always be placed on the glass tray for cooking. If glass tray or turntable ring assembly cracks or breaks, contact your nearest authorized service centre... -
Page 9: Control Panel
CONTROL PANEL Power Timer OPERATING INSTRUCTIONS Turn the power knob clockwise to set the desired power level. Turn the timer knob clockwise to set the desired cooking cycle time. The amount of time can be followed as per your cooking guide or chosen recipe. The microwave oven will automatically start cooking after the power level and cooking cycle time are set. -
Page 10: Cooking Guide
COOKING GUIDE Function/Power Power Output Application 17% micro. Soften ice cream Med. Low (Defrost) 33% micro. Soup stew, soften butter or defrost Med. 55% micro. Stew, fish Med. High 77% micro. Rice, fish, chicken, mince High 100% micro. Reheat, milk, boil water, vegetables, heat beverages Notice: When removing food from the oven, please ensure that the oven power is switched off by turning the timer switch to 0 (zero). -
Page 11: Cleaning And Maintenance
(3) Trouble with the power Test the power outlet with other outlet electrical appliances Microwave does not heat (4) The door is not closed Close the door well properly Refer to “Cleaning and Glass turntable makes noise (5) Dirty roller and cavity Maintenance”... -
Page 12: Storing The Appliance
bottom surface of the oven with mild detergent. The roller ring may be washed in mild sudsy water or dishwasher. When removing the roller ring from cavity floor for cleaning, be sure to replace in the proper position. Remove odors from your oven by combining a cup of water with the juice and rind of one lemon in a deep microwaveable bowl, microwave for 5 minutes. -
Page 13: Changing The Plug
Proof of purchase is attached. A reason is provided for why it is being returned. If the supply cord is damaged, it must be replaced by the manufacturer or an authorised service agent, in order to avoid any hazard. If service becomes necessary within the warranty period, the appliance should be returned to an approved Amalgamated Appliance (Pty) Ltd service centre. -
Page 14: Year Warranty
PLEASE AFFIX YOUR PROOF OF PURCHASE/RECEIPT HERE IN THE EVENT OF A CLAIM UNDER WARRANTY THIS RECEIPT MUST BE PRODUCED. 2 YEAR WARRANTY 1 year retail 1 year extended warranty upon registration* visit www.russellhobbs.co.za W A R R A N T Y AND EXTENDED WARRANTY Home of Living Brands (Pty) Limited ("Home of Living Brands") warrants to the original purchaser of this product ("the customer") that this product will be free of defects in quality and workmanship which under normal personal, family or household use and purpose may manifest within a period of...


Need help?
Do you have a question about the RHMA23L and is the answer not in the manual?
Questions and answers