Advertisement
Quick Links
Advertisement

Related Manuals for Brickcom MD-200Np-S


Summary of Contents for Brickcom MD-200Np-S
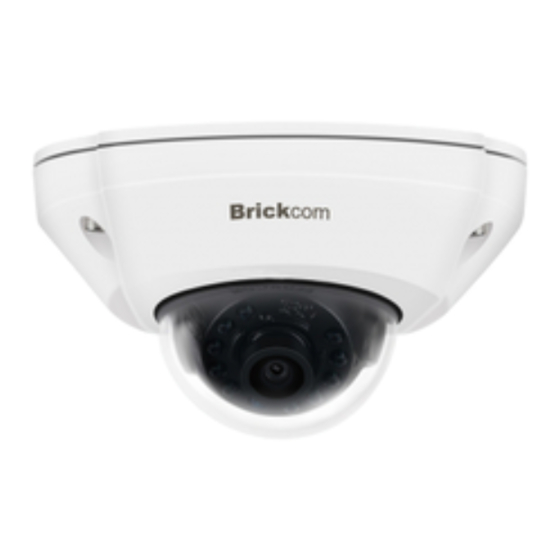
- Page 1 Megapixel Network Camera Easy Installation Guide MD-200Np-S...
-
Page 2: Safety Instruction
I. Preface Thank you for purchasing our product. If there is any question, please do not hesitate to contact us. These instructions are intended to ensure that the user can use the product correctly to avoid danger or property loss. Please read this Guide carefully before using the product, and keep it properly for future reference. - Page 3 3. Daily Maintenance Do not touch the heat component of the device directly to avoid empyrosis. When the lens is contaminated by dust or grease, use cotton cloth or lens clean cloth to wipe it off. When it is hard to clean, dip some lens cleanser and wipe gently and rotate outward from the middle until it is clean. Never apply any organic solvent with ethanol or benzene to clean the lens and housing.
-
Page 4: Appearance And Interface
III. Appearance and Interface Dimensions: 99.49 48.8 99.49 R1.33 x 3 R2.25 x 2 Unit: mm... - Page 5 Components: Component Name Semi-Dome Housing Semi-Dome Movement Lens IR Light Lens Adjustment Screw Semi-Dome Base TF Card Slot MIC: microphone Side Wiring Hole...
-
Page 6: Audio Out
Tail Circuit: Table 1 Wiring Interface Interface Interface Name Function Including alarm in / out, audio in / out, RS-485 serial port and etc. User cable group Local video output composite video signal, BNC port Video output Power supply Connect to power supply of DC12V Network Connect to network access devices like a switch Table 2 User Cable Group Interface... - Page 7 IV. DC12V Wire Diameter VS. Transmission Distance The recommended max transmission distance when the wire diameter is certain and the DC12V voltage loss rate is less than 10% (For DC12V powered devices, the maximum allowed voltage loss rate is 10%. All the wires in the following table are cooper wires, whose electrical resistivity is ρ...
-
Page 8: Installation
V. Installation The camera supports ceiling mount and wall mount. Ceiling Mount Wall Mount Ceiling Mount: The installation steps of ceiling mount and wall mount are the same. This part will take ceiling mount as an example to introduce the installation steps. During the installation, please keep the transparent dome clean both inside and outside. - Page 9 2. Install TF card (optional). Insert a TF card into the slot as shown in the following picture. The max supported memory of TF card is 256G. After insertion, hot-swapping of the TF card is not recommended. Insert TF Card 3.
- Page 10 Top Wiring Hole Side Wiring Hole 4. Drill holes. Drill two bottom holes with plastic expansion screw bolts at the two "cross" hole marks on the sticker and insert the two expansion screw bolts thoroughly into the holes. [Note] If threading wires from the top of the mounting surface, a wire outlet hole is also needed at the part of "Top Wiring Hole"...
- Page 11 Top Wiring Hole 5. Fix the device base onto the wall. Adjust the base of the device, thread the wires through the wiring hole, align the two screw holes on the device base to the two plastic expansion screw bolts on the mounting surface, tighten the two tapping screws into the expansion screw bolts and fix the semi-dome camera onto the mounting surface.
- Page 12 6. Adjust the surveillance direction of the lens. Loosen the lens angle-adjusting screw, rotate the dome manually and the lens will rotate in pan and tilt directions by 90˚. It's advised not to rotate too hard during adjustment to avoid damage to the parts. After finishing adjustment, tighten the lens angle-adjusting screw. Corridor mode: remain the lens position in pan and tilt and rotate the lens according to the scale on the lens rotation movement, rotating the scale 0˚...
- Page 13 VI. Login 1. Minimum configurations and system requirements: Processor: 3.3 GHz CORE®i3 series or other equivalent processors Ÿ RAM Memory: 4GB or above Ÿ Operating System: Windows XP or newer version Ÿ Browser: IE7.0 and newer version (excluding Microsoft Edge), Firefox (51 and lower) , Google Chrome Ÿ...
- Page 14 3. Modify device IP address Click “Modify Params” and set the network parameters. When configuring a static IP for the camera, please check “Custom device address (Close DHCP)” and fill the Ethernet parameters. During modification, the username (admin) and the password set during activation should be entered. After configuration, the camera will reboot automatically.
- Page 15 ) After login successfully , download and install the plug-in. 3) Re-login to the web client and view live video directly. [Note]: Interfaces of different models may differ. Please subject it to the actual products. Please refer to the Help file for detailed explanation. Adjust lens direction and edit parameters on the web client until the image reaches requirements.
- Page 16 V1 20190716...
Need help?
Do you have a question about the MD-200Np-S and is the answer not in the manual?
Questions and answers