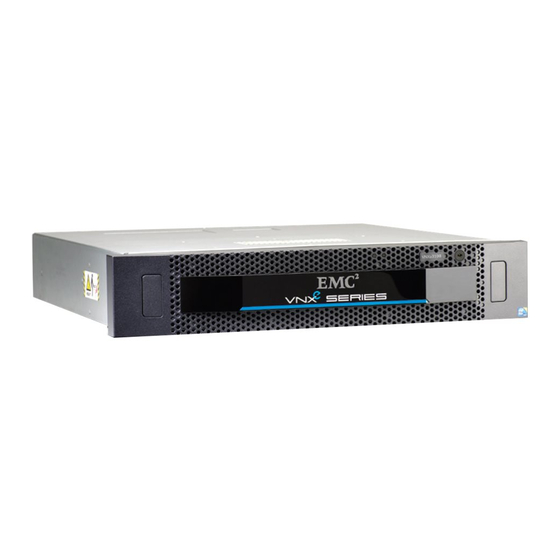
EMC2 EMC VNXe3100 Upgrading
Input/output modules
Hide thumbs
Also See for EMC VNXe3100:
- Manual (10 pages) ,
- Quick start manual (9 pages) ,
- Replacing instructions (7 pages)
Advertisement
Quick Links
Before you start
®
EMC
VNXe3100/VNXe3150
Upgrading the Input/Output Modules
P/N 300-014-237
REV 02
This document describes how to upgrade the input/output (I/O) modules in a VNXe3100
or VNXe3150 dual-SP disk processor enclosure (DPE) to a different type of module.
Upgrading the I/O modules requires that both SPs have 8 GB of memory.
IMPORTANT
Your VNXe system must be running VNXe Operating System Environment 2.3 or later for
you to upgrade its I/O modules.
When you upgrade I/O modules, you must upgrade the I/O module in each SP.
Before you begin the procedure:
Make sure you have the correct I/O modules for the upgrade. The
◆
Information Guide
and the
Support site (emc.com/vnxesupport) contains a list of supported I/O modules.
Refer to your EMC® VNXe™ online help (Servicing your system > Adding or replacing
◆
faulted hardware components > Add a new hardware component) for instructions on
how to identify I/O modules and handle hardware components.
VNX3150 Hardware Information Guide
VNXe3100 Hardware
on the VNXe
Advertisement

Subscribe to Our Youtube Channel
Summary of Contents for EMC2 EMC VNXe3100
- Page 1 ® VNXe3100/VNXe3150 Upgrading the Input/Output Modules P/N 300-014-237 REV 02 This document describes how to upgrade the input/output (I/O) modules in a VNXe3100 or VNXe3150 dual-SP disk processor enclosure (DPE) to a different type of module. Upgrading the I/O modules requires that both SPs have 8 GB of memory. IMPORTANT Your VNXe system must be running VNXe Operating System Environment 2.3 or later for you to upgrade its I/O modules.
- Page 2 Either remove the interface or move the interfaces to a new port: Note: If only one interface is available, you cannot remove it. Instead, you must move the interface to a new port. To remove the interface: Click Remove Interface. EMC VNXe3100/VNXe3150 — Upgrading Input/Output Modules...
- Page 3 – From the drop-down list, select a new Ethernet port other than eth12 or eth13 for the interface. – Click Update. – When the message Network interface was modified successfully appears, click Close to close the Modify network interface dialog box. EMC VNXe3100/VNXe3150 — Upgrading Input/Output Modules...
- Page 4 LED will flash alternating amber and blue while the SP remains in Service mode and is receiving active power. 6. Wait until the SP fault LED is flashing alternating amber and blue before continuing to the next task. e0 e1 1 GBE 6Gb SAS 6Gb SAS SP fault EMC VNXe3100/VNXe3150 — Upgrading Input/Output Modules...
- Page 5 3. Pinch the orange tabs and pull the latches to the sides to eject the SP assembly from the chassis. 4. Pull the SP assembly straight out of the chassis and place it on a static-free surface. CL4682 EMC VNXe3100/VNXe3150 — Upgrading Input/Output Modules...
- Page 6 Tasks to upgrade I/O modules Task 4: Remove the SP top cover 1. Press the blue button on the cover. 2. Push the cover straight back 1/4 inch. 3. Lift the cover up. CL4683 EMC VNXe3100/VNXe3150 — Upgrading Input/Output Modules...
- Page 7 1. Lift the blue latch carefully until it ejects the I/O module from the connector. CL4688 2. Lift the module out and away from the canister and place it on a static free surface. EMC VNXe3100/VNXe3150 — Upgrading Input/Output Modules...
- Page 8 IMPORTANT The system may not recognize the new I/O module, and report it as “unsupported” or Task 9: Reboot the “unknown” until you manually reboot the storage processor. See storage processor on page CL4689 EMC VNXe3100/VNXe3150 — Upgrading Input/Output Modules...
- Page 9 3. Close the right and left latches to fully seat the SP assembly in the chassis. An audible click indicates that the latches are secure. CL4687 The SP begins powering up immediately after connection to an active AC power source. EMC VNXe3100/VNXe3150 — Upgrading Input/Output Modules...
- Page 10 It may take several minutes for the system to complete its reboot and return to normal mode. 6. Refresh your browser, or follow the on-screen instructions, to bring the software out of service mode and restore full-function Unisphere. EMC VNXe3100/VNXe3150 — Upgrading Input/Output Modules...
- Page 11 You must commit the new I/O modules before they can be used. 1. In Unisphere, select System, then System Health. 2. Select the DPE in the System Components list. 3. In the Component Description window, click Commit I/O Modules. EMC VNXe3100/VNXe3150 — Upgrading Input/Output Modules...
- Page 12 • In the System Components list, the new module should be marked with a status OK icon: • In the graphical view, the module should be highlighted green. If the system health monitor shows the new module as faulted, contact your service provider. EMC VNXe3100/VNXe3150 — Upgrading Input/Output Modules...
-
Page 13: Troubleshooting
Open Unisphere and select Settings. b. Select either Shared Folder Server Settings or iSCSI Server Settings. c. In the Shared Folder Server Settings or iSCSI Server Settings dialog box, click Add Network Interface. EMC VNXe3100/VNXe3150 — Upgrading Input/Output Modules... - Page 14 All other trademarks used herein are the property of their respective owners. For the most up-to-date regulatory document for your product line, go to the technical documentation and advisories section on EMC Online Support. EMC VNXe3100/VNXe3150 — Upgrading Input/Output Modules...


Need help?
Do you have a question about the EMC VNXe3100 and is the answer not in the manual?
Questions and answers