Sign In
Upload
Download
Table of Contents
Contents
Add to my manuals
Delete from my manuals
Share
URL of this page:
HTML Link:
Bookmark this page
Add
Manual will be automatically added to "My Manuals"
Print this page
×
Bookmark added
×
Added to my manuals
Manuals
Brands
WINCODE Manuals
Label Maker
LP4 Series
User manual
WINCODE LP4 Series User Manual
Hide thumbs
Also See for LP4 Series
:
User manual
(72 pages)
1
2
3
Table Of Contents
4
5
6
7
8
9
10
11
12
13
14
15
16
17
18
19
20
21
22
23
24
25
26
27
28
29
30
31
32
33
34
35
36
37
38
39
40
41
42
43
44
45
46
47
48
49
50
51
52
53
54
55
56
57
58
59
60
61
62
63
64
65
66
67
68
69
70
71
72
73
74
75
76
77
78
79
80
81
82
83
84
85
86
87
88
89
90
91
92
93
94
95
96
97
98
99
100
101
102
103
104
105
106
page
of
106
Go
/
106
Contents
Table of Contents
Bookmarks
Table of Contents
Safety Instructions
Table of Contents
1 Product Introduction
Unpacking and Checking
Appearance
2 Setup
Setting up the Printer
Ribbon Loading
Label Loading
Real Time Clock Battery Installation
Cutter Installation (Optional)
1Label Installation
Peeler Installation (Optional)
1Label Installation
3 Driver Installation
Printer Installation
Install Driver with "Add a Printer" in Microsoft
Printer Installation
Printing Setup (Driver Setup)
Page Setup
Media Settings
Sensor Calibration
Options
Image Processing
Tools
About
4 Winlabel Tool Suite
Software Introduction
Software Installation
Winlabel Label Editing Software
Update Settings and Update Check
Firmware Update Tool
5 Printer Utility
Printing Summary
Settings
File Management
Send Command
6 Led Indicators and Button Explanation
Led and Button Description
7 Lcd Menu Description
Program
Setting
Device
Communication Port
File System
Information
Upgrade
8 Standalone Printing
Feature
User Interface
Hardware Notice
Equipment Introduction
Printer Ports Introduction
Printer RS-232 Pin Assignment
Printer Serial Port with Electronic Scales Pin Assignment
Printer Serial Port with RS-232 Scanner Pin Assignment
External Device
How to Contact Printer Electronic Scales
Operating Procedures
Standalone Operating Procedures Diagram
How to Make a Standalone File
How to Download the File to the Printer
How to Execute Standalone File
Actual Cases Using Standalone Operation
9 General Keypad Correspondence
10 Numeric Keypad Correspondence
11 Maintenance
12 Appendix - Lp4A Series Specification
Advertisement
Quick Links
1
Setting up the Printer
Download this manual
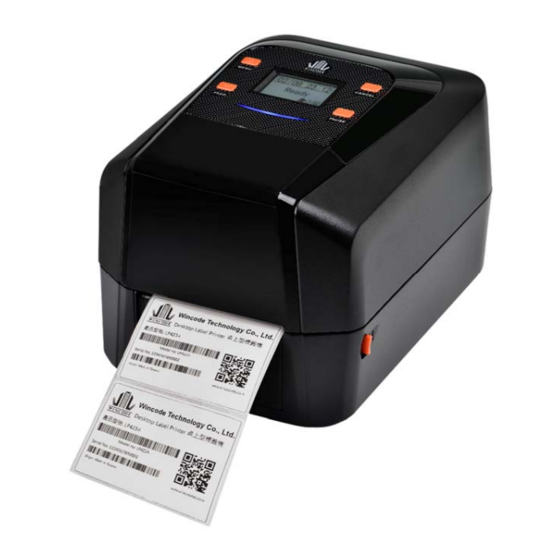
LP4A USER MANUAL
<LP423A / LP433A>
User Manual:LP4 series
Issue Date:2020/11/18
Version 4.2
Table of
Contents
Previous
Page
Next
Page
1
2
3
4
5
Advertisement
Table of Contents
Need help?
Do you have a question about the LP4 Series and is the answer not in the manual?
Ask a question
Questions and answers
Related Manuals for WINCODE LP4 Series
Printer WINCODE LP433A User Manual
(72 pages)
Printer WINCODE LP423A User Manual
(72 pages)
Label Maker WINCODE LP433 User Manual
(106 pages)
Label Maker WINCODE LP423N User Manual
(68 pages)
Label Maker WINCODE LP433N User Manual
(68 pages)
Label Maker WINCODE C342 User Manual
(66 pages)
This manual is also suitable for:
Lp4a
Lp423a
Lp433a
Lp433
Table of Contents
Print
Rename the bookmark
Delete bookmark?
Delete from my manuals?
Login
Sign In
OR
Sign in with Facebook
Sign in with Google
Upload manual
Upload from disk
Upload from URL


Need help?
Do you have a question about the LP4 Series and is the answer not in the manual?
Questions and answers