Table of Contents
Advertisement
Quick Links
Advertisement
Table of Contents

Related Manuals for Beco HCA63640B


Summary of Contents for Beco HCA63640B
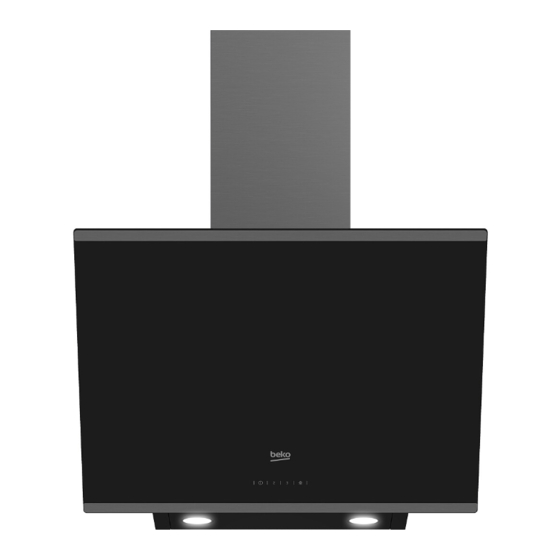
- Page 1 Hood User manual HCA63640B 01M-8809853200-4119-10...
-
Page 2: Explanation Of Symbols
Please read this user manual first! Dear Customer, Thank you for preferring a Beko product. We hope that you get the best results from your product which has been manufactured with high quality and state-of-the-art technology. Therefore, please read this entire user manual and all other accompanying documents carefully before using the product and keep it as a reference for future use. - Page 3 CONTENTS ENGLISH 04-17 3 / EN Hood / User Manual...
-
Page 4: Important Instructions For Safety And Environment
Important instructions for safety and environment This section contains safety in- If the power cable is damaged, it • structions that will help protect must be replaced by the manufac- from risk of personal injury or prop- turer, after sales service or a sim- erty damage. -
Page 5: Product Safety
Important instructions for safety and environment 1.1.2 Product safety Avoid inflammable materials • under the hood. You can use a pipe with a diameter • Oil may ignite while frying foods. of 120 mm or 150 mm on the flue •... -
Page 6: Children's Safety
Important instructions for safety and environment When a non-electrical device is 1.3 Compliance with WEEE • regulation and disposal of the concurrently used in the same waste product room together with the hood, the negative pressure in the room This product does not contain harmful and forbidden materials described in the must be maximum 0.4 mbar in "Directive on the Restriction of the Use... -
Page 7: Technical Specifıcations Of Your Appliance
Technical specifıcations of your appliance HCA63640B Width 596 mm Depth 410 mm Height 750 mm/1080 mm Supply 220 - 240 V~ 50 Hz voltage Control With 3 levels Lamp 2 x 3 W power Air outlet 120 / 150 mm... -
Page 8: Installing Your Appliance
Installing your appliance Please consult the nearest Authorised Service Agent for the installation of your hood. *Preparation of location and electrical installation for the product is under customer’s responsibility. Caution! Remove the protective film (if any) on the hood and flue surface after the installation. -
Page 9: Installation Accessories
Installing your appliance 3.1 Installation accessories External flue connection plate 1 x flue connection plate 1 x Ø120/150 mm plastic flue adapter (Figure 3b) If you will use Ø 120 mm flue pipe, install Ø 120 mm flue adapter onto it. Information required for the preparation of the in- stallation place for your hood is given below. - Page 10 Installing your appliance 3.2.1 Boring the hanger holes Affix the installation template onto the installa- tion place of the hood. Drill the points market with (X,Y) (Figure 4) using a Ø 8 mm bit and points market with (Z) (Figure 4) using a Ø 6 mm bit. 8 mm plastic 6 mm plastic wall plug...
-
Page 11: Hammering The Wall Plugs
Installing your appliance 3.2.2 Hammering the wall plugs Hammer Ø 8 mm wall plugs (X,Y) into the holes drilled for hanger screws. Hammer 2 x Ø 6 mm wall plugs (Z) into the holes drilled with a Ø 6 mm bit for the external flue connection plate. (Figure 5) 3.2.3 Installing the hanger screws... -
Page 12: Installing The Hood Flue
Installing your appliance 3.3 Installing the hood flue Extend and screw the internal flue from its outer edges onto the flue connection plate which was Disconnect the product from mains supply before secured to the wall (Figure 7). starting flue installation. Fit the sheet metal flue parts around the body. -
Page 13: Using With Flue Connection
Installing your appliance 3.4.1 Using with flue connection Pipe connection must be as short as possible and have minimum number of elbows. • The vapour is removed via flue pipe which is se- cured to the connection head on the hood. A: Flue outlet pipe •... -
Page 14: Operating Your Appliance
Operating your appliance (Figure 8) (A): 1st level key (B): 2nd level key (C): 3rd level key (D): Light On / Off key 4.1 Digital electronic control Auto-stop in 15 min.: with 3 levels This appliance is equipped with an Auto-Stop function which allows the appliance to ventilate (A) You can start your hood at speed level 1 by the room for an additional period of time in order... -
Page 15: Energy Efficient Usage
Operating your appliance 4.2 Energy efficient usage: • When operating the hood, adjust the speed level according to the odour and vapour inten- sity in order to prevent unnecessary power con- sumption. • Use low speeds in normal conditions (1-2), and high speed (3) when smell and vapors are inten- sified. -
Page 16: Cleaning And Maintenance
Cleaning and maintenance Carbon filter (Using without flue) Prior to cleaning and maintenance, unplug the ap- pliance or turn the main switch off or loosen the This filter removes the cooking odours. If it is not fuse that supplies the hood. possible to use a flue, it purifies the air which is circulated inside the kitchen. -
Page 17: Replacing The Lamps
Cleaning and maintenance 5.3 Cleaning 5.4 Replacing the lamps Particularly do not neglect to clean your hood im- Disconnect the hood from the mains supply. mediately after you have made frying. This appliance is equipped with 3 W lamps. Use a soft cloth soaked with liquid detergent to To replace the lamps, press the lamp downwards clean the outer surface of your hood. - Page 18 www.beko.com...
Need help?
Do you have a question about the HCA63640B and is the answer not in the manual?
Questions and answers