Table of Contents
Advertisement
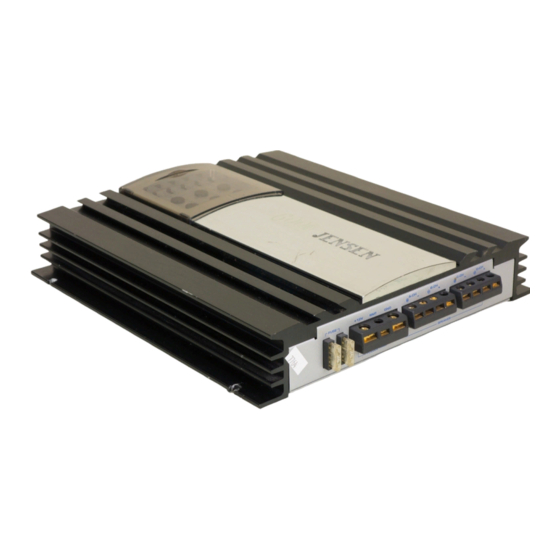
How to Install and Operate
the LXA600 Amplifier
Welcome!
What you're holding in your hands is no ordinary
owner's manual. We've tried to make the instructions
in this book clear and easy to follow.
For your Jensen amplifier to work right, it must be
installed correctly. This manual will show you how to
install your new amplifier like a pro. It's a good idea to
read all of these instructions before you begin the
installation. Most installations are straightforward and
can be handled by a do-it-yourselfer with the right
tools, patience, and the ability to follow instructions.
But, do-it-yourself installation isn't for everyone. If you
still don't feel confident after reading this book,
consider turning the installation job over to someone
better suited to it.
Warranty Service
If your Jensen amplifier should ever require service,
you will need to have the original dated receipt. If you
ever need to return the unit for any reason, always
include the receipt with the product.
Technical Assistance
For technical assistance with the operation or installation
of the LXA600, call 1-800-323-0221.
6022Eamp.p65
1
Contents
®
Features ........................................ 2
Installation ................................... 2
Installation ..................................... 2
Amplifier Location .......................... 2
Disconnect Battery ........................ 2
• Amplifier Installation Kit ............. 2
Needed .......................................... 3
Routing Wires ................................ 3
• Bigger is Better .......................... 3
Wiring ............................................. 4
Power and Outputs ................... 4
Power Terminal (BATT +12V) ........ 4
Ground Terminal (GND) ................. 4
Remote Terminal (RMT +12V) ....... 4
Fuses ............................................. 4
Inputs and Controls .................. 5
Input Wiring .................................... 5
Pass Output ................................... 5
Power Light .................................... 5
Protect Light .................................. 5
Input Level Control ........................ 6
Bass Boost ..................................... 6
Crossover ...................................... 6
Mode/Input Selector Switch ........... 7
4 Channel Mode ............................ 7
3 Channel Mode ............................ 7
2 Channel Mode ............................ 7
Speaker Wiring .............................. 8
Testing ........................................ 10
Reconnect Battery ....................... 10
Test Power Wiring ........................ 10
Test Speaker Connections .......... 10
Noise ........................................ 10
• Installing in Trunk ..................... 11
• Crimp Connections .................. 11
• Securing Wires ........................ 11
Power Wires ............................. 11
Troubleshooting ....................... 12
and Warranty ........................ 13
02/08/01, 4:27 PM
Advertisement
Table of Contents

Subscribe to Our Youtube Channel
Related Manuals for Jensen LXA600


Summary of Contents for Jensen LXA600
-
Page 1: Table Of Contents
Input Level Control ......6 in this book clear and easy to follow. Bass Boost ........6 For your Jensen amplifier to work right, it must be Crossover ........6 installed correctly. This manual will show you how to Mode/Input Selector Switch ... 7 install your new amplifier like a pro. -
Page 2: Features
® LXA600 Features The Jensen LXA600 power amplifier is a four- • 2 x 200 watts RMS bridged into a 4 ohm channel 600-watt total system power automotive load amplifier. The LXA600 includes: • Bridgeable design to direct full power to two •... -
Page 3: Supplies And Tools Needed
® LXA600 Supplies and Tools Needed Routing Wires Supplies: • Speaker wire (12 gauge for subwoofers, 16-18 Battery gauge for other speakers) Battery • Sheet metal type screws for mounting amplifier Connector • Electrical tape • Solderless crimp connectors Fuse or •... -
Page 4: Wiring
® LXA600 Wiring Power and Outputs FUSE + 12V A-CH B-CH C-CH D-CH – – – – POWER SPEAKER Power Terminal (BATT +12V) Remote Terminal (RMT +12V) Connect the radio power antenna lead from Connect directly to the vehicle battery+ the receiver to the amplifier remote (RMT) terminal with 8 gauge wire (minimum). -
Page 5: Inputs And Controls
® LXA600 Inputs and Controls POWER PROTECT HI INPUT HI INPUT PASS LOW INPUT PASS LOW INPUT Input Wiring Inputs may be high level (from the receiver's speaker) or low level (from special low level outputs). Low level input is preferred for best performance. -
Page 6: Input Level Control
Use with 6" or smaller FULL CH C/D speakers. BASS-BOOST Use LPF and HPF to adjust from 40 to 240Hz. When using your Jensen Input Level Control amplifier to run a subwoofer and two full- The input level control LEVEL range speakers (known... -
Page 7: Mode/Input Selector Switch
® LXA600 Mode/Input Selector Switch 2 Channel Mode The LXA600 can be configured for three different When the input selector is in the MODE input modes: 4 channel, 3 channel or 2 channel. 2 CH MODE, the amplifier is configured for bridged stereo 4 Channel Mode operation. -
Page 8: Speaker Wiring
® LXA600 Speaker Wiring The LXA600 amplifier has inputs and outputs for four channels. 4 Speakers 2 Subwoofers/Bridged Mono 2/4Ω 2/4Ω RCA Cables RCA Cables 2/4Ω 2/4Ω A-CH B-CH C-CH D-CH 4Ω 4Ω – – – – A-CH B-CH C-CH D-CH –... - Page 9 ® LXA600 2 Speakers + Bridged Subwoofer 4 Speakers + 2 Subwoofers 4Ω 4Ω RCA Cables RCA Cables 4Ω 4Ω 2/4Ω 2/4Ω 4Ω 4Ω 4Ω A-CH B-CH C-CH D-CH – – – – A-CH B-CH C-CH D-CH – – –...
-
Page 10: Testing
® LXA600 Testing Before you finish the installation, you should do the following tests to make sure the wiring is correct and everything is operating properly. Reconnect Battery Professional Tip Dealing with Alternator Noise When wiring is complete, reconnect the battery The vehicle alternator can cause a “siren”... -
Page 11: Installing In Trunk
® LXA600 Professional Tip Professional Tip Securing Wires Installing in Trunk Be proud of your installation! Use wire ties to When installing the amplifier in the trunk, run bundle wires together when possible. (But the power wires along the same path as the never bundle speaker wires and power wires other vehicle wiring. -
Page 12: Troubleshooting
2 ohms bridged No output on channels Speaker wires not connected to Refer to pages 5, 6 and 7 for proper installation speakers properly Input hooked up incorrectly Can’t find cause of problem Contact Jensen Technical Assistance (1-800-323-0221) 6022Eamp.p65 02/08/01, 4:27 PM... -
Page 13: Specifications
What is Covered. Except as otherwise specified below, Jensen will pay the return shipping charges if the product is this warranty covers all defects in material and workman- returned to an address inside the USA or Canada.
Need help?
Do you have a question about the LXA600 and is the answer not in the manual?
Questions and answers