Advertisement
Table of Contents
aspenhome
ah
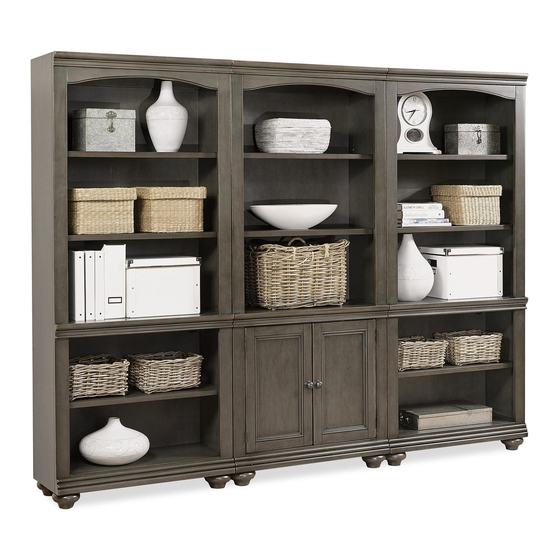
ITEM NO: I07-332-PEP/WBR Door Bookcase
I07-333-PEP/WBR Open Bookcase
Thank you for purchasing this quality product. Be sure to check all packing material carefully for
small parts that may come loose inside the carton during shipment.
I07-332
STEP 1: Put the bookcase backside down on a soft surface, Attach
the bun feet to the bottom of bookcase. Return the bookcase to the
upright position.
FUNCTIONALITY INSTRUCTION
BEFORE USING THIS PRODUCT PLEASE READ, UNDERSTAND, AND FOLLOW THESE INSTRUCTIONS.
Save these instructions for future reference.
Page 1/1
R
I07-333
Wood Screw
Take off one screw from each metal plate and swing it in
an ideal place. Line up the front of bookcases then
re-secure the metal plate with screw to adjacent bookcase.
Metal Plate
FOR INDOOR USE ONLY
MADE IN VIETNAM
ASSEMBLY INSTRUCTIONS
TOOLS REQUIRED (NOT PROVIDED)
PHILLIPS SCREWDRIVER
COMPONENTS LIST: I07-332
Description
No.
1
Case
2
Bun Foot
COMPONENTS LIST: I07-333
Description
No.
1
Case
2
Bun Foot
If you prefer to adjust the shelf
location, remove the screws and
move shelf brackets to the
desired location. Then secure the
brackets to shelf with screws.
Adjustable wood shelves
Adjust the leveler
when necessary
Leveler on Bun Feet
Quantity
Sketch
1 PC
4 PCS
Quantity
Sketch
1 PC
4 PCS
Case Bottom
Bun Foot
04-17-2017
Advertisement
Table of Contents

Related Manuals for aspenhome I07-332-PEP/WBR


Summary of Contents for aspenhome I07-332-PEP/WBR
- Page 1 ASSEMBLY INSTRUCTIONS ITEM NO: I07-332-PEP/WBR Door Bookcase I07-333-PEP/WBR Open Bookcase Thank you for purchasing this quality product. Be sure to check all packing material carefully for small parts that may come loose inside the carton during shipment. TOOLS REQUIRED (NOT PROVIDED)
- Page 2 ASSEMBLY INSTRUCTIONS ITEM NO: I07-339-PEP/WBR Mod Open Base Thank you for purchasing this quality product. Be sure to check all packing material carefully for small parts that may come loose inside the carton during shipment. BEFORE USING THIS PRODUCT PLEASE READ, UNDERSTAND, AND FOLLOW THESE INSTRUCTIONS.
- Page 3 ASSEMBLY INSTRUCTIONS ITEM NO: I07-341-PEP/WBR Mod File Base Thank you for purchasing this quality product. Be sure to check all packing material carefully for small parts that may come loose inside the carton during shipment. BEFORE USING THIS PRODUCT PLEASE READ, UNDERSTAND, AND FOLLOW THESE INSTRUCTIONS.
-
Page 4: Hardware List
ASSEMBLY INSTRUCTIONS ITEM NO: I07-344-PEP/WBR 72" Writing Desk Thank you for purchasing this quality product. Be sure to check all packing material carefully for small parts that may come loose inside the carton during shipment. TOOLS REQUIRED (NOT PROVIDED) -
Page 5: Components List
ASSEMBLY INSTRUCTIONS ITEM NO: I07-366-PEP/WBR Office Chair Thank you for purchasing this quality product. Be sure to check all packing material carefully for small parts that may come loose inside the carton during shipment. HARDWARE LIST: Description Quantity Sketch A Bolt 5/16"*4-1/2"... - Page 6 ASSEMBLY INSTRUCTIONS ITEM NO: I07-366-PEP/WBR Office Chair STEP 1: Insert the Pneumatic Cylinder (1) through the center hole on top of the Wooden base with Casters (3). STEP 2: Attach Seating (4) to Chair back (5) by using bolts (A), bolts (B), lock washer (C), and flat washer (D), use Allen key (E) and hex wrench (G ) tighten all bolts.
- Page 7 ASSEMBLY INSTRUCTIONS ITEM NO: I07-366-PEP/WBR Office Chair To Adjust Height Adjustment: To raise the seat height, remove weight from the seat and pull up on the Height Adjustment Leveler. To lower the seat height, while seated pull up slowly on the Height Adjustment Leveler until the seat is at the desired height.
- Page 8 ASSEMBLY INSTRUCTIONS ITEM NO: I07-385DC-PEP/WBR Mod Center Hutch w/ Door I07-385L-PEP/WBR Mod LF Open Hutch I07-385R-PEP/WBR Mod RF Open Hutch Thank you for purchasing this quality product. Be sure to check all packing material carefully for small parts that may come loose inside the carton during shipment.
-
Page 9: Back Panel
ASSEMBLY INSTRUCTIONS ITEM NO: I07-385DC-PEP/WBR Mod Center Hutch w/ Door I07-385L-PEP/WBR Mod LF Open Hutch I07-385R-PEP/WBR Mod RF Open Hutch back panel STEP 1: Put the case of center hutch upside down on a soft surface, Attach the back panel to the case by using 4 bolts(A), lock washers(B) and flat washers(C). - Page 10 ASSEMBLY INSTRUCTIONS ITEM NO: I07-385DC-PEP/WBR Mod Center Hutch w/ Door I07-385L-PEP/WBR Mod LF Open Hutch I07-385R-PEP/WBR Mod RF Open Hutch STEP 3: Put the assembled hutch on the assembly desk. Take off one screw from each metal plate on the back of hutch and swing it in an ideal place. Then re-secure the metal plate with screw to assembly desk.
Need help?
Do you have a question about the I07-332-PEP/WBR and is the answer not in the manual?
Questions and answers