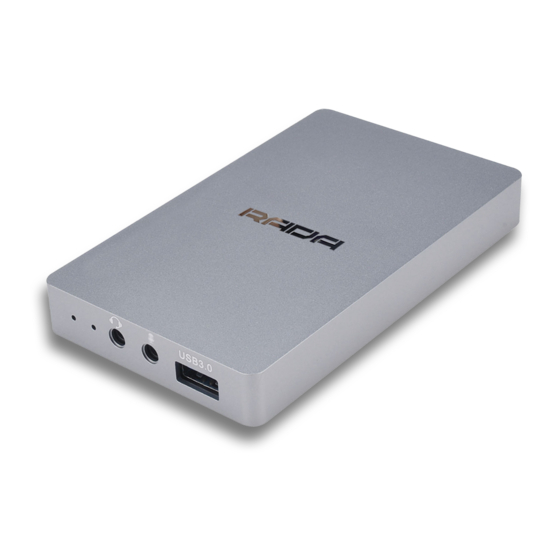
Summary of Contents for Adena RADA A-BR01
- Page 1 RECORD, STREAM AND VIDEOCONFERENCE WITH RADA BRIDGE HDMI to USB BRIDGE QUICK INSTALLATION GUIDE...
- Page 2 CONNECTION DIAGRAM 1. OUTPUT - Connect to a display with HDMI cable. 2. INPUT - Connect a video source with HDMI cable. 3. USB 3.0 - Connect to a computer with USB 3.0 cable. 4. MIC IN: Connect a microphone (overwrites HDMI sound). 5.
- Page 3 Hangouts Step 1. Connect the BRIDGE to your computer via USB. Step 2. Open Hangouts, click on “Settings”. Step 3. In “Devices” Tab, select “Camera” to be “RADA Bridge”. Step 4. Select “Microphone” to be “Digital Audio Interface (RADA Bridge)”*. Step 5.
- Page 4 SPECIFICATION A-BR01 Model Name HDMI In x 1, HDMI Out x 1(loop through), USB 3.0* Out x 1 Video *Also compatible with USB 2.0 3.5mm Mic In x 1 (TRRS cable) Audio 3.5mm Headset In/Out (TRRS CTIA or OMTP) x 1 1920 x 1080 60 fps, also Video supports lower resolutions...


Need help?
Do you have a question about the RADA A-BR01 and is the answer not in the manual?
Questions and answers