Sign In
Upload
Download
Table of Contents
Contents
Add to my manuals
Delete from my manuals
Share
URL of this page:
HTML Link:
Bookmark this page
Add
Manual will be automatically added to "My Manuals"
Print this page
×
Bookmark added
×
Added to my manuals
Manuals
Brands
Little Giant Ladder Manuals
Ladders
13
Operating/safety instructions manual
Little Giant Ladder 13 Operating/Safety Instructions Manual
Ladder system
Hide thumbs
1
Table Of Contents
2
3
4
5
6
7
8
9
10
11
12
13
14
15
16
17
18
19
20
21
22
23
24
25
26
27
28
29
page
of
29
Go
/
29
Contents
Table of Contents
Bookmarks
Table of Contents
Table of Contents
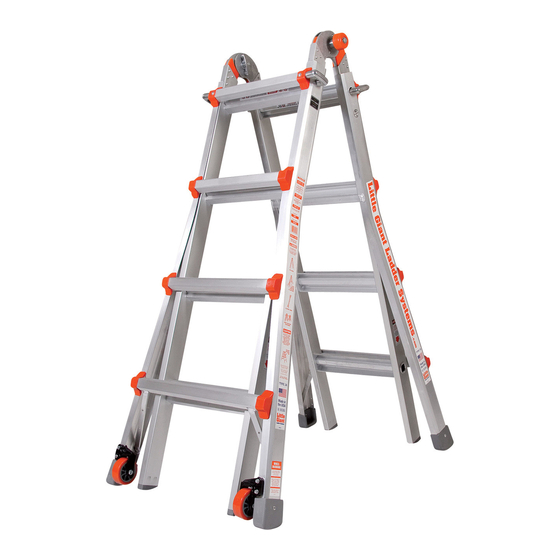
Little Giant Ladder System
Description - Little Giant Ladder System
Operating and Adjusting Ladders
The Hinge
The Lock Tab Assemblies
The A-Frame Position
The Extension Position
The Staircase Position
Scaffolding Trestle Operation Instructions
Work Platform Operation Instructions
The Wheels
Final Cautions and Warnings
Maintenance
Replacement Parts
Family Safety Bulletin
Little Giant Skyscraper
Description - Little Giant Skyscraper
Operating and Adjusting the Ladder
The Hinge
The Lock Assembly
Adjusting the A-Frame Ladder
Adjusting the Staircase Ladder
Other Little Giant Products the Little Giant ® Accessories
The Little Jumbo ® Safety Step
The Little Giant ® Ultra Step
Advertisement
Quick Links
1
Little Giant Ladder System
2
Table of Contents
3
Operating and Adjusting Ladders
4
The A-Frame Position
5
The Extension Position
6
The Staircase Position
7
Maintenance
Download this manual
®
Operating & Safety Instructions
SAFE • STRONG •
VERSATILE
Table of
Contents
Previous
Page
Next
Page
1
2
3
4
5
Advertisement
Table of Contents
Need help?
Do you have a question about the 13 and is the answer not in the manual?
Ask a question
Questions and answers
Related Manuals for Little Giant Ladder 13
Ladders Little Giant Ladder 17 Operating/Safety Instructions Manual
Ladder system (29 pages)
Ladders Little Giant Ladder 22 Operating/Safety Instructions Manual
Ladder system (29 pages)
Ladders Little Giant Ladder 26 Operating/Safety Instructions Manual
Ladder system (29 pages)
Ladders Little Giant Ladder ALTA-ONE Series User Instructions
Type i 250 lbs rated (3 pages)
Ladders Little Giant Ladder 31408 Instructions
Fixed foot replacement (3 pages)
Ladders Little Giant Ladder WingSpan Wall Stand Off Instructions
(2 pages)
Ladders Little Giant Ladder KIT 31006 Instructions
Lock tab replacement (3 pages)
Ladders Little Giant Ladder CLIMB ON MIGHTYLITE M8 Instructions
(2 pages)
This manual is also suitable for:
17
22
26
Table of Contents
Save PDF
Print
Rename the bookmark
Delete bookmark?
Delete from my manuals?
Login
Sign In
OR
Sign in with Facebook
Sign in with Google
Upload manual
Upload from disk
Upload from URL


Need help?
Do you have a question about the 13 and is the answer not in the manual?
Questions and answers