Advertisement
Quick Links
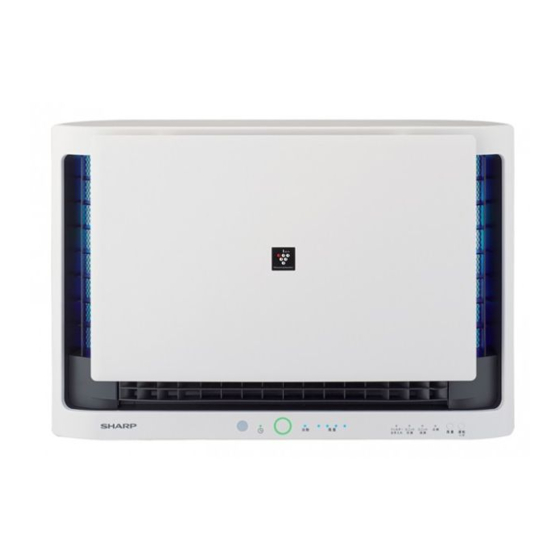
FU-551KB
"Plasmacluster" and "Device of a cluster of
grapes" are trademarks of Sharp Corporation.
Wall mounting type
* Shelf-placement type
A stand for shelf-placement can be used for
installation.
R
AIR PURIFIER
OPERATION MANUAL
* The number in this technology mark indicates the
approximate number of ions supplied into 1 cm
of air, which is measured around the center of a
room (with the "High-Density Plasmacluster 25000"
applicable oor area), at a height of 1.2m above
the oor, at the MAX wind volume setting in air
purifying mode, and when an air puri er using the
high-density plasmacluster ion evolving device is
placed close to a wall.
3
Advertisement

Related Manuals for Sharp FU-551KB


Summary of Contents for Sharp FU-551KB
- Page 1 FU-551KB “Plasmacluster” and “Device of a cluster of grapes” are trademarks of Sharp Corporation. AIR PURIFIER OPERATION MANUAL * The number in this technology mark indicates the approximate number of ions supplied into 1 cm of air, which is measured around the center of a room (with the “High-Density Plasmacluster 25000”...
- Page 2 Before operating your new air puri er , please read the following The air puri er draws in room air through the air intake, circulates it through a Pre-Filter, a Deodorizing Filter and a HEPA Filter inside the unit, and then discharges it through the air outlet.
-
Page 3: Table Of Contents
Sensor technology continuously monitors air quality, and automatically adjusts operation based on air purity level. Thank you for purchasing this SHARP Air Puri er. Please read this manual carefully before using the air puri er. After reading, keep the manual in a... -
Page 4: Important Safety Instructions
Sharp authorized Service Center or a similarly quali ed service provider. • Only a Sharp Authorized Service Centre should service this air puri er. Contact the nearest Service Centre for any problems, adjustments, or repairs. - Page 5 CAUTIONS CONCERNING OPERATION • Do not block the air intake or air outlet. • Do not place the unit near or on hot objects, such as stoves or heaters, or where it may come into contact with steam. • Always operate the unit in an upright position. •...
-
Page 6: Part Names
PART NAMES UNIT (Plug shape varies by country) 16 17 18 19 20 Clean sign lndicates air purity according to 3 color-coded levels. green clean impure Air Outlet (Right & Left) Pre Filter (Bottom) Air Outlet (Bottom) Remote control sensor area Power Code/Plug Timer Indicator Light (green) Plasmacluster Sign/Indicator Light (blue) - Page 7 Remote Control Transmitter Fan Speed icon Display for TIME /Timer setting Light Control Button POWER ON/OFF Button Fan Speed setting Button OFF TIMER Button ON TIMER Button TIME /Timer setting Button 10 Battery icon Sending icon 12 PLASMACLUSTER icon 13 PLASMACLUSTER ON/OFF Button 14 TIME Button 15 Reset Button Remove the battery cover and insert two AAA batteries.
-
Page 8: Preparation
PREPARATION TIME SETTING FOR REMOTE CONTOROL < Ex. Set the TIME “AM10:30” > OPERATION OF REMOTE CONTROL Point the remote control towards the Remote control sensor area and press the desired button. The unit generates a beep when it receives the signal. •... -
Page 9: Operation
OPERATION Power ON / OFF START Beep Beep STOP FAN SPEED Select the desired fan speed. Beep Beep Beep Beep Beep Beep AUTO FULLPOWER AUTO The fan speed is automatically switches between HIGH and LOW depending on the amount of impurities in the air. The sensors detect impurities for ef cient operation. - Page 10 OPERATION (continued) ON TIMER / OFF TIMER < Ex. Set the TIME “PM9:20” > OFF TIMER ON TIMER SETTING Press Beep CANCELLATION OFF TIMER Beep Beep ON TIMER...
- Page 11 LIGHT CONTROL You can set the PLASMACLUSTER LIGHT icon to OFF when their LIGHT icon is bright TURN ON TURN OFF Beep Beep Beep PLASMACLUSTER ION ON/OFF When the Plasmacluster Ion function is ON, the Plasmacluster Ion light is on. Beep Beep Beep...
-
Page 12: Useful Function
USEFUL FUNCTION ADJUSTING SENSOR SENSITIVITY Set the desired sensor sensitivity. (with the unit ON) more 3 sec. High Standard Beep NOTE • The sensor sensitivity setting is saved even after the unit is unplugged. FILTER CLEANING INDICATOR LIGHT You can set the time of lter cleaning indicator light turn on. (with the unit ON) more 3 sec. -
Page 13: Care And Maintenance
CARE AND MAINTENANCE FILTER CLERNING INDICATOR The Filter Cleaning Indicator Light will turn on after approximately 720 hours. (30 days × 24 hours =720 hours) FILTER CLEANING This is a reminder to perform the maintenance described below. After performing maintenance, reset a reminder to perform th the Filter Cleaning Indicator. - Page 14 CARE AND MAINTENANCE (continued) PRE-FILTER (FRONT) Gently remove dust with an appropriate cleaning tool, such as a vacuum cleaner with the proper attachment. <If the front panel came out of the unit> Insert the tab of the front panel into the tab of the unit. 90°...
- Page 15 SENSOR Gently remove dust with an appropriate cleaning tool, such as a vacuum cleaner with the proper attachment. NOTE 1. Rinse the sensor lter with tap water. 2. Completely dry the sensor lter in a ventilated area. SENSOR FILTER PRE-FILTER (BOTTOM) Gently remove dust with an appropriate cleaning tool, such as a vacuum cleaner with the proper attachment.
- Page 16 CARE AND MAINTENANCE (continued) FILTER REPLACEMENT When to replace the lter Please consult your dealer. • HEPA Filter About 2 years after rst use MODEL: FZ-K51HFE • Deodorizing Filter About 2 years after rst use MODEL: FZ-K51DFE These lter lifespan and replacement suggestions are based on purifying a room in which 10 cigarettes are smoked per day and the unit’s dust collection and deodorizing performance has declined to half the level of a new lter.
-
Page 17: Troubleshooting
TROUBLESHOOTING Before calling for service, please review the troubleshooting chart below to make sure that the problem is not a unit malfunction. SYMPTOM REMEDY (the following are not due to a malfunction) Odor and smoke persists. • Check the lters. If they appear to be extremely dirty, clean or replace them. -
Page 18: Specifications
SPECIFICATIONS Power supply 220 V 50 Hz Fan Speed Adjustment FULL POWER Fan Speed (m /hour) Rated Power (W) CLEAN AIR Noise Level (dBA) Recommended Room Size (m High density Plasmacluster ion recommended room size (m Cord Length (m) Dimensions (mm) 650 (W) ×...
Need help?
Do you have a question about the FU-551KB and is the answer not in the manual?
Questions and answers