Table of Contents
Advertisement
Quick Links
Advertisement
Table of Contents

Related Manuals for Eurolube 53402


Summary of Contents for Eurolube 53402
- Page 1 PM MANUAL PRINTER MODULE 53402 English Manual for PM-Module 53402, R10, 181008...
-
Page 2: Table Of Contents
LUBE-MASTER R10 Table of Contents INTRODUCTION ................................. 3 MECHANICAL INSTALLATION ..........................3 ELECTRIC INSTALLATION ............................. 3 CONFIGURATION ..............................4 5.1..........................4 HECK BEFORE CONFIGURATION 5.2..........................4 DDRESSING THE NEW MODULE 5.3. FLASH ............... 4 MPORTANT INFORMATION FOR MODULES EQUIPPED WITH CHIP 5.3.1. -
Page 3: Introduction
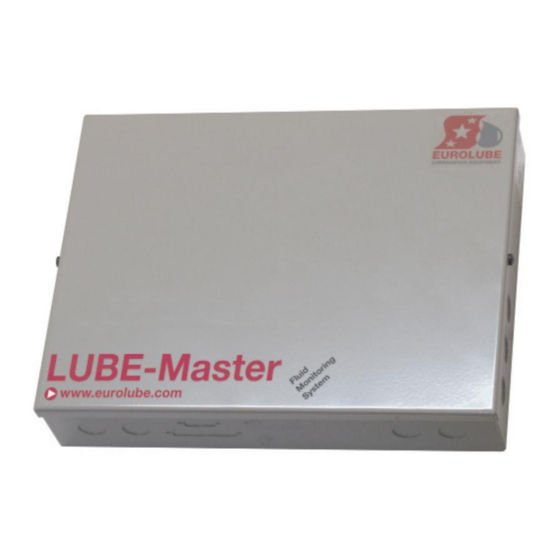
Complete PM in a box is mounted on a wall or other suitable place using the four-ø5 mm holes in the bottom corners of the box. The ticket printer (Eurolube part number 53354 or other Centronic parallel printer) should be placed protected and secure not too far from the module. -
Page 4: Configuration
LUBE-MASTER R10 Configuration An LUBE-Master configuration sheet should always be filled or altered during the configuration. NOTE! To obtain technical support a copy of the configuration sheet for the complete installation must be sent to Alentec & Orion AB at E-mail: lubemaster@alentec.se Post:... -
Page 5: Change Address [Pm//Address]
LUBE-MASTER R10 Scroll through the module sub menus by pressing or . When the desired menu is shown press ENTER and so on. 5.5. Change address [PM//Address] Enter the [KP//Address] by pressing ENTER ‡ PM MainMenu Press ENTER to show the cursor. Adr:2XXX ‡... -
Page 6: Remove A User [Pm//Userdb/Deluser]
LUBE-MASTER R10 Enter menu [PM//UserDB] by pressing twice. ‡ PM MainMenu At UserDB: press ENTER. UserDB: ‡ PM MainMenu At AddUser: press ENTER. AddUser: ‡ Add User Type in the employee number (4 digits) and acknowledge by pressing ENTER. Emp:_ ‡... -
Page 7: Remove All Users [Pm//Userdb/Delall]
LUBE-MASTER R10 6.3. Remove all users [PM//UserDB/DelAll] Enter menu [PM//UserDB] by pressing two times. ‡ PM MainMenu At UserDB: press ENTER. UserDB: ‡ PM MainMenu At AddUser: press . AddUser: ‡ Add User At DelUser: press . DelUser:_ ‡ Delete User Press ENTER to get the cursor. -
Page 8: Print All Transactions [Pm//Trandb/Prntran/All]
LUBE-MASTER R10 7.2. Print all transactions [PM//TranDB/PrnTran/All] Enter menu [PM//TranDB] by pressing . ‡ PM MainMenu At TranDB: press ENTER. TranDB: ‡ PM MainMenu At DelTran: press . DelTran: ‡ Delete All Tran At PrnTran: press ENTER. PrnTran: ‡ Print TranDb At All: press ENTER. -
Page 9: Print By Job Number [Pm//Trandb/Prntran/Job]
LUBE-MASTER R10 7.4. Print by Job number [PM//TranDB/PrnTran/Job] Enter menu [PM//TranDB] by pressing . ‡ PM MainMenu At TranDB: press ENTER. TranDB: ‡ PM MainMenu At DelTran: press . DelTran: ‡ Delete All Tran At PrnTran: press ENTER. PrnTran: ‡ Print TranDb At All: go to Job: by scrolling with ... -
Page 10: Job Database
LUBE-MASTER R10 JOB database The system can be set up to use JOB number validation. This is used to restrict oil dispensing to valid jobs only. 8.1. Add Job number [PM//JobDB/AddJob] Enter menu [PM//JobDB] by pressing three times. ‡ PM MainMenu At JobDB: press ENTER. -
Page 11: Delete All Job Numbers [Pm//Jobdb/Delall]
LUBE-MASTER R10 8.3. Delete all Job numbers [PM//JobDB/DelAll] Enter menu [PM//JobDB] by pressing three times. ‡ PM MainMenu At JobDB: press ENTER. JOBDB: ‡ PM MainMenu At AddJob: press . AddJOB: ‡ Add JOB number At DelJob: press . DelJOB: ‡... -
Page 12: Change Volume In A Tank [Pm//Tankdb/Tankx/Vol]
LUBE-MASTER R10 9.2. Change volume in a tank [PM//TankDB/TankX/Vol] Enter menu [PM//TankDB] by pressing four times. ‡ PM MainMenu At TankDB: press ENTER. TankDB: ‡ PM MainMenu At Tank1: choose the desired tank by scrolling with or and then press Tank1: ‡... -
Page 13: Change Stop Volume For A Tank [Pm//Tankdb/Tankx/Svol]
LUBE-MASTER R10 9.4. Change stop volume for a tank [PM//TankDB/TankX/SVol] Enter menu [PM//TankDB] by pressing four times. ‡ PM MainMenu At TankDB: press ENTER. TankDB: ‡ PM MainMenu At Tank1: choose the desired tank by scrolling with or and then press Tank1: ‡... -
Page 14: Menu Tree
LUBE-MASTER R10 10. Menu tree SETUP <enter> Pass: <ENTER> Adr:2XXX <ENTER> <EXIT> <ENTER> Adress: <ENTER> / <EXIT> Adress: 2??? TranDB: <ENTER> <ENTER> UserDB: <ENTER> DelTran: <ENTER> JobDB: <ENTER> DelAll:N PrnTran: TankDB <ENTER> <ENTER> All: Tran: Job: Tank1: Emp: Tank X: <ENTER>... -
Page 15: Fast Menu Codes
LUBE-MASTER R10 11. Fast Menu codes With a PC, the LUBE-Master WinTools software and a SIO, you can customise the quick menu that appear when you press ”?”. To do this, assign a name to the menu, a module address and then a code. Password is optional. This code can also be used together with the address after you have typed SETUP followed by the password. -
Page 16: Technical Specification
LUBE-MASTER R10 12. Technical specification Net ports: 2 pieces of LUBE-Master ports (A) for data- communication. Out ports: 1 piece (D) CENTRONIC for a parallel printer. Other: RISC-based microprocessor EEPROM, 64 KB. Supply voltage: 24 VAC Max current: 100 mA Casing: Strong black powder painted steel box...
Need help?
Do you have a question about the 53402 and is the answer not in the manual?
Questions and answers