Do you have a question about the AVH-210EX and is the answer not in the manual?
Questions and answers
Terri
May 17, 2025
I have a blue screen. It's says off. I can't push any of the icons it won't do anything.
1 comments:
Terri
May 17, 2025
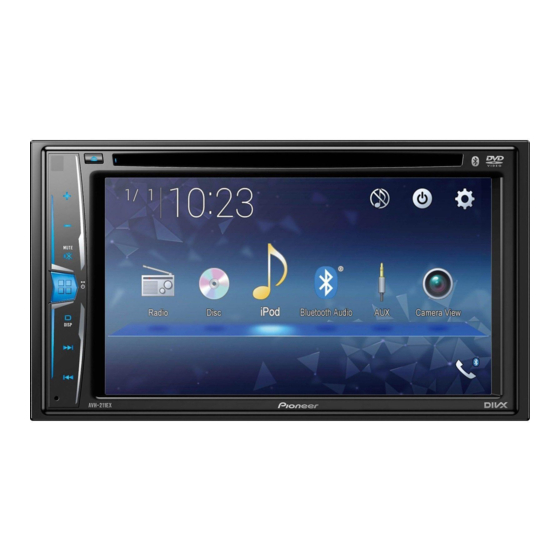
This is the screen that I have
dave
February 13, 2025
when i try to access the bluetooth menu the icon is not illuminated
1 comments:
Mr. Anderson
February 13, 2025
The Bluetooth icon is not illuminated on the Pioneer AVH-210EX because the parking brake is not engaged. The Bluetooth settings remain inaccessible until the parking brake is engaged, at which point the settings become available.


Need help?
Do you have a question about the AVH-210EX and is the answer not in the manual?
Questions and answers
I have a blue screen. It's says off. I can't push any of the icons it won't do anything.
This is the screen that I have
when i try to access the bluetooth menu the icon is not illuminated
The Bluetooth icon is not illuminated on the Pioneer AVH-210EX because the parking brake is not engaged. The Bluetooth settings remain inaccessible until the parking brake is engaged, at which point the settings become available.
This answer is automatically generated