
Related Manuals for Kinghome KM09HFDI


Summary of Contents for Kinghome KM09HFDI
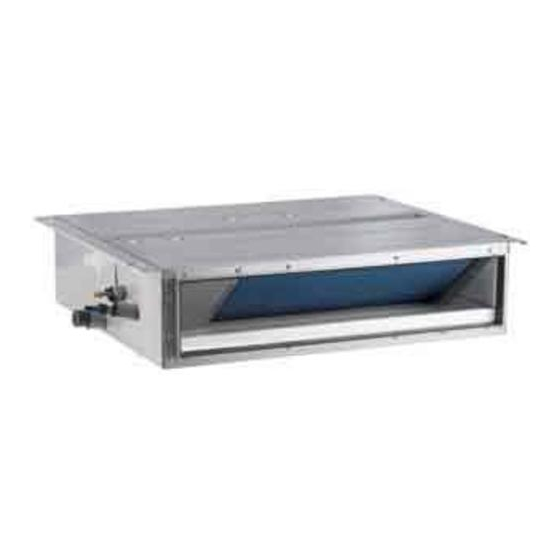
- Page 1 AIR CONDITIONER INSTRUCTION MANUAL MODEL:KM09HFDI KM12HFDI KM18HFDI KM21HFDI KM24HFDI...
- Page 3 User Notice ◆ The total capacity of the indoor units which runs at the same time can not exceed 150% of that of the outdoor units; otherwise, the cooling (heating) effect of each indoor unit would be poor. ◆ Switch the main power on 8 hours before start the unit, helpful for a successful startup. ◆...
-
Page 4: Table Of Contents
Contents 1 Safety Precautions ..................1 2 Installation Location and Matters Needing Attention ........2 2.1 How to select the Installation Location for the indoor unit ........2 2.2 Electric Wiring ....................... 2 2.3 Earthing Requirements ..................2 2.4 Accessories for Installation ................... 3 3 Installation Instructions ................... -
Page 5: Safety Precautions
Free Match for North America 1 Safety Precautions Please read this manual carefully before using and operating correctly as instructed in this manual. Please take special attention to the meaning of these two marks: Warning! It indicates improper operation which will lead to human casualty or severe injury. Note! It indicates improper operation which will lead to injury or property damage. -
Page 6: Installation Location And Matters Needing Attention
Free Match for North America 2 Installation Location and Matters Needing Attention The installation of the unit must comply with the national and local safety regulations. The installation quality directly affects the normal use, so the user should not carry out the installation personally, instead, the installation and debugging should be done by technician according to this manual. -
Page 7: Accessories For Installation
Free Match for North America purpose, cut off or fixed by the tapping screw; otherwise it would cause the hazard of electric shock. (3). The reliable earth terminal should be provided and the earth wire can not be connected to any of the following places:... -
Page 8: Installation Instructions
Free Match for North America 3 Installation Instructions 3.1 Outline Dimension Drawings of the Indoor Unit Fig.1 is applicable to Electric BoxLi quid Pipe Gas Pipe Backward Return Air Drain Pipe Downward Return Air Fig.1 Table 1: Outline Dimensions Item Model 1142 1062... -
Page 9: Installation Of The Indoor Unit
Free Match for North America 3.3 Installation of the Indoor Unit (1). Requirements on the Installation Location 1) Ensure the hanger is strong enough to withstand the weight of the unit. 2) The drainage pipe is easy for connection. 3) No obstacle is in the inlet/outlet and the air circulation is in good condition. 4) Ensure the installation space shown in Fig.2 is left for the access to maintenance. -
Page 10: Horizontality Check Of The Indoor Unit
Free Match for North America If there is an opening in the ceiling, it is better to reinforce it to keep it flat and prevent it ② . vibrating. Consult the user and builder for more details. If the strength of the ceiling is not strong enough, a beam made of angle iron can be used ③... -
Page 11: Drawings Of The Air Supply Outlet And Return Air Inlet
Free Match for North America Fig.8 Table 3 Name Name Return Air Duct Transition Duct Canvas Duct Air Supply Duct Return Air Louver Diffuser Hanger Diffuser Joint Air Supply Outlet (3). Installation Steps of the Round Air Supply Duct 1). Preinstall the outlet of the round duct on the transition duct and then fix it by the tapping screw. -
Page 12: Installation Of The Return Air Duct
Fig.9 Air Supply Outlet Fig.10 Return Air Inlet Table 4 Dimensions of the Air Supply Outlet and Return Air Inlet (unit: mm) Air Supply Outlet Return Air Inlet Item Model KM09HFDI KM12HFDI KM18HFDI KM21HFDI 1062 KM24HFDI 3.7 Installation of the Return Air Duct (1). -
Page 13: Installation Of The Condensate Pipe
Free Match for North America Wind supply Wind supply Back wind Back wind Install the back wind pipe (a) Install the back wind pipe(b) Fig.12 Table 5 Parts and Components of the Return Air Duct Name Name Return Air Louver(with the filter screen) Indoor Unit Canvas Duct Air Supply Duct... -
Page 14: Installation Of The Drain Pipe
Free Match for North America (4). When the drain pipe is used for multiple devices, the public section of the pipe should be 100mm lower than the drain hole of each device and it is better to use the much thicker pipe for such a purpose. -
Page 15: Precautions For The Lift Pipe
Free Match for North America 3.11 Precautions for the Lift Pipe The installation height of the lift pipe should be less than 850mm. It is recommended to set an inclination angle 1° ~ 2° for the lift pipe toward the drainage direction. If the lift pipe and the unit form a right angle, the height of the lift pipe must be less than 800mm. -
Page 16: Piping
Free Match for North America carefully the joint to see if it leaks or not. If this unit is installed in the newly built house, it is suggested to take this test prior to the ceiling decoration. 3.13 Piping (1). Let the flare end of the copper pipe point at the screw and then tighten the screw by hand. (2). -
Page 17: Wiring Between The Wire And The Wiring Terminal
Free Match for North America allowed on the joint of the indoor unit, as shown in Fig.19. No gap Fig.19 CAUTION! After the pipe is protected well enough, never bend it to form a small angle; otherwise it would crack or break. (3). -
Page 18: Wiring Of The Power Cord (Single-Phase)
Free Match for North America A.Single-Cored Wire B.Mulit-Cored Wire Wiring Terminal Insulating layer Fig.20 WARNING! If the power cord or the signal line is damaged, they must be replaced with the dedicated ① . one. Prior to the wiring, please check the voltage marked on the nameplate and then carry out ②... - Page 19 Free Match for North America POWER INDOOR UNIT B INDOOR UNIT D INDOOR UNIT C INDOOR UNIT A L2 L1 OUTDOOR UNIT Fig.21 KM42H4O POWER Fig.22...
-
Page 20: Wiring Of The Signal Line Of The Wired Controller
Free Match for North America 3.17 Wiring of the Signal Line of the Wired Controller (1). Open the cover of the electric box of the indoor unit. (2). Let the signal line go through the rubber ring. (3). Insert the signal line to the four-pin socket on the printed circuit board of the indoor unit. (4). -
Page 21: Rated Working Conditions
Free Match for North America 4 Rated Working Conditions Table 8 Working Temperature Range Indoor side state ℉(℃) Outdoor side state ℉(℃) Dry bulb Wet bulb Dry bulb Wet bulb temp. ℉(℃) temp. ℉ (℃) temp. ℉ (℃) temp. ℉ (℃) Rated. -
Page 22: Error Analysis
Free Match for North America 5 Error Analysis If your conditioning unit runs abnormally, please check the following items before contacting the maintenance serviceman. Table 9 Errors Possible Causes There is no power supply. Failed startup The breaker opens owing to electrical leakage. Voltage is too low. -
Page 23: Maintenance
Free Match for North America 6 Maintenance CAUTION! Take notice of the following items before cleaning your air conditioning unit. (1). Cut off the main power supply before contacting any wiring device. (2). Only when the unit is turned off and the main power supply is cut off, can the unit be cleaned;...
Need help?
Do you have a question about the KM09HFDI and is the answer not in the manual?
Questions and answers