Table of Contents
Advertisement
Quick Links
• Read all instructions before assembly and use
of the product.
• Keep instructions for future use.
• Adult assembly is required. No tools needed
for assembly.
• Requires three AA (LR6) alkaline batteries
(not included) for electronic toy. Tool needed
to install batteries: Phillips screwdriver.
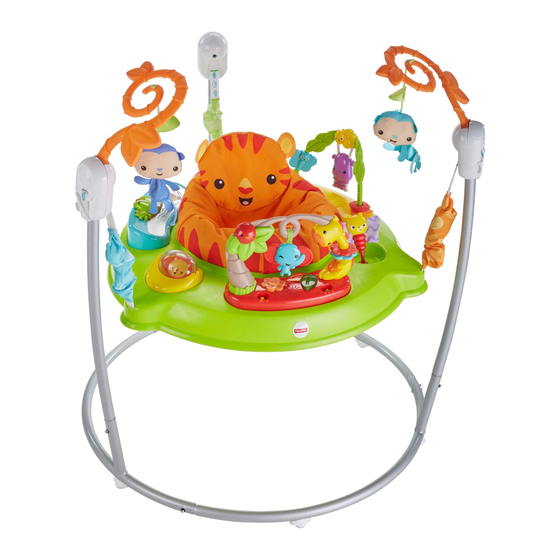
• Product features and decorations may vary
from photos.
FVR21
• Lee estas instrucciones antes de ensamblar
y usar este producto.
• Guarda estas instrucciones para
futura referencia.
• Requiere montaje por un adulto. No es
necesario usar herramientas para el montaje.
• El juguete electrónico funciona con 3 pilas
alcalinas AA (LR6) x 1,5V (no incluidas).
Herramienta necesaria para instalar las pilas:
desatornillador de cruz.
• Las características y decoración pueden
variar de las mostradas.
fisher-price.com
1
Advertisement
Table of Contents

Related Manuals for Fisher-Price FVR21


Summary of Contents for Fisher-Price FVR21
- Page 1 FVR21 • Read all instructions before assembly and use • Lee estas instrucciones antes de ensamblar of the product. y usar este producto. • Keep instructions for future use. • Guarda estas instrucciones para • Adult assembly is required. No tools needed futura referencia.
- Page 2 WARNING To prevent serious injury or death: • Use only for a child who is able to hold head upright unassisted and who is not able to walk or climb out of product. • Never leave child unattended. Always keep child in view while in product. •...
- Page 3 Parts Piezas 3 Base Tubes 3 tubos de base Frame Armazón Seat Pad Almohadilla Seat Ring Aro del asiento Electronic Toy Juguete electrónico Before beginning assembly, you may want to install batteries into the electronic toy. Refer to the Battery Installation section in these instructions.
- Page 4 CONSUMER ASSISTANCE CO SU SS S ATENCIÓN AL CLIENTE 1-800-432-5437 (US) Fisher-Price, Inc., 636 Girard Avenue, East Aurora, NY 14052. Hearing-impaired consumers/Clientes con problemas auditivos 1-800-382-7470. Centro de Servicio en México: 59-05-51-00 Ext. 5206 ó 01-800-463-59-89 MÉXICO COLOMBIA Importado y distribuido por Mattel de México, Mattel Colombia, S.A., Calle 123#7-07 P.5,...
-
Page 5: Battery Installation
Battery Installation Colocación de las pilas For longer life, use alkaline batteries. Para una mayor duración, usar solo pilas alcalinas. 1,5V x 3 Protect the environment by not disposing of AA (LR6) this product or any batteries with household waste. This symbol indicates that this product shall not be treated as household waste. -
Page 6: Montaje
Assembly Montaje PRESS PRESIONAR Base Tubes Tubos de base PRESS PRESIONAR • While pressing the button on a base tube, insert it into another base tube. Continue to slide it until you hear a “click”. • While pressing the button on the free end of the base tube assembly, insert it into the •... - Page 7 Assembly Montaje Arch Toy PRESS PRESS Arco PRESIONAR PRESIONAR Electronic Toy Juguete electrónico Frame Armazón Hint: You may want to install batteries inside Hint: You may need the help of another adult the electronic toy before completing this with this assembly step. assembly step.
- Page 8 Assembly Montaje Star Marking Seat Marca de Asiento estrella Clavija Clavija Yellow Slots Yellow Slots Ranuras amarillas Ranuras amarillas • Pull the pad through the seat. Wrap the edges of the pad around the outside of the seat. Almohadilla • Jalar la almohadilla por el asiento y enrollar la almohadilla alrededor de la parte exterior •...
- Page 9 Assembly Montaje Hanging Toys Seat Juguetes colgantes Silla • Insert and “snap” the seat into the frame. • First, turn the seat to see if it moves freely. Then, pull up on the seat to be sure it's • Insert and "snap" the hanging toys into the attached to the frame.
-
Page 10: Setup And Use
Setup and Use Preparación y uso WARNING To prevent serious injury or death: • Use only for a child who is able to hold head upright unassisted and who is not able to walk or climb out of product. • Never leave child unattended. Always keep child in view while in product. •... - Page 11 Seat Height Adjustment Ajuste de altura de la silla IMPORTANT! This product is shipped with the straps in the middle height position . Please be sure you adjust the height of the frame for your child. ¡IMPORTANTE! Este producto viene de fábrica con los cinturones en la posición del medio .
- Page 12 Seat Height Adjustment Ajuste de altura de la silla While feeding the strap into the slot on Mientras introduces el cinturón en la ranura the inside of the hub, pull the strap on the del interior de la conexión, jala el cinturón en outside of the hub.
- Page 13 Jumpin’ Fun! ¡Diversión saltando! Power/Volume Switch Mode Switch Interruptor de encendido/volumen Selector de modalidad • Slide the power/volume switch to: • Pon el interruptor de encendido/volumen en: ON with low volume ENCENDIDO con volumen bajo ON with high volume ENCENDIDO con volumen alto APAGADO •...
- Page 14 Care Mantenimiento ntenimiento • The seat pad is machine washable. Wash it separately in cold water on the gentle cycle. PRESS PRESS Do not use bleach. Tumble dry separately on PRESIONAR PRESIONAR low heat and remove promptly. • The frame, seat ring and toys may be wiped clean using a mild cleaning solution and damp cloth.
- Page 15 Battery Safety Information Información de seguridad acerca de las pilas In exceptional circumstances, batteries may En circunstancias excepcionales, las pilas leak fluids that can cause a chemical burn pueden derramar líquido que puede causar injury or ruin your product. To avoid quemaduras o dañar el producto.
-
Page 16: Fcc Statement (United States Only)
FCC STATEMENT (UNITED STATES ONLY) Si este equipo llega a causar interferencia dañina This equipment has been tested and found a la recepción de radio o televisión, lo cual to comply with the limits for a Class B digital puede ser verificado encendiendo y apagando device, pursuant to Part 15 of the FCC el equipo, se recomienda tomar una de las rules.
Need help?
Do you have a question about the FVR21 and is the answer not in the manual?
Questions and answers