
Related Manuals for Sunjoy A106005600


Summary of Contents for Sunjoy A106005600
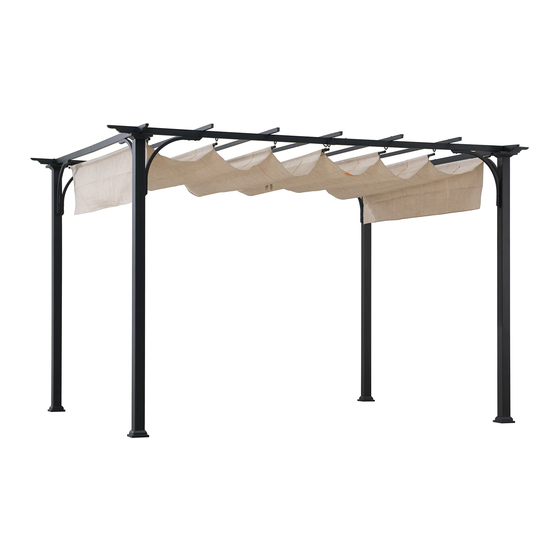
- Page 1 ITEM NO.: A106005600 WE HAVE YOU IN MIND, LET US SERVE YOU! ...
- Page 2 2 / 7 Parts List Top beam 1 A1 P000601292 5 Top beam 2 A2 P000601293 5 Long side beam C1 P000400859 2 (1) Long side beam D1 P000400858 2 (2) Short side beam E1 P000400856 2 1 Short side beam E2 P000400857 2 2 Conner 1 ...
- Page 3 3 / 7 Hardware Pack 1 H010110016 AA M6*15 bolt 16PCS 52PCS M6 washer H050010023 BB M6*20 bolt H010020011 CC 36PCS H090010009 Z M6 Wrench 1 PC Country of Origin: China...
- Page 4 4 / 7 Fig.1:Put the stake cover(I1)through the post (H1), up the stake cover(J), then attach stake(I) to post ttom(H1),fasten by using bolt(AA)and washer(BB)。 Fig.2‐1: Attach long side beam 1(C1)to long side beam2(D1), By using bolt(CC)and washer(BB) 。 Fig.2‐2: Attach short side beam 1(E1)to short side beam2(E2),by using bolt(CC)and washer(BB). Fig.4: Attach corner(G3)to top of post (H1) 。 Fig.5‐1:Attached long side beam (C1、 D1) to top of post ( H1) , then fix by using bolt ( CC) and washer ( BB) 。 Fig.5‐2:Attach decorate tube (G4) to long side beam (D1、 C1) , then fix by using bolt ( CC) and washer ( BB) . ...
- Page 5 5 / 7 Fig.6:Attach rail connector(N)to long side beam(C1、D1)by using bolt(CC)and washer(BB). Fig.7:Put ring (P)through rail rod(O1、O2),then attach rail rod(O1、O2)to rail connector(N) 。 Fig.8:Fix rail rod(O1、O2)to long side beam(C1、D1), by using bolt(CC)and washer(BB) 。 Fig.9: Attach top beam 1 (A1)to top beam 2 (A2) , fix by using bolt (CC) and washer (BB) 。 Fig.10: Fix assembled top beam(A1、 A2) to assembled long side beam (C1、 D1) ,by using bolt (DD)and washer (BB) 。 Fig.11:Attach art support(K1) to post (H1) and beam (C1,D1,E1,E2), fix by using b olt (DD) and Washer(BB). Hardware Pack 3 M6 Washer H050010023 BB 16PCS ...
- Page 6 6 / 7 Fig.12: Insert canopy rod 1 ( M3) into canopy rod 2 ( M4) , (repeat step,insert canopy rod3 ( M5) into canopy rod 4(M6). Below graph presents the assembly detail for beam (M3,M4,M5,M6) Fig.13:Insert canopy rod to the hold of canopy(Q) 。 (Notes: Insert canopy rod(M5、M6)to the side of handle。 ) Fig.15:Fix the assembled gazebo on ground by using floor stake(FF). Fig.14:Fix the assembled canopy (Q) to ring (P) by using bolt (EE) and washer (BB). (Note: Place the side with handle to middle of Pergola) ...
- Page 7 If necessary, wash with a mild solution of soap and water; rinse thoroughly and dry completely. Periodically check and ensure that all bolts are well‐tighten during use Limited Manufacturer’s Warranty Sunjoy Group warrants to the original purchaser that this item is free from defects in workmanship and materials for a period of 1 year from the date of purchase, provided the item was factory‐sealed at the time of purchase and is maintained with care and used only for personal, residential purposes. Should any manufacturing defect arise within this warranty period, Sunjoy Group will replace (at our option) any defective merchandise or parts upon proof of purchase; however, transportation and delivery costs, as well as payments to a third party for assembly or disassembly of the item, remain ...
Need help?
Do you have a question about the A106005600 and is the answer not in the manual?
Questions and answers