Table of Contents
Advertisement
Quick Links
Advertisement
Table of Contents

Related Manuals for HMS Networks Anybus


Summary of Contents for HMS Networks Anybus
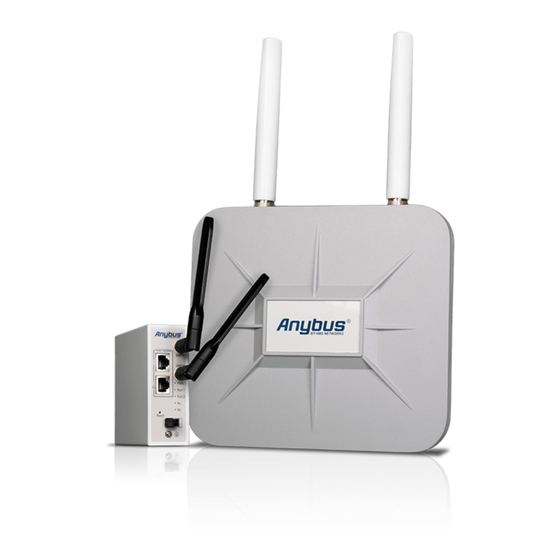
- Page 1 ® Anybus Industrial WLAN Access Point STARTUP GUIDE SP2819 1.0 en-US ENGLISH...
-
Page 2: Important User Information
The effects caused by any direct or indirect use of such aspects of the product are undefined and may include e.g. compatibility issues and stability issues. ® SP2819 1.0 en-US Anybus Industrial WLAN Access Point Startup Guide... -
Page 3: About This Document
Preface About This Document This manual describes the installation of Anybus Industrial WLAN Access Point. For information on how to configure Anybus Industrial WLAN Access Point, refer to the user manual. For additional documentation and software downloads, FAQs, troubleshooting guides and technical support, please visit www.anybus.com/support. -
Page 4: Document Conventions
Additional information which may facilitate installation and/or operation. Trademark Information ® Anybus is a registered trademark of HMS Industrial Networks. All other trademarks mentioned in this document are the property of their respective holders. -
Page 5: General Safety Instructions
If this equipment is used in a manner not specified by the manufacturer, the protection provided by the equipment may be impaired. ® SP2819 1.0 en-US Anybus Industrial WLAN Access Point Startup Guide... - Page 6 Support and Resources For additional documentation and software downloads, FAQs, troubleshooting guides and technical support, please visit www.anybus.com/support. Have the product article number available, to search for the product specific support web page. You find the product article number on the product cover.
-
Page 7: Installation
Insert the two included metal bands into the mounting bracket strap slots. Position the metal bands and the mounting bracket on the pole as needed. ® SP2819 1.0 en-US Anybus Industrial WLAN Access Point Startup Guide... - Page 8 Installation 8 (24) Tighten the metal bands to the pole and lock them by tightening the screws. Ensure that the access point is firmly secured to the pole. ® SP2819 1.0 en-US Anybus Industrial WLAN Access Point Startup Guide...
-
Page 9: Wall Mounting
Option for access point IP67 Use the four included screws and washers to attach the mounting bracket to the access point. Drill four holes in the wall and insert wall anchors. ® SP2819 1.0 en-US Anybus Industrial WLAN Access Point Startup Guide... - Page 10 Installation 10 (24) Use four screws to attach the mounting bracket to the wall. ® SP2819 1.0 en-US Anybus Industrial WLAN Access Point Startup Guide...
-
Page 11: Din Rail Mounting
Fasten the DIN clip with 3 (M3x6 flat head) screws on the rear side of the access point. Insert the upper end of the DIN rail clip into the DIN rail. Push the bottom of the DIN rail clip into the DIN rail. ® SP2819 1.0 en-US Anybus Industrial WLAN Access Point Startup Guide... - Page 12 To avoid system damage, the equipment should be connected to ground. Fig. 2 Establish a direct connection between the ground screw and the grounding surface prior to connecting devices. ® SP2819 1.0 en-US Anybus Industrial WLAN Access Point Startup Guide...
- Page 13 Connecting power with reverse polarity or using the wrong type of power supply may damage the equipment. Make sure that the power supply is connected correctly and of the recommended type. ® SP2819 1.0 en-US Anybus Industrial WLAN Access Point Startup Guide...
- Page 14 Insert the positive and negative wires into the P- and P+ contact on the terminal block. Tighten the 2 wire-clamp screws. Connect the power wires to a DC power supply. ® SP2819 1.0 en-US Anybus Industrial WLAN Access Point Startup Guide...
- Page 15 Port Function Power 2 PD WAN 1 Gbit/s IEEE 802.3af (48 VDC PoE) PoE enabled Connect the access point to an Ethernet network via the WAN PoE enabled port. ® SP2819 1.0 en-US Anybus Industrial WLAN Access Point Startup Guide...
- Page 16 Fig. 5 Function Power WAN 1 Gbit/s PoE enabled IEEE 802.3af (48 VDC PoE) Connect the access point to power and an Ethernet network via the WAN/ PoE port. ® SP2819 1.0 en-US Anybus Industrial WLAN Access Point Startup Guide...
-
Page 17: Connecting To Ethernet
Installation 17 (24) Connecting to Ethernet Option for access point IP67 Fig. 6 Speed Port/Function 1 Gbit/s Connect the access point to an Ethernet network via the LAN port. ® SP2819 1.0 en-US Anybus Industrial WLAN Access Point Startup Guide... - Page 18 Installation 18 (24) Option for access point IP30 Fig. 7 Port Function Speed 1 Gbit/s Connect the access point to an Ethernet network via the LAN port. ® SP2819 1.0 en-US Anybus Industrial WLAN Access Point Startup Guide...
-
Page 19: Connecting Antennas
Installation 19 (24) Connecting Antennas Option for access point IP67 Fig. 8 Type Placement ANT 1 WLAN 1, N-type connector, female ANT 2 WLAN 2, N-type connector, female ® SP2819 1.0 en-US Anybus Industrial WLAN Access Point Startup Guide... - Page 20 Installation 20 (24) Option for access point IP30 Fig. 9 Type Placement ANT 1 WLAN 1, RP-SMA connector, female ANT 2 WLAN 2, RP-SMA connector, female ® SP2819 1.0 en-US Anybus Industrial WLAN Access Point Startup Guide...
-
Page 21: Before You Begin Configuration
In the login screen, enter user name and password. Click OK. → The web-based management interface welcome page appears. To Do Next ► Configure the access point. Follow the instructions in the access point user manual. ® SP2819 1.0 en-US Anybus Industrial WLAN Access Point Startup Guide... -
Page 22: Technical Data
Operating -40 °C to 70 °C, 5–95 % RH non-condensing temperature Additional technical data and information related to the installation and use of this product can be found at www.anybus.com/support. ® SP2819 1.0 en-US Anybus Industrial WLAN Access Point Startup Guide... - Page 23 This page intentionally left blank...
- Page 24 last page © 2020 HMS Industrial Networks Box 4126 300 04 Halmstad, Sweden info@hms.se SP2819 1.0 en-US / 2020-05-25 / 18604...
Need help?
Do you have a question about the Anybus and is the answer not in the manual?
Questions and answers