Advertisement
Quick Links
Advertisement

Summary of Contents for Tuft & Needle Nook Nightstand
- Page 1 Nook Nightstand Care & Assembly Instructions Limited Warranty 100-Night Trial...
- Page 2 Thank you for your purchase. The handbook for your Nook.
-
Page 3: Table Of Contents
Contents Caring for your Nook Nightstand 100-Night Trial 12-Year Limited Warranty Parts & Hardware Assembly... -
Page 4: Caring For Your Nook Nightstand
To prevent tipping, we have included a Tip Kit set to secure ► mize movement in the wood and help to prevent warping your Nook Nightstand to your wall. Instructions on page 16. of your nightstand. Dust frequently with a damp cloth,... -
Page 5: 100-Night Trial
Nook Nightstand that you do not a full refund. Damaged product will not be report within three (3) days of delivery will accepted for return. If you return a product... -
Page 6: Parts & Hardware
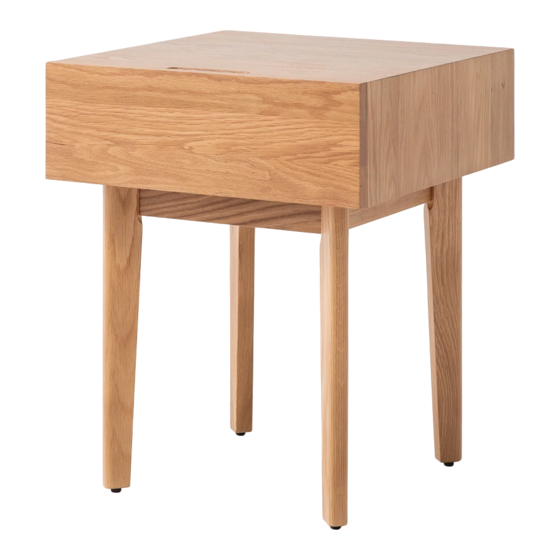
Parts Drawer top Leg × 4 If any parts/hardware appear to be missing, or further assembly direction is needed, reach out to us at (877) 842-2586 or help@tn.com... - Page 7 Hardware Flat washer × 8 Spring washer × 8 Assembly tool Threaded bolt × 8 Tip Kit Warning See page 16. To reduce risk of tip-over: Install included Tip Kit. See page 16. ► Never allow children to stand, climb, or hang on this product. ►...
-
Page 8: Assembly
Assembly Unpack all components onto a soft surface, placing the drawer top upside down. Keep foam band around drawer while All paper and cardboard packaging is recyclable. unpacking to prevent drawer from opening. Help keep it out of landfills by recycling. - Page 9 Place one leg in a corner slot of the drawer top , aligning the holes.
- Page 10 Place one spring washer and then one flat washer on each threaded bolt Insert into aligned holes and gently tighten each bolt with your fingers. Repeat for the remaining three legs.
- Page 11 Using the assembly tool , tighten the two bolts on each leg.
- Page 12 Flip your Nook Nightstand over slowly, as the drawer may open while turning it over to the upright position. Twist leveling feet individually to adjust the height and eliminate any tipping.
- Page 13 To remove the drawer, squeeze both handgrips beneath the drawer and pull out gently.
- Page 14 Tip Kit Hardware Steel anchor × 2 Braided cable Drywall anchor × 2 Drywall screw (long) × 2 Drawer screw (short) × 2 This hardware can be used to install directly into drywall with or without an available stud. If you don’t see your wall material listed, consult a local hardware provider.
- Page 15 Tools Needed Drill Phillips screwdriver...
- Page 16 Tip Kit Assembly Attach a steel anchor to the back of the drawer top using two short drawer screws and a Phillips screwdriver...
- Page 17 Place assembled nightstand where you’ll be anchoring it along a wall. Leave at least 12" between the wall and the nightstand while you work.
- Page 18 With the nightstand in position, place the second steel anchor on the wall at the same height as the steel anchor on the back of the nightstand, and mark both holes on the wall using a pencil.
- Page 19 Anchoring into drywall Drill a hole in each mark. Insert drywall anchors into holes. Using the long drywall screws , secure the steel anchor to the wall. Anchoring into drywall with wood stud Drill a small hole in each mark. Using the long drywall screws , secure the steel anchor...
- Page 20 Tighten the screw cap to secure and close the cable loop. Once your Tip Kit is installed, push your Nook Nightstand against the wall and start using to hold your book, glass of water, and phone.


Need help?
Do you have a question about the Nook Nightstand and is the answer not in the manual?
Questions and answers