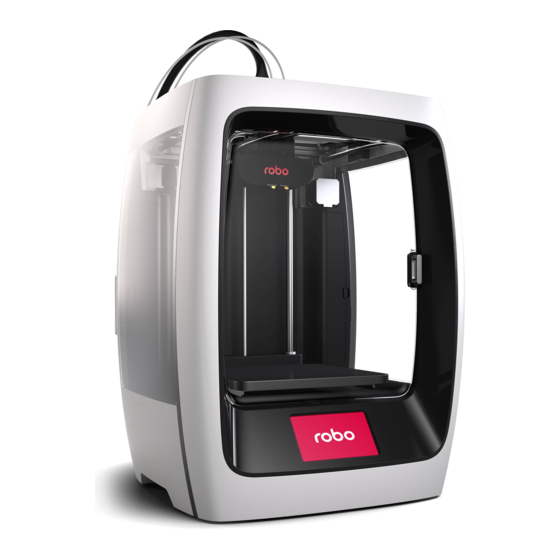
Summary of Contents for ROBO R2
- Page 1 For a digital version of this Quick Start Guide in Quick Start Guide please visit robo3d.com/r2-qsg...
- Page 2 Welcome to the Robo family! We’re thrilled you’re here and want to extend a big thank you for choosing Robo. Whether you’re making projects for school, work, or home, this is the tool engineered to unlock every facet of your potential.
-
Page 3: Inside The Box
Inside the box Besides your new Robo R2, you will find the following in the box: Quick Start Guide Toolbox with Extruder Face Plate cover, 3 Allen Wrenches, Autodesk Fusion 360 design software (1 year free) Tweezers, Stylus, Lubricant, Robo Stickers and Z-Offset Tool... - Page 4 Filament Sensor Block © 2018 Robo 3D Inc., San Diego, California. All rights reserved. Robo, Robo 3D, Robo R2, Robo C2 are trademarks or registered trademarks and are the properties of Robo 3D Inc. Registered in the USA and other countries. Apple and the Apple logo are trademarks of Apple Inc., registered in the U.S. and other countries. App Store is a service mark of Apple Inc. © 2018 Google Inc.
- Page 5 1. Visit robo3d.com/register to register your Robo R2. 2. Locate the SERIAL NAME to complete registration. We highly recommend registering your Robo R2 to connect your warranty with your account and to receive all the latest updates. robo3d.com/warranty See full terms and conditions of warranty at:...
-
Page 6: Initial Setup
Step 2 Initial set-up You can also watch how to set up Robo R2: robo3d.com/r2-qsg 1. Magnetically attach Extruder Face Plate 2. Connect Power Supply and cable, then plug to extruder assembly. into power outlet. Note: Only use Power Suppy provided. - Page 7 Note: Use Stylus for all interactions with touchscreen. Note: Connect Robo R2 to Wi-Fi to update your printer software and to print from the Robo App, web dashboard or Chromebook. You may also connect to your network using an Ethernet cable.
-
Page 8: Update Software
3. Screen will say UP-TO-DATE software is already updated. If not, select UPDATE and the update will begin. Keep your Robo R2 up-to-date Follow this process regularly to confirm you are operating with the most up-to-date advancements and functionalities available. - Page 9 FILES PRINTER UTILITIES FILES No File Loaded Step 5 Calibration Ensure Extruder Nozzle is clean Robo Controls FILES PRINTER UTILITIES FILES PRINTER UTILITIES prior to starting calibration. No File Loaded Extruder 1 Update 189.1°C 56.9°C Robo Controls Wizards Network Calibrate your Z-Offset before you start printing.
-
Page 10: Load Filament
Step 6 Load filament 1. Press to open Filament Spool Holder 1 2. Cut at least 30 cm of filament before 3. Feed filament all the way through (top). hanging filament spool onto Filament Filament Feed Tube and then push filament Spool Holder 1 with the loose end facing into Filament Feed Hole 1. -
Page 11: Test Print
Step 7 Test print 1. Select FILES. 2. Select LOCAL STORAGE. 3. Select a file to print. 4. Select START. 5. Printer will go through automatic leveling sequence, then file will begin printing. Select PAUSE to pause your print or CANCEL to cancel your print at any time. - Page 12 Step 8 Removing a print Print Bed can heat up to high temperatures. Do not touch the heated print bed while still hot and wait for it to cool down to avoid burns. 1. Wait 5-10 minutes for Print Bed to cool down. Remove print 2.
- Page 13 4 ways to control your R2 Learn more at: robo3d.com/software Prepare files and start prints using any of these custom Robo software options. Desktop Software Web Dashboard Mobile App Touchscreen Wi-Fi Wi-Fi Wi-Fi Ways to connect None or printer hotspot...
- Page 14 Control your prints using the Robo App Download the free Robo App and easily control each print right from your Android or Apple iOS device. Cloud storage integration Connect to your cloud storage and access all your files. View on-board camera Watch your prints in real time.
- Page 15 Robo R2 is connected to the internet. Connect your printer to your printer via the internet with Access the same network using the Robo R2 IP address. You can find Control. This feature can be set up through the the IP on your Robo R2 touchscreen: Robo web dashboard.
- Page 16 Make the imagined. QSG V3...


Need help?
Do you have a question about the R2 and is the answer not in the manual?
Questions and answers