
Related Manuals for Everycom EC801


Summary of Contents for Everycom EC801
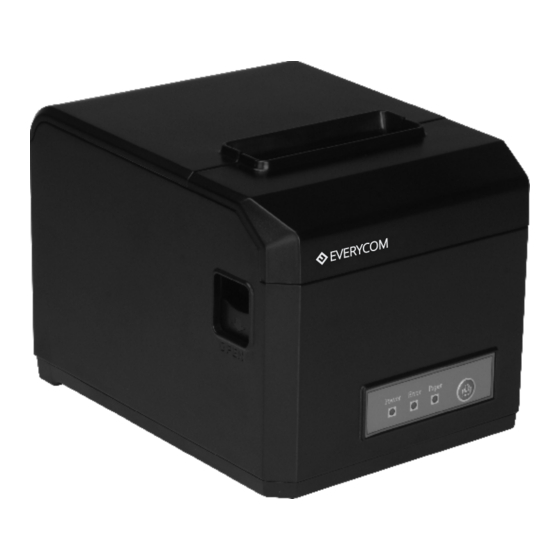
- Page 1 EC801 THERMAL RECEIPT PRINTER USER MANUAL Please read this manual carefully before using the printer, we recommend that you keep this user manual for future reference.
-
Page 2: Safety Tips
ABOUT THIS USER MANUAL We thank you for your purchase of Everycom Ec801 Thermal receipt printer. This user manual will guide you through on how to use this printer. Please red this user manual carefully before using the printer. We also strongly recommend that you keep this user manual for future reference and do not throw it away. -
Page 3: Application Area
Alcohol wipe to clean the printer casing, also please do not let printer in contact with corrosive chemicals and detergents to avoid damages. Please use Everycom approved or recommended factory produced Ÿ printing paper, otherwise it may lead to poor quality print quality, and can even damage the print head. -
Page 4: Product Features
WHAT’S IN THE BOX 1 X Everycom EC801 Thermal Receipt Printer Ÿ 1 X Powe Adapter ( Including Power Cable ) Ÿ 1 X USB Data Cable Ÿ 1 X Paper Roll Ÿ 1 X User Manual Ÿ 1 X Driver CD Ÿ... -
Page 5: Technical Specifications
TECHNICAL SPECIFICATIONS Item Parameters Printing Method Thermal Line Printing width 72mm Resolution 576 Dots/Line or 512 Dots/Line (8dots/mm,203dpi ) Print speed 300mm/Second Interfaces Ethernet +USB+COM , Ethernet+USB+WIFI, USB+GPRS, USB+COM, USB+Bluetooth. Line Spacing 3.75mm(Can adjust line spacing by command ) Print Line No. - Page 6 HOW TO : PRINTER CONNECTION 1. Connect the power adapter cable to the printer power supply interface. 2. Connect the USB data cable to the printer’s USB interface. 3. If you have cash drawer, connect its cable to printer’s RJ11 interface. Power Adaptor Power Cable HOW TO : LOAD PAPER...
- Page 7 HOW TO : SET PRINT MODE ( DIP SWITCH ) DIP switch can be used to settings such as change the Auto cutter mode, enable / disable beep, Printing density, language selection, font size, print width, print speed etc.. DIP SWITCH SETTINGS...
- Page 8 SWITCH, KEY NAME, INDICATOR & FUNCTIONS 1. (POWER) SWITCH Use this switch to turn on or off the printer. 2. (FEED) KEY This button is used to feed paper. 3. (PAPER) LIGHT If paper light is on and stable indicates that printer have paper loaded. If paper light is on and stable but “Error”...
- Page 9 HOW TO : RESTORE FACTORY DEFAULT SETTINGS If printer is powered on, kindly power it off using the power switch on the back panel. Press the feed key and power on the printer at the same time using the power switch on the back panel. ( Do not release the feed key yet ) After approximately 10 seconds release the feed key and printer settings will be restored to factory default.
- Page 10 Everycom POS - 80mm Series.exe HOW TO : REPAIR & MAINTENANCE 1. Printer casing & paper holder cleaning : Use a wet cloth gently wipe the outer surface and paper holder of the printer.
Need help?
Do you have a question about the EC801 and is the answer not in the manual?
Questions and answers