Table of Contents
Advertisement
Quick Links
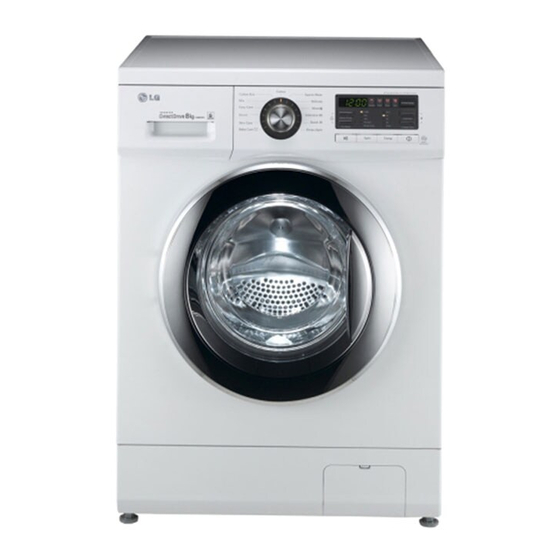
OWNER'S MANUAL
WASHING
MACHINE
Before beginning installation , read these instructions carefully.
This will simplify installation and ensure that washer is installed
correctly and safely, Leave these instructions near the washer after
installation for future reference.
WD-1475TDT
WD-1275QDT
WD-1480TDT
*MFL67322830*
www.lg.com
Rev. : 00(11T15)
Advertisement
Table of Contents


Need help?
Do you have a question about the WD-1475TDT and is the answer not in the manual?
Questions and answers