Advertisement
Quick Links
1. Specifications
Cat. No.
Detection Method
Supply Voltage
Terminal Wiring Size
Standby Power
Detection / View Angle
Detection Range / Distance
Recommended Mounting Height
Lux Adjustment Range
Time Adjustment Range (approx)
Switching Function
IP Rating
Weight
Colour
Maximum Lighting Load
Incandescent
Fluorescent
Compact Fluorescent Lamp (CFL)
LED
(Fig. 1)
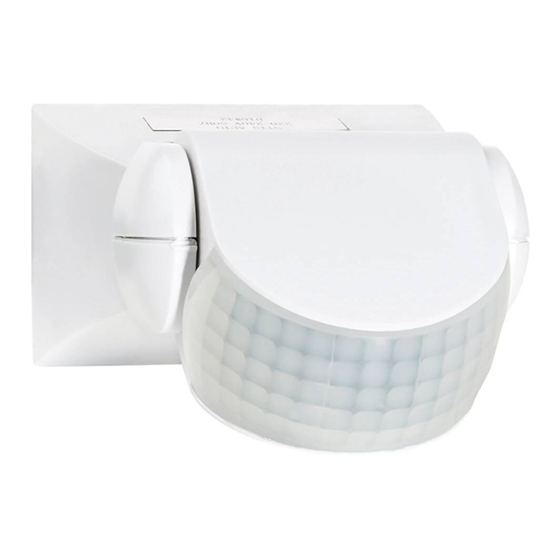
Cat. No. 630S01WE, 630S01BL, 630SM01WE, 630SM01BL
This product must be installed by a licensed electrician.
630S01WE
630S01BL
Auto Mode only
White
Black
630S01WE
630S01BL
12m
PIR Movement Sensors
Instruction Manual
630SM01WE
Passive Infrared (PIR)
230-240V a.c. 50Hz
1 x 2.5mm
to 2 x 1.5mm
2
2
< 1.0W
180°
12m max (at ≤ 24°C)
1.8m to 2.5m
3 lux to 2000 lux
10 ± 3 sec to 15 ± 2 min
Auto Mode / Manual Override
IP44
160g
White
630SM01WE
1200W
400VA
300VA
300VA
Max: 12m
630SM01BL
Black
630SM01BL
Advertisement

Summary of Contents for LEGRAND HPM 630S01WE
- Page 1 PIR Movement Sensors Cat. No. 630S01WE, 630S01BL, 630SM01WE, 630SM01BL Instruction Manual This product must be installed by a licensed electrician. 1. Specifications Cat. No. 630S01WE 630S01BL 630SM01WE 630SM01BL Detection Method Passive Infrared (PIR) Supply Voltage 230-240V a.c. 50Hz Terminal Wiring Size 1 x 2.5mm to 2 x 1.5mm Standby Power...
- Page 2 2. Sensor locations to be avoided 1. Near water features such as swimming pools or ponds. The movement and reflections are likely to create nuisance switching. 2. Near heat sources such as air conditioners, dryers, heaters or barbecues. 3. Locations which are subject to drastic changes in temperature. 4.
- Page 3 5. Setting the Controls With the Sensor fully installed by an electrician and power on 1. Turn the TIME knob to minimum and turn the LUX knob to maximum (Fig. 6) as shown in (Fig. 6). 2. Turn the wall switch on. The light/s should turn on immediately and will remain on while the sensor warms up, for approximately 30 seconds.
- Page 4 The IP rating of this product is only valid when installed on a flat and non-porous surface. Additional sealing may be required for irregular surfaces. This product must be used with the loads specified only. Other load types should be used only when written confirmation is given by HPM Legrand.


Need help?
Do you have a question about the HPM 630S01WE and is the answer not in the manual?
Questions and answers