Advertisement
Quick Links
www.costway.com
USER'S MANUAL
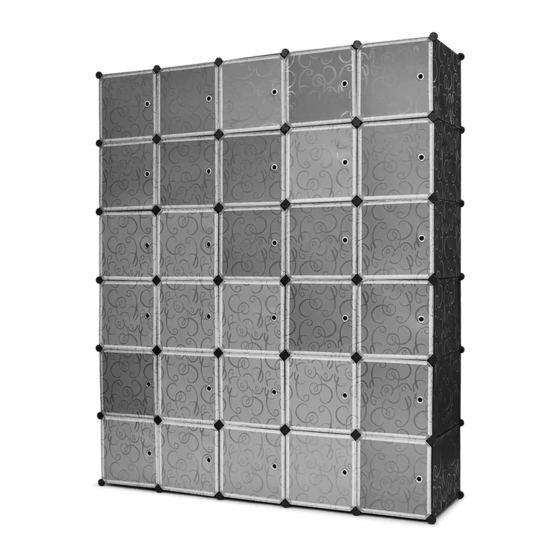
Cube Storage Organizer
HW61412
THIS INSTRUCTION BOOKLET CONTAINS IMPORTANT SAFETY INFORMATION. PLEASE READ AND KEEP FOR FUTURE REFERENCE.
Follow Costway
Please give us a chance to make it right and do better!
Visit us: www.costway.com
Contact our friendly customer service department for help first.
Replacements for missing or damaged parts will be shipped ASAP!
Advertisement

Summary of Contents for Costway HW61412
- Page 1 THIS INSTRUCTION BOOKLET CONTAINS IMPORTANT SAFETY INFORMATION. PLEASE READ AND KEEP FOR FUTURE REFERENCE. Follow Costway Please give us a chance to make it right and do better! Visit us: www.costway.com Contact our friendly customer service department for help first. Replacements for missing or damaged parts will be shipped ASAP!
-
Page 2: Before You Start
Contact Us! Do NOT return this item. Contact our friendly customer service department for help first. E-mail US: cs.us@costway.com UK: cs.uk@costway.com Before You Start Please read all instructions carefully. Retain instructions for future reference. Seperate and count all parts and hardware. - Page 3 We are very appreciated that you purchased our products. It is our willingness if you can use it proper l y. Please confirm if the spare parts and complete . It can also be assembled as required. ● Please confirm and inspect the parts according to the assembly drawing.
-
Page 4: Parts List
PARTS LIST Part image 35×35cm 35×45cm 35×35cm... -
Page 5: Assembly Steps
ASSEMBLY STEPS × 1 × 4 the connectors Before next step, please make sure to assemble the shelf corner to the end of the connector hole. STEP 1 × 4 × 8 STEP 2... - Page 6 ASSEMBLY STEPS × 5 × 6 STEP 3...
- Page 7 ASSEMBLY STEPS × 5 × 6 STEP 4...
- Page 8 ASSEMBLY STEPS × 6 × 1 To tighten the connections between the parts, please knock down the connectors with a rubber hammer to ensure that the shelf corners are assembled to the end of the connector holes. STEP 5...
- Page 9 ASSEMBLY STEPS × 20 × 39 × 42 × 3 Please repeat step 3 to 5, make sure all connectors are assembled in place STEP 6...
- Page 10 ASSEMBLY STEPS × 5 × 6 STEP 7...
- Page 11 ASSEMBLY STEPS × 5 × 6 × 6 STEP 8...
- Page 12 ASSEMBLY STEPS × 5 × 6 STEP 9...
- Page 13 ASSEMBLY STEPS × 1 × 2 STEP 10...
- Page 14 ASSEMBLY STEPS × 29 STEP 11...
- Page 15 February 24, 2019 Great products so far. Fast delivery, easy setup, and working without any issues. With your inspiring rating, COSTWAY will be more consistent to offer you EASY SHOPPING EXPERIENCE, GOOD PRODUCTS and EFFICIENT SERVICE! US office: Fontana, California...


Need help?
Do you have a question about the HW61412 and is the answer not in the manual?
Questions and answers