Table of Contents
Advertisement
Questo manuale d'istruzione è fornito da trovaprezzi.it. Scopri tutte le offerte per
tuo prodotto tra le
Operating instructions
for dishwashers
To avoid the risk of accidents or damage to the appliance, it is essential
to read these instructions as well as the installation sheet before it is in-
stalled and used for the first time.
en-GB
migliori offerte di Lavastoviglie
HG05
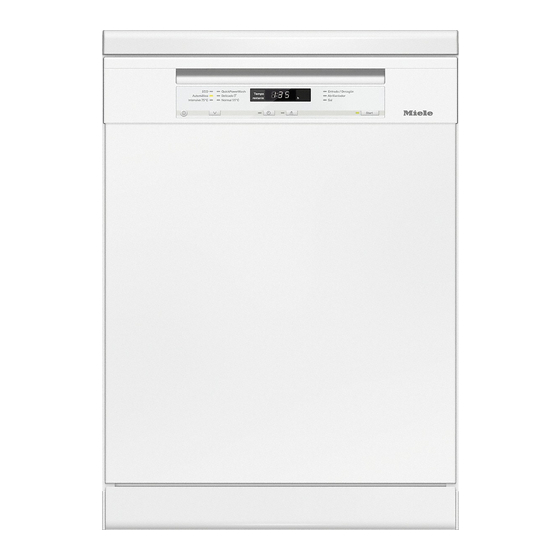
Miele G6620SC
M.-Nr. 10 384 621
o cerca il
Advertisement
Table of Contents


Need help?
Do you have a question about the G6620SC and is the answer not in the manual?
Questions and answers