Advertisement
Quick Links
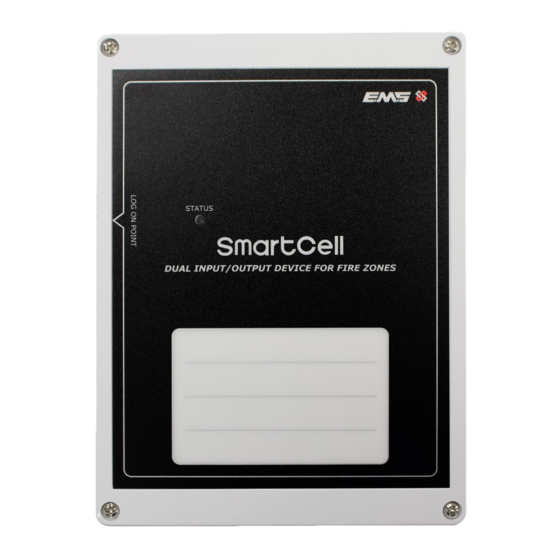
Dual Input / Output Device
Installation Guide
1 Pre installation
Installation must conform to applicable local installation codes and
!
should only be installed by a fully trained competent person.
The use of a non-metallic spacer should be considered if mounting
the device on to a metal surface.
This device contains electronics that may be susceptible to damage
from Electrostatic Discharge (ESD). Take appropriate precautions
when handling electronic boards.
Two resistor monitored inputs are available. If both inputs enter an
alarm condition, only the first activated input will be shown at the
control panel.
To ensure correct operation, products must be used within the
specified environmental operating conditions.
3 Prepare the back box
Unscrew the four lid fixing
screws and remove the lid.
Drill cable entry points where
necessary the in UNSHADED
area.
Cable glands should be used.
The status light pipe should also
now be fitted, as shown below.
5 Fit batteries
Carefully unclip the battery cover.
When fitting / replacing batteries, observe correct polarity, using only specified
batteries.
Re-fit the battery cover once all batteries are correctly in place.
FAULT
ACTIVE
www.acornfiresecurity.com
STATUS
DUAL INPUT/OUTPUT DEVICE
DO NOT
use the
shaded
area
The unshaded
area is
available for
cable entry
OBSERVE BATTERY
!
POLARITY!
www.acornfiresecurity.com
STATUS
Part number
Product description
SC-41-0200-0001-99
Dual Input / Output Device
2 Components
1
2
3
2
3
Status light pipe (
1
4x lid screws
Lid
5
Batteries (
not included in some regions
*
When batteries are not included, only fit specified batteries.
† The gasket can be fitted to the lid for additional protection.
4 Fix back box
All
four
corner
fixing
positions must be used to
ensure a firm fixing
Use suitable fasteners and
fixings.
Fixing position
location within
cavity
6 Configuration
The device must now be added (programmed) to the control panel.
Method 1
Device powering
Magnet application
-
AA+
ER14500
-
AA
+
ER14500
-
+
AA
ER14500
Refer to the programming manual (TSD155) for full programming
details.
4
5
6
4
supplied in resistor pack)
*
6
7
Resistor pack
Gasket
)
RLY 1
RLY 2
FAULT
ACTIVE
INPUT 1 INPUT 2
EXPAN 1
EXPAN 2
OUTPUT 1
OUTPUT 2
118.5 mm
Method 2
Method 3
Via computer
7
Back box
†
Advertisement

Related Manuals for SmartCell SC-41-0200-0001-99


Summary of Contents for SmartCell SC-41-0200-0001-99
- Page 1 Part number Product description SC-41-0200-0001-99 Dual Input / Output Device Dual Input / Output Device Installation Guide STATUS DUAL INPUT/OUTPUT DEVICE 2 Components 1 Pre installation Installation must conform to applicable local installation codes and should only be installed by a fully trained competent person.
- Page 2 2.7 to 3.65 VDC systems. Part 25: components using radio links. Operating frequency 868 MHz European Union EMS declares that the radio equipment type SmartCell Output transmitter power 14 dBm / 25 mW directives Dual Input / Output Device is in compliance with Signalling protocol Directive 2014/53/EU.
Need help?
Do you have a question about the SC-41-0200-0001-99 and is the answer not in the manual?
Questions and answers