
Related Manuals for Avamix Apex 928HBX1000


Summary of Contents for Avamix Apex 928HBX1000
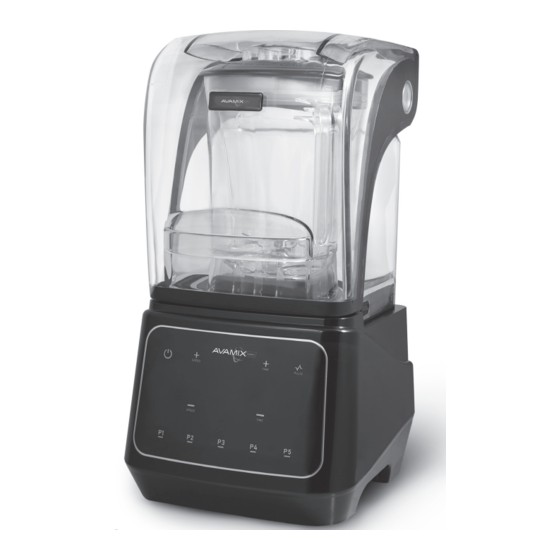
- Page 1 Programmable Commercial Blenders with Touchpad 928HBX1000 928HBX2000 48 oz. 64 oz. w/ Soundproof Enclosure w/ Soundproof Enclosure 08/2020...
- Page 2 SAFETY 1. READ AND SAVE ALL INSTRUCTIONS. 2. Do not immerse the blender in water or other liquid. Doing so can result in electrical shock. 3. Always unplug from outlet prior to handling or cleaning. 4. Avoid contact with moving parts while operating the blender. 5. CAUTION: Blades are sharp. Handle carefully. 6.
-
Page 3: General Instructions
GENERAL INSTRUCTIONS Ensure the blender is in the off position and place the container on the blender base. Make sure the blender is fully seated so that the drive coupling is in contact with the container and the base. Plug the blender into a 120V outlet. Put the ingredients into the container and place the lid on. Push the lid down as far as it can go on to the container. - Page 4 PRE-PROGRAMMED BUTTONS The following is the basic settings of the five pre-programmed options for your Avamix Programmable Commercial Blender with Touchpad. These options can be reprogrammed by following the instructions on page 6. P1: Soups and Sauces Lower speed mixing blends things that you might normally stir by hand. Full Run Time: 18 Seconds • Runs on MED (63%) for 4 seconds • Quickly ramps up to MED-HIGH (88%) • Decreases to MED- LOW (38%) • Finishes off MED (50%) for 7 seconds P2: Mashed Potatoes or Vegetable Puree Blends cooked foods thoroughly. Full Run Time: 14 Seconds •...
-
Page 5: Maintenance Tips
PRO BLENDING TECHNIQUES Liquids and soft foods should be placed in the container first, followed by solid items and ice. For easy measuring and faster blend times, cut or break food into smaller pieces. It is also recommended to use thawed or partially thawed fruit for a better blending experience. Set the ultra-durable polycarbonate container on the motor base by aligning it over the jar holder on the blender base. Before positioning container, make sure that the motor is completely stopped. Avoid using hard or dry materials, and never run your machine with the container empty. Securely attach the lid before blending. Use a sufficient amount of liquid to ensure that the mixture is fluid and free- running at all times. -
Page 6: Touch Screen Controls
TOUCHSCREEN CONTROLS Start/Stop Button: Pressing START/STOP ( ) once starts and runs the machine, while pressing the button again stops the machine and the blade. Speed Buttons: Press the + SPEED button to increase the speed of the blade. Every press adds a speed, from 1 to 8. Press the – SPEED button to decrease the speed of the blade, from speed 8 to 1. These settings are used to set the blending speed for custom programming, the PULSE button, and the START/ STOP button. Time Buttons: Press the + TIME button to increase the time. Every press adds 1 second. - Page 7 PROGRAMMING Each programmed option allows for 6 stages within an option. Program each button to create specialty drinks of your choosing, and reset to Default mode by simply long pressing both P1 and P2 together. This touch screen can be used with either wet or dry hands, allowing quick work. SPEED SETTINGS When in programming mode, the speed settings on your blender each correspond to a percentage of the total RPM.
-
Page 8: Parts Diagram
PARTS DIAGRAM MACHINE ASSEMBLY TWO-PIECE LID • To remove a secured jar lid, lift each side and pull upward • Twist the center steam lid to secure or remove JAR SET & MOTOR UNIT • Place the jar set on the motor unit. • Jar holder ensures the jar is securely fastened, and the no-turn configuration prevents leaking and increased vibration, compared to similar screw-on blender jars. BLADE ASSEMBLY REMOVAL • At times, it may be necessary to give your blades additional cleaning. - Page 9 SOUNDPROOF ENCLOSURE ASSEMBLY • To securely attach the front piece of the soundproof cover to the back piece, gently pull on each side of the lid and place it over the round hinges. REMOVAL • To remove the soundproof cover, open the cover and gently pull each side of the back piece apart and pull off. REPLACEMENT • To replace the soundproof cover, open the cover door so that it is in an upright position. Pull each side of the back piece apart, and place on the motor unit.
- Page 10 CLEANING GENERAL CLEANING Wash, rinse, sanitize and dry the container prior to initial use. Blender containers should be cleaned after EVERY use to prevent residue build up around the blade assembly 1. Remove the container from the blender base and remove the jar cover. 2. Add cleaning solution such as Noble Chemical Sunbright (147SUNBRIGHT) to the container. Scrub and flush out the container interior, cover, and filler cap to remove food residue and empty the container. 3. Fill container 1/4 full with fresh cleaning solution and place it on the base. 4. Replace the cover on the container and run the blender on speed 8, high speed, for 2 minutes.
- Page 11 EQUIPMENT LIMITED WARRANTY Avamix warrants its equipment to be free from defects in material and workmanship for a period of 1 year. This is the sole and exclusive warranty made by Avamix covering your Avamix brand equipment. A claim under this warranty must be made within 1 year from the date of purchase of the equipment. Only the equipment’s original purchaser...
Need help?
Do you have a question about the Apex 928HBX1000 and is the answer not in the manual?
Questions and answers