Table of Contents
Advertisement
Quick Links
Dear customer,
Welcome to purchase ONIX CD player. With sincere appreciation, we suggest that you should read this User's
Manual thoroughly before operation and keep the Manual properly for further reference.
Safety instructions
1. Do not open this unit for repair or modification by anyone other than a qualified technician! This product has no
user-serviceable parts. Opening the unit and modifying the internal circuitry can make subsequent maintenance
difficult or impossible and affect performance and sound quality.
2. For good ventilation, a minimum of 10cm clearance shall be maintained at the back and two sides and 20cm at the
top of the unit.
3.Allow no water dripping or splashing into the unit. Place no object containing liquid on the unit, e.g. Vase.
4. Do not cover any ventilation hole with newspaper, cloth, curtain, etc. in case of ventilation blocking.
5.Allow no exposed flame source on the unit, e.g. burning candle.
6. The unit shall be connected toAC power output socket with grounding protection.
7. If power plug and appliance coupler are used as disconnecting device, the disconnecting device shall be easily
operable.
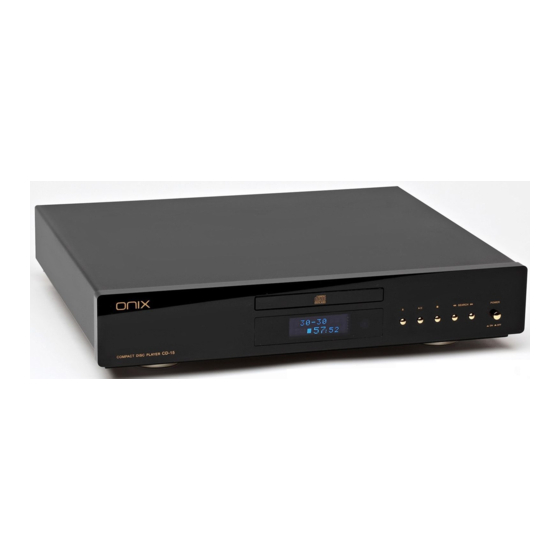
Parts name
CD-15
CD-15
COMPACT DISC PLAYER
COMPACT DISC PLAYER
1. Input selector button
2. Disc loading area
3. Screen
4. Remote receiving window
INPUT
1
2
5. Load/eject button
6. Play/pause button
7. Stop button
8. Fast rewind/Previous button
COMPACT DISC PLAYER
COMPACT DISC PLAYER
3
4
5
CD-15
SEARCH
6
8
7
9
9. Fast forward/Next button
10. Power switch
POWER
ON
OFF
10
1
Advertisement
Table of Contents

Related Manuals for Onix CD-15


Summary of Contents for Onix CD-15
- Page 1 COMPACT DISC PLAYER COMPACT DISC PLAYER Dear customer, Welcome to purchase ONIX CD player. With sincere appreciation, we suggest that you should read this User's Manual thoroughly before operation and keep the Manual properly for further reference. Safety instructions 1. Do not open this unit for repair or modification by anyone other than a qualified technician! This product has no user-serviceable parts.
- Page 3 FUSE 100V - 120V: T2AL DO NOT EXPOSE THIS UNIT TO RAIN OR MOISTURE DO NOT EXPOSE THIS UNIT TO RAIN OR MOISTURE ONIX ENGLAND ELECTRONICS LTD 220V - 240V: T1AL 220V - 240V: T1AL 1. Power input socket with fuse 4.
- Page 4 Power on/off 1. Connect power cable and signal output cable and press POWER switch button on the front panel. Load shall be displayed on the screen. If there is disc in the machine, screen shall display total tracks and time after a few seconds.
- Page 5 Fast rewind/fast forward 1. During normal playback, press button on front panel or key on remote control to search backward at high speed. Release this key to return to normal playback. 2. During normal playback, press button on front panel or key on remote control to search forward at high speed.
- Page 6 Troubleshooting Possible causes Treatment Fault No power Poor connection in socket or no utility. Check power source and connect socket tightly. Disc seriously cut or dirty. Clean the disc or replace with good disc. Unable to play Disc upside down. Insert the disc with the labeled or printed side on top.
- Page 7 Specifications Analog output level ..........................2.0V Frequency response ....................10Hz ~ 20KHz (-0.5dB) Distortion ..........................0.002% (1KHz) Signal/noise ratio ........................... 110dB Dynamic range ............................105dB Crosstalk (fundamental frequency) ....................... >96dB USB receiver specs ..................USB2.0, 24bit/192KHz (MAX) Power consumption ..........................<30W Ambient temperature .........................
- Page 8 ONIX ENGLAND ELECTRONICS LTD Due to continuous improvement, every specification and design www.onix-audio.co.uk is subject to change at any time without further notice.
Need help?
Do you have a question about the CD-15 and is the answer not in the manual?
Questions and answers