Advertisement
Quick Links
Advertisement

Related Manuals for Genmega G1900 EMV


Summary of Contents for Genmega G1900 EMV
- Page 1 How To Install: G1900 EMV Upgrade Kit...
- Page 2 Tools Needed: Phillips Screw Driver - Begin by verifying the contents of the kit Kit includes: - MCR outer bezel - MCR mounting brackets - EMV MCR (card reader) - Reset board - Reset board to mainboard wire - 2 reset board screws.
- Page 3 Unlock and slide open the ATM top housing. Power the ATM off using the power supply switch. There are 2 screws (right and left side) that hold the front bezel up. Remove both screws, which will allow the front bezel to hinge forward and provide access to the card reader.
- Page 4 Now you can remove the existing card reader assembly: - Unplug the LED wire and the MCR wire(red squares) - Unscrew 7 screws(red circles), - MCR outer bezel will come off from the front.
- Page 5 Remove the bracket which comes installed on the new card reader. Save the 2 screws. This bracket will be discarded.
- Page 6 Install G1900 mounting brackets onto the EMV MCR. Make sure to use the holes further from the front as shown in the picture below. The cut-outs in the mounting brackets allow them to only be installed one way. Use the photo for reference.
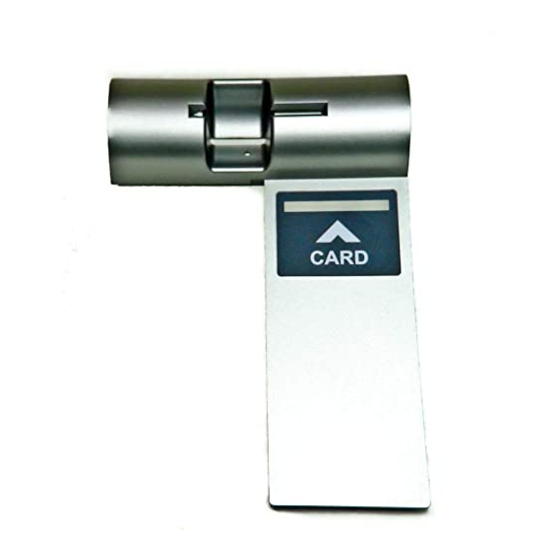
- Page 7 Attach the EMV MCR into the new MCR outer bezel using the screws from the previous Swipe-style card reader. The card reader should fit easily into the back of the bezel.
- Page 8 Now you need to install the reset board onto the side of the mainboard. Make sure the switch on the reset board is to the right (see red circle). Plug your reset board wire to the mainboard (see red squares). Now insert you reset board into the mainboard.
- Page 9 Attach the reset board into the mainboard with the 2 screws provided.
- Page 10 Attach the new outer bezel (6 red circles) using the screws off the old bezel. Connect the card reader LED wire (red square). Then attach the EMV black ground wire with the green wire on the slide tray(green circle).
- Page 11 Finally, attach the EMV MCR cable(red square) into the bottom of the reset board. At this point, if the cables are connected, close the front bezel and reinstall the screws. Close the top of the ATM and power back on. You’ll need to go right to the Operator Menu.
- Page 12 Set the card reader type is set as “EMV”. Operator Menu > System Setup > Device Setup > Card Reader Setup. The reader should now be working. You can test functionality by using the Diagnostics menu. If the reader is not working, re-check all connections first. When using a normal magnetic stripe card, the reader should function as normal ..
Need help?
Do you have a question about the G1900 EMV and is the answer not in the manual?
Questions and answers