Advertisement
Quick Links
HOW TO SERVICE NOVA CHUCKS
SAFETY WARNING
Safety glasses must be worn when dealing with snap rings on the
chucks. Snap rings can for fly off in any direction. Use caution and
wear safety glasses.
Note: Remove jaws or any other accessories attached on the chucks
before disassembling the chucks. Wipe/blow off visible dust from the
chucks before disassembly.
Preparation:
Before starting the disassembly, lay a disposable thick towel or cloth on top of the
working area as the disassembly process can get messy. The towel will protect the
chuck body during this process.
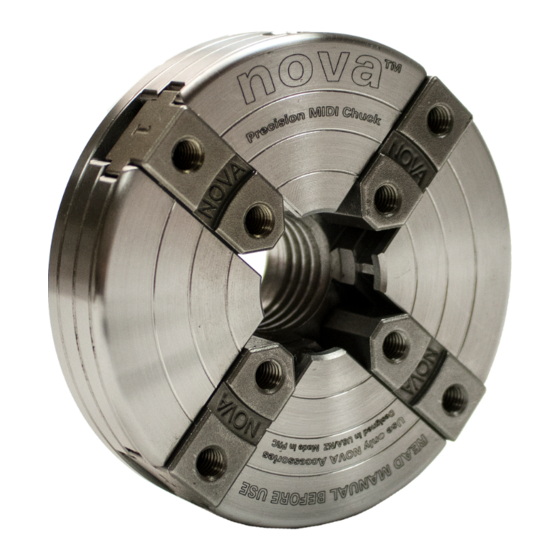
This guide outlines the disassembly, cleaning and reassembly for:
Precision Midi
G3
SuperNOVA2
Titan
p.1
Advertisement

Related Manuals for Nova Precision Midi


Summary of Contents for Nova Precision Midi
- Page 1 HOW TO SERVICE NOVA CHUCKS SAFETY WARNING Safety glasses must be worn when dealing with snap rings on the chucks. Snap rings can for fly off in any direction. Use caution and wear safety glasses. Note: Remove jaws or any other accessories attached on the chucks before disassembling the chucks.
- Page 2 SuperNova2 – Disassembly Tools Required: 1. External Circlip Pliers 2. Flat Head Screw Driver 3. Disposable Rag STEPS DESCRIPTION IMAGE Place chuck face down. The jaw slides can be at any position. Use the external snap ring plier to remove the retaining ring (as shown in the image).
- Page 3 SuperNova2 – Disassembly STEPS DESCRIPTION IMAGE Once retaining ring is removed, the backing plate can be removed from chuck body. Option When removing backing plate, use two flat-head screw drivers to lift it straight out from the chuck body. Option 2: Or thread an insert into the chuck (if chuck is an Insert type –...
- Page 4 SuperNova2 – Disassembly continued STEPS IMAGE Mark with a permanent marker before sliding the jaw slides out since each jaw slide will have a corresponding slideway to it. #1 jaw slide fits where there is a dimple. After removing scroll ring, the jaw slides will be free to slide out of the chuck body.
- Page 5 SuperNOVA2 – Cleaning STEPS DESCRIPTION IMAGE Using a disposable cloth/ towel to wipe off much of the visible dirt as possible on each part. NOTE: Scroll ring will be used as an example but the procedure should be carried out on all the main parts of the chuck (i.e.
- Page 6 SuperNova2 – Reassembly STEPS DESCRIPTION IMAGE Before reassembling the chuck, apply a generous amount of lubricant to all surfaces that come in contact with other parts. We recommend applying the lubricant (before assembly) on the inner surface of the chuck body as well as the jaw slide slots .
- Page 7 SuperNova2 – Reassembly STEPS DESCRIPTION IMAGE Slide the scroll ring back into the chuck body. Once in place, rotate the scroll ring back and forth until it engages with the jaw slides. You should feel the scroll rings engage as it drops into place, exposing the slot where the snap ring will fit.
- Page 8 SuperNova2 – Reassembly continued STEPS DESCRPTION IMAGE Rotate scroll ring with chuck key to check that jaw slides correctly match up at centre. If the jaw slides match up at centre by forming a square in the middle, put the backing cover on.
- Page 9 Chucks Parts List Thread PARTS LIST Size 48100 Chuck Body 48116 Scroll Ring 23051 SKU 48111 23052 Precision Midi Jaw Slides 1” x 8 TPI 23053 Direct Thread 23054 36mm External EC48 Circlip 48206 (Insert) Chuck Body 48207 (Direct) SKU 48232 1”...
Need help?
Do you have a question about the Precision Midi and is the answer not in the manual?
Questions and answers