Advertisement
Quick Links
Advertisement

Related Manuals for Athlon MIDAS 1 MILE

Summary of Contents for Athlon MIDAS 1 MILE
- Page 1 MIDAS 1 MILE LEASER RANGEFINDER USER MANUAL & CARE INSTRUCTIONS...
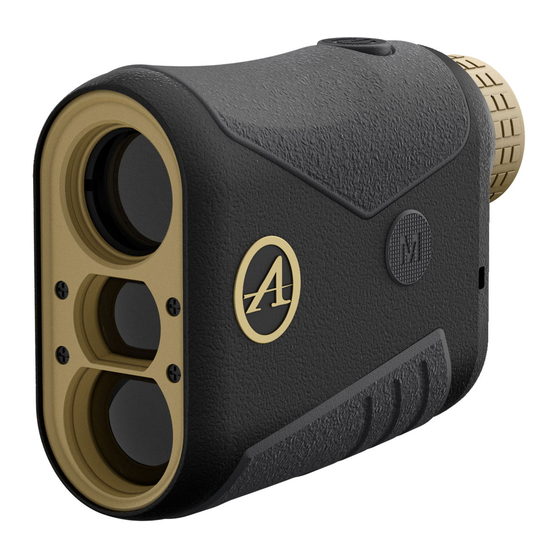
- Page 2 RANGEFINDER ELEMENTS STARTUP AND SHUTDOWN Remove the battery cap below the eyepiece and insert “Mode“ Button Battery Compartment a CR2-3V battery into the battery chamber, having the “Ranging“/”Power” Button Laser Receiving Objective positive side facing out, then close the battery cap. Eyepiece Laser Emission Objective 2.
- Page 3 EYEPIECE LCD DISPLAY MENU OPERATIONAL FLOWCHART Power ON: Short press to power on. The startup Battery Indicator; screen will display the last used mode. After 10 Aiming Reticle; seconds of no-operation the display will power off Golf Mode / Hunting Mode automatically.
- Page 4 RANGING MODES: “T“, “V“, ”H” or OFF will start MENU SCREENS blinking. Short press button to select “T“ for Tilt Angle, “V“ for Vertical Distance, “H“ for Horizontal DISTANCE UNIT SWITCHING: “M” or “Y” will start Distance, “OFF“ for no angle display (LOS mode). blinking.
- Page 5 a. LOS mode (OFF): Aim the reticle at the target. Short b. Tilt Angle mode (T): Aim the reticle at a target. Press press button once to measure the distance. Only button once to measure the distance. The linear the linear distance of the ranging is displayed. distance of ranging is displayed first (1).
- Page 6 c. Vertical Distance mode (V): Aim the reticle at a tar- d. Horizontal Distance mode: Aim the reticle at a target. get. Press the button once to measure the distance. Press the button once to measure the distance. The linear distance of ranging is displayed first (1). The linear distance of ranging is displayed first (1).
- Page 7 MEASURING METHOD SELECTION: “Auto“, “Flag“, a. Regular Mode: In Regular Mode hold button while “Deer“ will start blinking. Short press button to aiming at the target for scanning. The distance value select “Auto“ for Regular Mode, “Flag“ for Golf Mode, on the screen varies with the target.
- Page 8 b. Golf Mode: In a group of targets, hold the button c. Hunting Mode: In a group of targets, hold the but- while aiming at the target for scanning. The nearest ton while aiming at the target for scanning. The far- target is locked first.
-
Page 9: Low Battery Indication
DISPLAY BRIGHTNESS ADJUSTMENT: Short press LOW BATTERY INDICATION button to select between level 1 to 4 display brightness. Press button to confirm the item you When the voltage is less than 1.5v, Low Battery Indica- selected or skip this option and return to ranging. tion is displayed. - Page 10 THE ATHLON GOLD MEDAL LIFETIME WARRANTY* Your Athlon product is not only warranted to be free of defects in materials and workmanship for the life- time of the product. Athlon will also repair or replace, at no charge to you, your product if you should damage it through normal use.
- Page 11 SHARP, TIGHT AND PRICED JUST RIGHT! Toll free: 1-855-913-5678 contact@athlonoptics.com 801 N MEADOWBROOK DR, OLATHE, KS 66062 ATHLONOPTICS.COM...
Need help?
Do you have a question about the MIDAS 1 MILE and is the answer not in the manual?
Questions and answers