Table of Contents
Advertisement
Quick Links
Advertisement
Table of Contents

Related Manuals for Horrex UCS curved


Summary of Contents for Horrex UCS curved
- Page 1 Installation Manual Montagehandleiding UCS curved...
- Page 2 HORREX MONTAGEHANDLEIDING...
-
Page 3: Table Of Contents
Table of content Package contents Symbols Options Safety instructions Installation Check before installing Installation Maintenance Warranty Recycling Technical data... -
Page 4: Package Contents
Package contents UCS system * Systems smaller than 900 mm have 4 wall screws and no Z-clips. * Systems wider than 900 mm have 6 wall screws and 2 Z-clips. HORREX MONTAGEHANDLEIDING... -
Page 5: Symbols
Symbols Caution! Not following or incorrectly following these instruction can lead to serious injuries. Note! Not following or incorrectly following these instructions can lead to damage or reduced functionality of the product. Info Additional information about the product. -
Page 6: Options
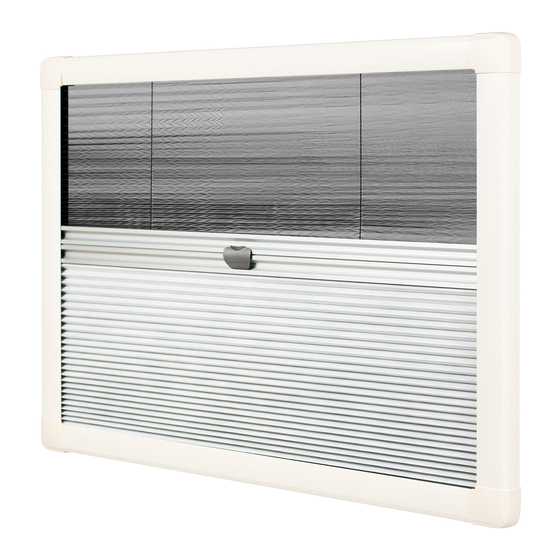
RAL9001 of RAL9005 B 852 x H 349 mm RAL9001 of RAL9005 B 994 x H 484 mm RAL9001 of RAL9005 B 1019 x H 499 mm RAL9001 of RAL9005 Spare parts Clicker Cord package Z-clips Corner cap HORREX MONTAGEHANDLEIDING... -
Page 7: Safety Instructions
Safety instructions Please follow the prescribed safety instructions from the vehicle manufacturer at all times. Horrex is not responsible for damage caused in the following situations: • Incorrect assembly or connection to the product; • Damage to the product due to mechanical influences;... -
Page 8: Use
Use only in combination with the supplied parts or additional parts from Horrex. This can be found in chapter 2 of this manual. Het is niet toegestaan het product te gebruiken voor doeleinden It is not permitted to use the product for purposes other than the usage shown below. -
Page 9: Installation
Installation 5.1 Check before installing Check before installing if there is enough space available to install the product, if the UCS does not block any other products after installing, and if the wall thickness is enough for the supplied screws. For safety reason, please note the presence of wiring and electrical components in the installation area. -
Page 10: Use
If a vehicle is standing still for a long time, make sure that the material is raised slightly on both sides but is not clicked together. This ensures that the blind is ventilated on both sides (to prevent mold). HORREX MONTAGEHANDLEIDING... -
Page 11: Maintenance
5.4 Maintenance Carefully clean the product with a damp cloth regularly. Note! Do not use any sharp objects or chemical cleaning products that could damage the product. - Page 12 16 mm. HORREX MONTAGEHANDLEIDING...
- Page 14 HORREX MONTAGEHANDLEIDING...
-
Page 15: Warranty
Warranty A standard 2-year warranty applies to this product. If the product is defective, first contact your dealer or point of sale. Distributors of original Horrex products and accessories can be found on our website: https://www.horrex.nl/consumers If you cannot find a solution, or if you have other questions, com- ments or suggestions, please send a message to: info@horrex.nl... -
Page 16: Technical Data
Technical data Component Material Basic profile Aluminum Pull bar Aluminum Other plastic PA6 / PA6.6 components Blackout PET with aluminumlaag Mesh Polyester HORREX MONTAGEHANDLEIDING... - Page 18 HORREX MONTAGEHANDLEIDING...
- Page 20 Horrex BV Taanderijstraat 19 3133 ET Vlaardingen +31(0)10 26 19 600 www.drivingchangeint.com www.horrex.nl info@horrex.nl...
Need help?
Do you have a question about the UCS curved and is the answer not in the manual?
Questions and answers