
Related Manuals for ORDISI IG-65C


Summary of Contents for ORDISI IG-65C
- Page 1 Tecnología 2 – Nave 7 08780 Pallejá Barcelona - Spain (34) 93 334 01 12 FAX (34) 93 440 25 64 Mom-41 comercial@ordisi.com Revisión: 1 www.ordisi.com Fecha: 2017/01/10...
-
Page 2: Descripción De Las Partes
Para que pueda disfrutar de un prolongado y perfecto uso de su nueva IG-65C, le rogamos se lea atentamente el presente manual. Si precisa consultar cualquier cuestión sobre su lámpara, contacte con su distribuidor ORDISI más próximo, o directamente a nuestra Central: ORDISI, S.A. -
Page 3: Instalación
4.2.1. – MONTAJE DEL ANCLAJE El montaje y la instalación de lámpara serie IG-65C deben tener lugar conforme a las Instrucciones de montaje del presente manual y ser ejecutados únicamente por personal de ORDISI o por empresas de montaje autorizadas. Un mal montaje de la misma puede tener como consecuencia que se suelte durante su funcionamiento, pudiendo producir lesiones graves tanto en el paciente como en el personal sanitario. -
Page 4: Instalación Eléctrica
B – Led indicativo encendido / apagado C – Botones regulación de intensidad lumínica D – Leds indicativos intensidad lumínica Fig. 3 – Teclado IG-65C 4.4.- RECOMENDACIONES DE USO Mover la lámpara con suavidad, evitando movimientos bruscos. Si no se está utilizando la lámpara, no la mantenga funcionando, ya que además de gastar energía inútilmente, se acorta la vida útil del módulo LED. -
Page 5: Cambio De Fusibles
5.- LIMPIEZA Antes de efectuar cualquier operación, asegúrese que la lámpara está apagada. La lámpara se debe limpiar regularmente con un paño humedecido con agua, cuidando que ésta no penetre en el interior de la cúpula. Para las manchas persistentes; p.e. sangre, desinfectantes, etc.; se puede utilizar un poco de jabón neutro. No utilizar bajo ningún concepto productos que contengan acetona. -
Page 6: Características Técnicas
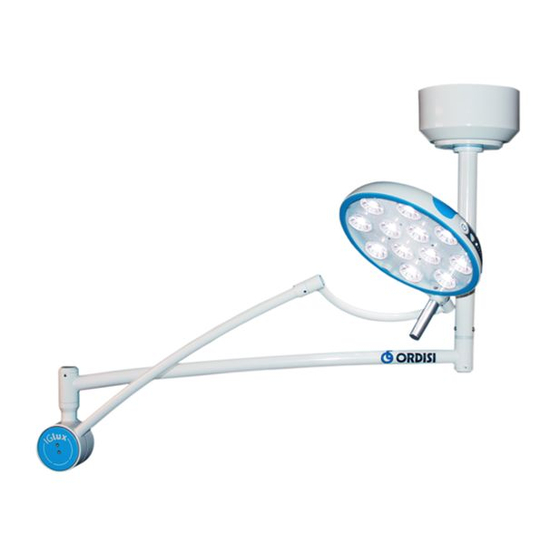
19.5 Kg. Fig. 5 – Medidas generales MODELOS: IG-65M Lámpara rodable IG-65W Lámpara con soporte a pared IG-65C Lámpara de techo IG-65DC Lámpara de techo doble IG-65MB Lámpara con equipo de emergencia 8. – PLANOS Y ESQUEMAS Ver página 12... - Page 7 1.- INTRODUCTION We would like to thank you for the trust you have placed in ORDISI, S.A. when you purchased a lamp from the IGLUX series. Your lamp model IG-65C, has specially designed for a recognition, for any medical specialty, but mainly in places where a total absence of calorific radiation is required, conserving very good quality of light.
-
Page 8: Arm Installation
4.2.1.- INSTALLATION OF THE MOUNTING PLATE The assembly and installation of lamp IG-65C must take place under the mounting instructions in this manual and be undertaken only by personnel of ORDISI or authorized assemblers. A bad installation may have the effect of loose during operation, and this can cause serious injury to the patient and health personnel. -
Page 9: Electrical Installation
Once mounted the ceiling plate, assemble the horizontal arm nº 7 to vertical arm nº 8, join the electrical connectors nº 14 and nº 15 and fix by washers nº 16 and screws nº 17 (See Fig. 2a). After that, assemble the cupola nº 3 with the arm nº 6. Hold the copula through the screws nº 13, and adjust it until you can move the copula with a gentle moving (See Fig. -
Page 10: Maintenance And Upkeep
CLEANING Before doing anything, make sure the lamp is off. The lamp must be cleaned regularly with a cloth dampened with water, taking care that water does not reach the inside of the equipment via the ventilation grille. For persistent stains such as blood, disinfectants, etc… a little neutral soap can be used. Do not use products containing acetone in any case. -
Page 11: Technical Characteristics
MODELS: Fig. 5 – General dimensions IG-65M Moveable lamp IG-65W Wall mount lamp IG-65C Ceiling lamp IG-65DC Ceiling lamp with double arm IG-65MB Moveable lamp with battery equipment 8. - PLANS AND DRAWINGS See page 12... - Page 12 8. – PLANOS Y ESQUEMAS / PLANS AND DRAWINGS Fig. 6 – Despiece de la cúpula / Exploded view of the cupola Página 12 de 13...
- Page 13 Fig. 7 – Despiece de brazos y anclaje a techo / Exploded view of the arms and ceiling mount. Página 13 de 13...
Need help?
Do you have a question about the IG-65C and is the answer not in the manual?
Questions and answers