Sign In
Upload
Download
Table of Contents
Contents
Add to my manuals
Delete from my manuals
Share
URL of this page:
HTML Link:
Bookmark this page
Add
Manual will be automatically added to "My Manuals"
Print this page
×
Bookmark added
×
Added to my manuals
Manuals
Brands
BOXLIGHT Manuals
Interactive whiteboard
ProColor 554U
Manual
BOXLIGHT ProColor 554U Manual
Interactive flat panel display
Hide thumbs
1
Table Of Contents
2
3
4
5
6
7
8
9
10
11
12
13
14
15
16
17
18
19
20
21
22
23
24
25
26
27
28
29
30
31
32
33
page
of
33
Go
/
33
Contents
Table of Contents
Bookmarks
Table of Contents
Table of Contents
Contents
Safety Warning
Part Names and Functions
Front
Terminal Interface
Remote Control
Remote Control Instruction
External Computer and Touch Connection
Connection and Setting
Audio and Video Equipment
USB Connection
RS232 Connection
LAN Connection
TF Card
Menu Operation
Setting Menu
Android Function
Home
Side Toolbar
Note
Finder
Visualizer
Keeper
Advertisement
Quick Links
1
Table of Contents
2
Terminal Interface
3
Setting Menu
4
Android Function
Download this manual
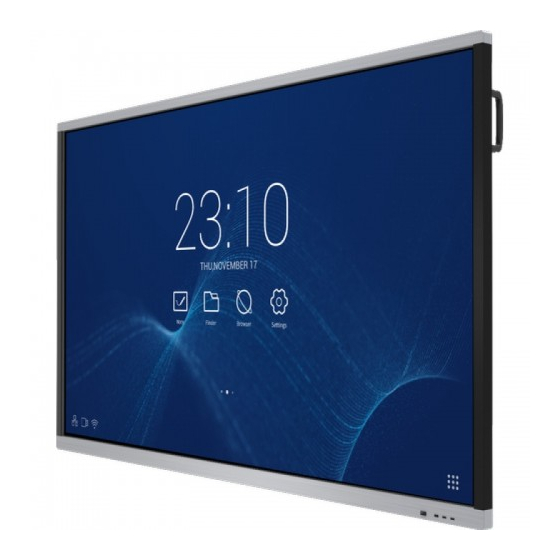
Interactive Flat Panel Display
Note:
- All the pictures in this manual are for reference only, subject to our available products.
Table of
Contents
Previous
Page
Next
Page
1
2
3
4
5
Advertisement
Table of Contents
Need help?
Do you have a question about the ProColor 554U and is the answer not in the manual?
Ask a question
Questions and answers
Related Manuals for BOXLIGHT ProColor 554U
Monitor BOXLIGHT ProColor 653U Owner's Manual
Interactive flat panel display (33 pages)
Interactive whiteboard BOXLIGHT ProColor 750H User Manual
(41 pages)
Interactive whiteboard BOXLIGHT ProColor 3 Series User Manual
(22 pages)
Interactive whiteboard BOXLIGHT ProColor 654U Manual
Interactive flat panel display (33 pages)
Interactive whiteboard BOXLIGHT MimioTeach Installation Manual
(2 pages)
This manual is also suitable for:
Procolor 654u
Procolor 553u
Procolor 653u
Procolor 753u
Procolor 863u
Procolor 983u
Table of Contents
Print
Rename the bookmark
Delete bookmark?
Delete from my manuals?
Login
Sign In
OR
Sign in with Facebook
Sign in with Google
Upload manual
Upload from disk
Upload from URL


Need help?
Do you have a question about the ProColor 554U and is the answer not in the manual?
Questions and answers