Table of Contents

Related Manuals for Haier HLP141E


Summary of Contents for Haier HLP141E
- Page 1 Electric Vented Tumble Dryer Sécheuse Électrique Ventilée Secadora eléctrica de ropa con ventilación User Manual Model HLP141E, HLP140E Guide de l’Utilisateur Modéle HLP141E, HLP140E Manual del Usuario Para Modelo de HLP141E, HLP140E...
-
Page 2: Electrical Requirements
English ELECTRICAL REQUIREMENTS Grounding Instructions: This appliance must be grounded. It is equipped with a 3-wire cord having a grounded plug. The plug must be plugged into an outlet which is properly installed and grounded Warning – Improper use of the grounded wire can result in the risk of electric shock. -
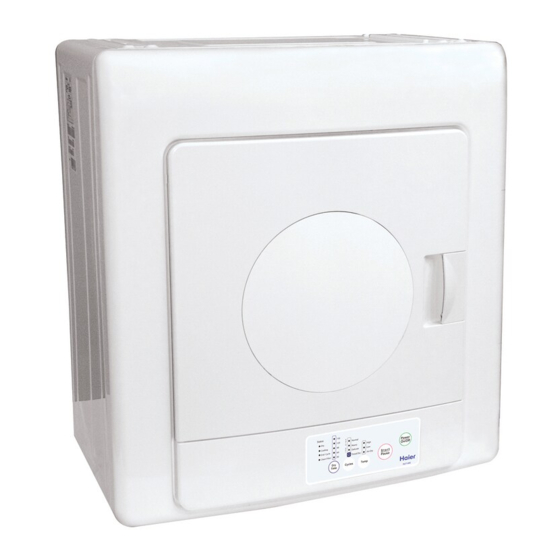
Page 3: Parts And Features
English PARTS AND FEATURES Front Windows Drum (HLP141E Only) Exhaust and Lint Filters Door Air Intake Digital Control Panel Door Gasket Status Normal Heavy High Cooling Power End Cycle Delicate On/Off Clean Lint Timed Dry Air-Dry Start Pause Cycles Temp... -
Page 4: Setup Instructions
English SET UP INSTRUCTIONS Tools and Parts Required for Installation: • Philips Head Screw Driver • Flat Head Screw Driver • Electric Drill and 1/8 inch drill bit • Stud finder (optional) • (6) Wood screws for mounting plywood • Plywood board;... -
Page 5: Assemble Dryer For Installation
English Assemble Dryer for Installation Screw mounting hook bracket and wall spacer to dryer with screws provided. 1. Attach Hanging hook bracket 2. Attach the 2 wall spacers to the bottom using the 4 screws. of the dryer, using the 2 screws. Spacers 3. -
Page 6: Venting The Dryer
English Venting The Dryer Proper venting of the dryer is very important. Determine the best and safest ducting for the dryer. WARNING! Clothes dryer installation must be performed by qualified installer. Install the clothes dryer according to the manufacturer’s instructions and local codes. Do not install a clothes dryer with flexible plastic venting materials. -
Page 7: Installation Instructions
English INSTALLATION INSTRUCTIONS Location for installation and options for various walls 1. There are 2 mounting options- either using wood slats or a whole plywood board. The dryer installation to the wall should be able to accommodate the weight of the unit of 52 lbs. plus about 10 lbs. for clothing (or approximately 62 lbs). -
Page 8: Wall Mounting Instructions
Plywood board Use wood screws for supporting the dryer 24 inches 6. Mark the required dryer bracket position and holes using the template provided. HLP141E Mounting template Center and level template Mounting Mounting Drill holes for dryer mounting bracket bracket... -
Page 9: Completing Installation
English 8. Hanging dryer on wall Lift the dryer (with the help of an assistant) and insert the hanging hook onto the 2 mounting brackets on the wall. The wall spacer will distance the dryer from the bottom. Hang dryer onto mounting brackets on the wall Completing Installation...
Need help?
Do you have a question about the HLP141E and is the answer not in the manual?
Questions and answers
How do you change the fan belt?
To change the fan belt on a Haier HLP141E dryer, follow these steps:
1. Remove the back metal plate: Unscrew and take off the back cover.
2. Loosen the vertical bracket screws: This bracket supports the drum.
3. Support the bracket: Place a piece of wood under the bracket to keep it at the correct height.
4. Position the belt: Grab the belt, place it on the loose bracket, and stretch it downward.
5. Wrap the belt: Loop it around the loose bottom bracket.
6. Install on the pulley: Stretch the belt onto the drive pulley to complete the installation.
This process ensures the belt is correctly placed and secured.
This answer is automatically generated
how to insstall a new belt