Table of Contents

Related Manuals for Eurotech ED-R190-98


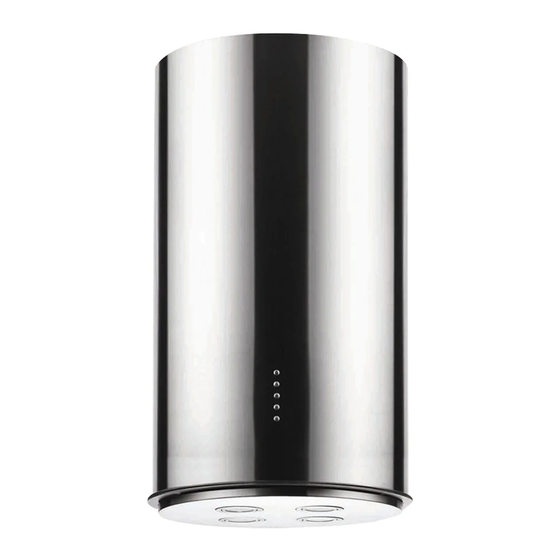
Summary of Contents for Eurotech ED-R190-98
- Page 1 E UR OT E C H 3 7 C M C Y L I NDR I C A L R A NGE HOOD E D- R 1 9 0 - 9 8 I NS T R UC T I ON MA NUA L P L E A S E R E A D T HI S MA NUA L C A R E F UL L Y BE F OR E US I NG Y OUR P R ODUC T A ND K E E P I T F OR F UT UR E R E F E R E NC E .
- Page 2 Installation Diagram...
-
Page 3: Table Of Contents
Contents ……………………....…. Introduction …………………………..…... Features ……………………..…..Installation …......Installation Procedure …………………..……….. How To Use …………………..…..… Lamp Change ……………....……. Safety Information ……………….....….. Troubleshooting ……………....……... Specifications ..…...... Electrical Diagram ………....…. Cleaning & Maintenance …………………..…….……. Warranty... -
Page 4: Introduction
Introduction 1.1 This appliance has been manufactured with materials and processes that respect the environment. We hope that you will continue this important consideration in the operation of this appliance & the disposal of the packaging materials, thank you. 1.2 The installation work must be undertaken by a qualified tech- nician experienced in cooker hood installation. -
Page 5: Features
Features 2.1 This appliance is manufactured from top quality materials, and offers superb streamlined effects. 2.2 With high suction power and low noise, it is designed to re- move cooking fumes from your kitchen quietly & effectively. Installation 3.1 The range hood should be mounted at a distance of 650- 750mm from the cooking surface for safety &... - Page 6 3.6 Check to make sure that the electric chord is not in contact with sharp edges of the appliance. 3.7 Be sure that the plug is accessible after installation. pic1...
-
Page 7: Installation Procedure
Installation Procedure 4.1 Take out the whole subassembly from the package box. The hood should stand upside down (see pic 2). 4.2 Detach the lamp panel and front fixed board of glass( see pic 4.3 Attach the canopy with screws which are unfastened( see pic 4.4 Adjust the brackets to the desired height. -
Page 8: How To Use
How To Use 3 Speed adjustment (see pic 6) Push the Low button, and the motor runs at low speed . Push the Mid button, and the motor runs at mid speed . Push the High button, and the motor runs at mid speed. Push Stop button, and the motor will stop . -
Page 9: Lamp Change
Lamp Change As with any maintenance on the appliance, first turn off the power supply by unplugging from the wall socket. 1.Take out the lamp panel. 2.Detach the low-voltage electric connector. 3.Press the lamp’s clip to take out the lamp holder (see pic 7). 4.Replace the lamp (LED Lamp Max.1.5W) and then reinstall in the reverse manner. -
Page 10: Safety Information
Safety Information There must permanent & adequate ventilation of the room Ÿ when operating the range hood with appliances burning gas or other fuels. Do not check the status of the filters when the range hood is Ÿ operating, wait at least 30 minutes after switching off to avoid scalding. -
Page 11: Troubleshooting
Troubleshooting If any problem occurs, please detach the plug from the socket and contact the manufacturer or its service agent or a similarly quali- fied person in order to avoid a hazard. Detach flue and duct then turn on the hood to check if the valve opens Plug another appliance into the socket to confirm... -
Page 12: Specifications
Electrical Diagram Specifications Rated Input 220V~240V,50Hz Rated Power 151W Lighting Power 1.5Wx4,7WX1 Motor Power 138W ≥760m3/ h Capacity Outlet diameter 150mm... -
Page 13: Cleaning & Maintenance
Cleaning & Maintenance Warning: Before cleaning, please ensure that the power is switched off by detaching the plug from the wall socket. 10.1 Clean the surface of hood every week with mild soap or de- tergent . Avoid solvents, acid, alkali, scouring pads or powders that could irreparably damage the stainless steel surface.
Need help?
Do you have a question about the ED-R190-98 and is the answer not in the manual?
Questions and answers