Olympus DM-720 Quick Reference Manual
Hide thumbs
Also See for DM-720:
- User manual (117 pages) ,
- Basic manual (14 pages) ,
- Basic manual (172 pages)
Advertisement
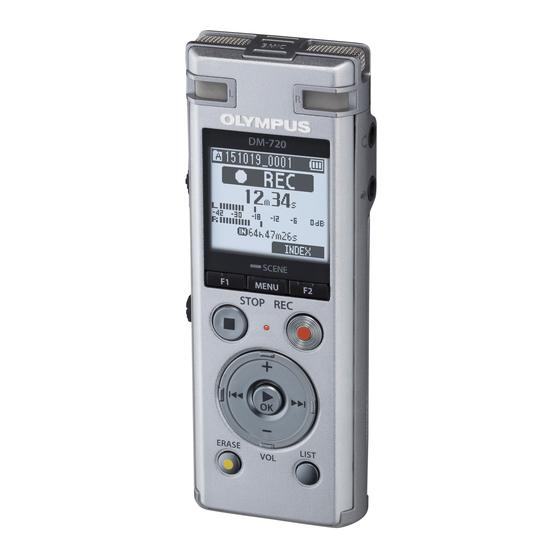
DM-720 Quick Reference Guide.
Power Switch
F1
USB Extension
Stop Button
Volume Up / +
RWD Button
Erase Button
To turn on the DM-720 slide the Power button located on the side to power position and release.
To turn off the DM-720, slide and hold the button in the off position until the recorder powers off.
How to set the Date and Time.
1. Press the Menu button located on the front of the recorder.
2. Press the + or - button to navigate to the Device Menu.
3. Press the
FFW
button to access the settings in the Device Menu.
4. Press the + or - button to navigate to Time & Date then press the OK button.
5. Press the + or - button to set the hour then press the
6. Press the + or - button to set the minutes. Follow this process until the time and date are
set then press the OK button to apply the settings.
How to Record.
1. Press the orange
Re
2. Press the orange
Re
3. Press the
Sto
button to stop the recording.
button on the front of the recorder to start the recording.
button a second time to Pause the recording.
Menu
F2
Record Button
FFW Button
PLAY / OK
Volume Down / -
List Button
FFW
button to access the minutes.
DM-720
Advertisement
Table of Contents

Related Manuals for Olympus DM-720


Summary of Contents for Olympus DM-720
- Page 1 To turn on the DM-720 slide the Power button located on the side to power position and release. To turn off the DM-720, slide and hold the button in the off position until the recorder powers off. How to set the Date and Time.
- Page 2 3. Select the Start option and press OK button to finish deleting the file(s). How to Transfer Files to the PC. 1. Connect the DM-720 to a compatible computer using the retractable USB connector. 2. Open Windows Explorer and browse to the DM-720.
Need help?
Do you have a question about the DM-720 and is the answer not in the manual?
Questions and answers
the recorder says low battery. When I plug it into the charger or a computer, it will not charge
The Olympus DM-720 recorder may not charge when plugged into a charger or computer for the following reasons:
1. Incorrect Battery Type: The recorder only supports charging with Olympus rechargeable Ni-MH batteries. If an alkaline, lithium, or other non-rechargeable battery is inserted, charging will not work.
2. Battery Setting: The [Battery] setting must be set to [Ni-MH] in the recorder’s menu. If this setting is incorrect, charging will not start.
3. Power Source Issues:
- If charging via a computer, the PC must be powered on. Charging will not occur if the PC is off.
- If using an AC adapter, only the Olympus USB connecting AC adapter (model A514) should be used.
4. Charging Confirmation: When [Battery] is set to [Ni-MH], the display shows [Press OK to start charging]. The user must press the `OK` button while this message blinks to begin charging.
If these conditions are not met, the recorder will not charge despite showing a low battery.
This answer is automatically generated
I cannot access **** or PM on the date setting. It's set for **** when it should be PM
To change the date setting to PM on the Olympus DM-720, follow these steps:
1. Press the Menu button on the front of the recorder.
2. Use the + or - button to navigate to the Device Menu.
3. Press the FFW button to access the settings in the Device Menu.
4. Use the + or - button to navigate to Time & Date, then press the OK button.
5. Adjust the hour using the + or - button until the correct hour is set in PM.
6. Press the FFW button to move to the minutes setting and adjust as needed.
7. Continue this process until the date and time are set correctly.
8. Press the OK button to apply the settings.
Ensure that you select an hour in the PM range (e.g., 1–12 PM) when adjusting the time.
This answer is automatically generated