Advertisement
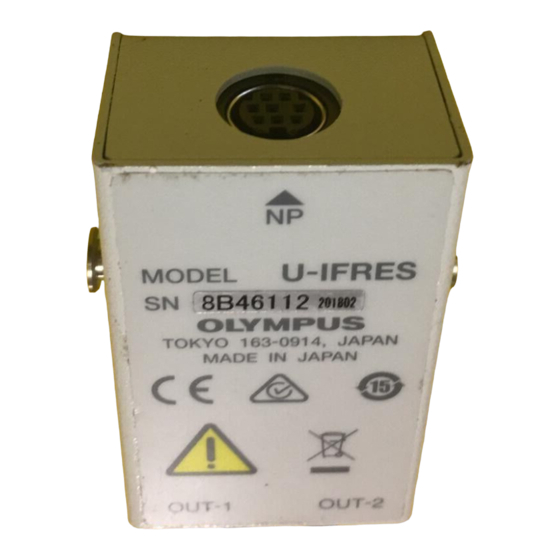
INTERFACE FOR CODED NOSEPIECE
U-IFRES
Combining this product with the microscope frame (BX43F, BX53F2) and the control box for coded function (U-CBS) makes
it possible to use the light manager function of the microscope frame and the function to readout the revolving nosepiece
information to the digital camera/imaging software at the same time.
1
Cautions
1) For operating procedures of the microscope system attached with this product, refer to the instruction manuals
provided with the microscope frame and U-CBS.
2) Before connecting the cables, make sure that the powers of the microscope frame and U-CBS are set to OFF.
3) Do not stretch or bend the cables with the excess force. Otherwise, they may be damaged. When connecting the
cables, be sure to lay out the cables according to the instruction manual provided with U-CBS.
4) When carrying the microscope system, be careful so that the cables are not pinched under the microscope frame.
5) Before disposing of this product, be sure to check the regulations and rules of your local government and follow
them. Contact Olympus for any questions.
2
Attaching the body of interface for coded nosepiece (U-IFRES)
1
Clean the area to attach the fixing board on the back side of the
1
microscope frame with a soft cloth.
2
Remove the protection sticker from the fixing board.
3
Attach the fixing board to the back side of the microscope frame firmly.
TIP
3
2
BX53F2
When using BX53F2
Align the fixing board with the upper left of the back side of the
microscope frame.
1
When using BX43F
Align the fixing board with the upper right corner of the label on the back
side of the microscope frame.
3
TIP
2
BX43F
4
Connect the connector of the coded revolving nosepiece to U-IFRES.
TIP
4
a
INSTRUCTIONS
If you remove the sticker of the fixing board attached once, the
adhesive power may be weakened and U-IFRES may drop.
Decide the position carefully before attaching to avoid the
double attachment.
Be careful not to overlap with the label.
marks a .
· Insert the connector by matching
· For coded revolving nosepiece, refer to the instruction manual
for U-D7RES/U-D6RES.
Optical Microscope Accessory
5
TIP
b
c
5
BX53F2
b
c
5
BX43F
3
Layout of the cable
Refer to the instruction manual provided with the U-CBS.
4
Specifications
Item
U-IFRES
Dimension
Body: 44 (W) x 25 (D) x 60 (H) mm
Fixing board: 40 (W) x 19 (D) x 38 (H) mm
Weight
0.15 kg
Operating
· Indoor use
environment
· Altitude: Max. 2,000 meters
· Ambient temperature: 5 to 40 °C (41 to 104 °F)
· Maximum relative humidity: 80% for temperatures up to 31 °C (88 °F) (without condensation)
In case of over 31 °C (88 °F), the relative humidity is decreased linearly through 70% at 34 °C (93 °F),
60% at 37 °C (99 °F), and to 50% at 40 °C (104 °F).
· Supply voltage fluctuations: Not to exceed ±10% of the normal voltage.
· Pollution degree 2 (in accordance with IEC60664-1)
· Installation/Overvoltage category: II (in accordance with IEC60664-1)
Repair request
If the abnormality or defect is found with the product, contact Olympus for assistance. At that time, please tell them
the following information as well.
· Product name and abbreviation (Example: interface for coded nosepiece U-IFRES)
· Serial No. (SN)
· Problem
This product is a part of the system product which complies with the CE marking.
Please refer to the instruction manual of your system product for the safety instructions related to the CE marking.
AX8099 05
Attach U-IFRES by hooking the pin b of U-IFRES on the groove c
of the fixing board.
If you attach or remove the connector while U-IFRES is being
hooked on the fixing board, the sticker of the fixing board may
come off and U-IFRES may drop. When you attach or remove
the connector, be sure to hold U-IFRES with your hands.
Specifications
Advertisement
Table of Contents

Subscribe to Our Youtube Channel
Related Manuals for Olympus U-IFRES


Summary of Contents for Olympus U-IFRES
- Page 1 Be careful not to overlap with the label. Repair request BX43F If the abnormality or defect is found with the product, contact Olympus for assistance. At that time, please tell them the following information as well. · Product name and abbreviation (Example: interface for coded nosepiece U-IFRES) ·...
- Page 2 コードレボルバー用分岐ユニット U-IFRES 取扱説明書 U-IFRESのピン b を固定板の溝 c に引っ掛けて取り付けます。 この製品と、顕微鏡本体(BX43F、BX53F2)およびコードユニット用コントロールボックス(U-CBS)を組み合わせ ることで、顕微鏡本体のライトマネージャー機能とデジタルカメラ/イメージングソフトウェアへのレボルバー情報 U-IFRESを固定板に引っ掛けたままコネクターの着脱を行 参 考 読み出し機能を同時に使用することができます。 うと、固定板のシールがはがれ、U-IFRESが落下するおそ れがあります。コネクターを着脱する際は、U-IFRESを手 ご注意 で持って行ってください。 1) この製品を取り付けた顕微鏡システムの使用方法については、顕微鏡本体およびU-CBSに付属の取扱説明書 をご覧ください。 BX53F2の場合 2) 各ケーブルの接続は、顕微鏡本体およびU-CBSの電源をOFFにして行ってください。 3) ケーブル類を過度な力で引っ張ったり曲げたりすると、破損するおそれがありますので、絶対におやめ下さ い。各ケーブルの接続に際しては、U-CBSに付属の取扱説明書に記載された引き回しを確実に行ってくださ い。 4) 顕微鏡システムを運搬する際は、ケーブルが顕微鏡本体の下にはさみ込まれないよう、ご注意ください。 5) この製品を廃棄する際は、地方自治体の条例または規制を確認し、それに従ってください。ご不明な点は、 オリンパスの販売店にお問い合わせください。 コードレボルバー用分岐ユニット (U-IFRES) 本体の取り付け BX43Fの場合 顕微鏡本体の背面の固定板貼り付け予定位置を、やわらかい布 で拭いてください。 固定板の保護シールをはがします。...
Need help?
Do you have a question about the U-IFRES and is the answer not in the manual?
Questions and answers