
Related Manuals for ThunderX3 RC3


Summary of Contents for ThunderX3 RC3
- Page 1 User’s Manual PROFESSIONAL GAMING CHAIR How to Assemble Manual del usuario 使用说明书 Podręcznik użytkownika Bedienungsanleitung ユーザーズマニュアル Руководство пользователя Manuel d'utilisation нұсқаулары Manual de utilizador Manuale dell'utente Talimatlar 使用說明書...
-
Page 2: Table Of Contents
Las imágenes solamente son de referencia. Las piezas, los accesorios y los pasos de montaje de la silla son los How to Assemble RC3 mismos que los indicados en el manual. Die Bilder dienen nur der Veranschaulichung. Stuhlteile, Zubehör und Montageschritte sind mit den Angaben in der A. -
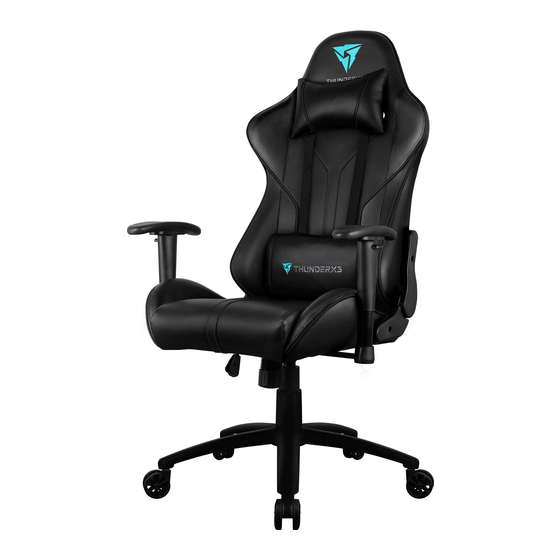
Page 3: Chair Parts
Please check and ensure the following parts are in the package. En la sección 'Where to Buy (Dónde comprar)' del sitio web thunderx3.com puede obtener información sobre el If any parts are missing or not included, please call the local distributor for assistance. -
Page 4: Assemble The Seat : Parts Of Group-1
Caution: Use protective gloves for this step. Work Gloves Required! Using bare hands may cause serious injury. - Ostrzeżenie : Do tych ustawień należy użyć rękawice ochronne. Wymagane rękawice robocze! Używanie gołych rąk może spowodować poważne obrażenia. A. Assemble the Seat : Parts of Group-1 - Trzymając metalowy wspornik mocno pociągnij dzwignię... - Page 5 1. Attach the backrest to the seat. 2. Fasten with screws provided. 3. Fasten the protective covers with provided screws. 1. Acople el respaldo a la silla. 2. Fíjelos con los tornillos proporcionados. 1. Bringen Sie die Rückenlehne am Sitz an. 2.
- Page 6 4. Align the butterfly mechanism with the screw holes at NOTE : Place the screws by hand before tightening them in 4. Совместите механизм "бабочка" с отверстиями ПРИМЕЧАНИЕ. Установите винты вручную, а затем the bottom of the seat as shown in image below. an X-Pattern with the allen key.
-
Page 7: Assemble The Wheel Base : Parts Of Group-2
B. Assemble the Wheel Base : Parts of Group-2 1. Push and twist the wheels into the star base. 2. Place the cylinder cover over the gas lift. 3. Place the chair face down and insert the star base into the butterfly mechanism. 1. -
Page 8: Attach Headrest Cushion
A. Attach Headrest Cushion B. Attach Back Cushion 1. Put headrest cushion on the backrest. 2. Pull the straps through the shoulder belt holes and click them 1. Slide the back cushion straps between the backrest 2. Pull the straps through the shoulder belt holes and click them into place. -
Page 9: Powering The Light Module
A. Powering the Light Module B. Light Module Features Pull the ThunderX3 Light Logo from the module The light module comes with magnetic strips Pull & open battery cover as shown on unit Sticks to strong metals Install four AA batteries... -
Page 10: Light Module Lighting
C. Light Module Lighting Włączenie-wyłączenie zasilania Power On-Off Naciśnij dłużej, aby włączyć zasilanie modułu Long press to power module on Ponownie naciśnij dłużej, aby wyłączyć zasilanie modułu Long press again to power module off Pojedyncze kliknięcie, przełączenie pomiędzy dziewięcioma trybami One click, switches between nine modes Czerwony/Pomarańczowy/Zielony/Cyjan/Niebieski/Różowy/Biały/Efekt jazdy rowerem/Efekt oddychania Red/Orange/Green/Cyan/Blue/Pink/White/Cycling effect/Breathing effect... - Page 11 www.THUNDERX3.com...
Need help?
Do you have a question about the RC3 and is the answer not in the manual?
Questions and answers