Advertisement
Quick Links
Specialists in fireplace design and manufacture
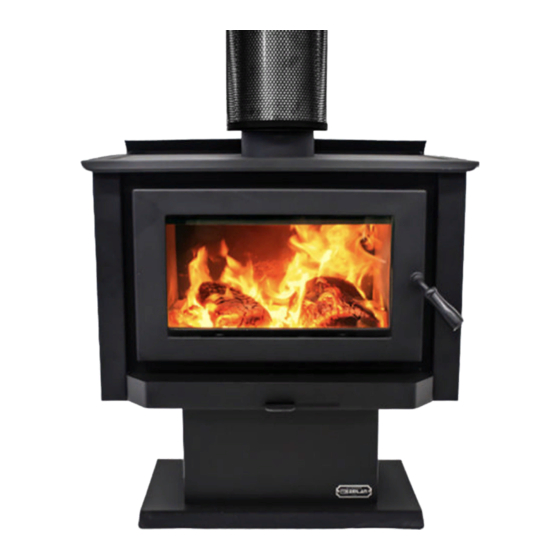
TEMPO 3 VER 2 FREESTANDING
INSTALLATION & OPERATING INSTRUCTIONS
IMPORTANT:
INSTALLER, PLEASE LEAVE THESE INSTRUCTIONS WITH THE UNIT ON COMPLETION.
10 YEAR FIREBOX WARRANTY
The firebox is covered by a 10 year warranty.
Other parts are covered by a one year limited warranty.
Head Office – 13 French Avenue, Brendale, Queensland 4500
Telephone – PH: (07) 3490 5500
Facsimile – FAX: (07) 3490 5520
Website: -
www.jetmaster.com.au
Business hours: - Monday to Thursday 7:30am-4:00pm. Friday 7:30am-2:00pm
Email: -
sales@jetmaster.com.au
Advertisement

Related Manuals for Kemlan TEMPO 3

Summary of Contents for Kemlan TEMPO 3
- Page 1 Specialists in fireplace design and manufacture TEMPO 3 VER 2 FREESTANDING INSTALLATION & OPERATING INSTRUCTIONS IMPORTANT: INSTALLER, PLEASE LEAVE THESE INSTRUCTIONS WITH THE UNIT ON COMPLETION. 10 YEAR FIREBOX WARRANTY The firebox is covered by a 10 year warranty. Other parts are covered by a one year limited warranty.
- Page 2 DIMENSIONS TEMPO 3 VER 2 FREESTANDING UNIT MEASUREMENTS 21/08/2020 Ver.7...
- Page 3 DIMENSIONS TEMPO 3 VER 2 FREESTANDING UNIT MEASUREMENTS 21/08/2020 Ver.7...
- Page 4 DIMENSIONS TEMPO 3 VER 2 FREESTANDING UNIT WITH MERIDIAN TABLE MEASUREMENTS 21/08/2020 Ver.7...
-
Page 5: Baffle Plates
BAFFLE PLATES TEMPO 3 VER 2 FREESTANDING UNIT IMPORTANT: BAFFLE PLATE MUST BE PULLED FORWARD TOWARDS THE FRONT OF THE BOX UPON INSTALLATION AND BEFORE OPERATION . CHAMFERED BAFFLE PLATE CORNERS TO BE POSITIONED ON THE FRONT LEFT AND FRONT RIGHT CORNERS ONLY,... - Page 6 BAFFLE PLATES INSTALLATION TEMPO 3 VER 2 FREESTANDING UNIT MAKE SURE THE AIR TUBE IS INSTALLED SLIDE THE BAFFLE PLATE ON A SLIGHT AS REQUIRED. ANGLE TOWARDS THE BACK OF THE UNIT. MAKE SURE TO PLACE ABOVE THE AIR TUBE, PUSH BACK AS FAR AS POSSIBLE.
- Page 7 CLEARANCES TEMPO 3 VER 2 FREESTANDING UNIT 225 * Clearances to combustibles as per AS/NZS 2918 • Hearth Thickness to be a minimum of 6mm of non combustible material and must extend 300mm beyond firebox opening and 250mm to the sides. The unit must be positioned centrally to the hearth.
-
Page 8: Installation Instruction
INSTALLATION INSTRUCTION TEMPO 3 VER 2 FREESTANDING FLAT CEILING INSTALLATION Run a bead of silicone down the vertical seam of the outer casing to the flashing Pop rivet or Short tube fits into flue Bracing supplied by installer screw brackets to pipe. - Page 9 INSTALLATION INSTRUCTION TEMPO 3 VER 2 FREESTANDING RAKED CEILING INSTALLATION Run a bead of silicone down the vertical seam of the outer Short tube fits into flue casing to the flashing pipe. All flues should be trimmed level Pop rivet or...
-
Page 10: Installation Instructions
INSTALLATION INSTRUCTIONS MINIMUM HEIGHT OF FLUE SYSTEM EXIT INSTALLATION TO COMPLY WITH AS/NZS 2918 ANY NEARBY STRUCTURE 3000 MORE THAN 6000 3000 OR LESS 3000 INCREASE AS NECESSARY UNTIL 1000 MIN IF CLEAR WITHIN NOTHING WITHIN 6000 OF THE FLUE 3000 OF TOP OF FLUE 3000 OR LESS... - Page 11 21/08/2020 Ver.7...
- Page 12 INSTRUCTIONS FOR OPERATING YOUR KEMLAN SLOW COMBUSTION WOOD BURNING HEATER Open the air inlet fully by sliding the air inlet control to high. Crumple at least three double pages of newspaper into loose balls and place them into the centre of the firebox.
- Page 13 The same will apply with fuel which is not fully seasoned or is not dry enough. Kemlan have followed a policy since 1969 of checking on all complaints about poor performance of their heaters and apart from a few instances of incorrect installation (mostly insufficient flue length) all problems have been directly related to incorrect operation and/or poor fuel.
-
Page 14: This Warranty Does Not Cover
4.9 Cost of inspection for damaged heater. CLAIMS – 5.1 (I) Kemlan will provide a full replacement of the heater in the first five years after installation. (ii) Replacement in the subsequent five years (i.e. sixth to tenth year after installation will be on the following basis.
Need help?
Do you have a question about the TEMPO 3 and is the answer not in the manual?
Questions and answers