Table of Contents
Advertisement
Quick Links
Advertisement
Table of Contents

Subscribe to Our Youtube Channel
Related Manuals for Hinkley 52" PROPEL


Summary of Contents for Hinkley 52" PROPEL
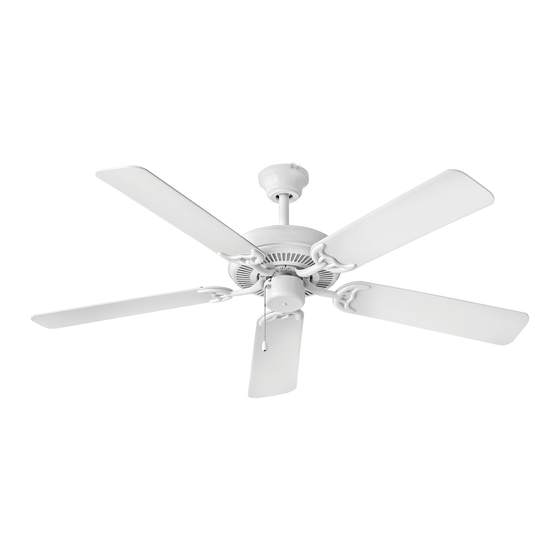
- Page 1 52" PROPEL ™ INDOOR FAN CEILING FAN INSTRUCTION MANUAL...
- Page 2 SO WE’RE HERE IF YOU HAVE A QUESTION, NEED SOME HELP OR WANT TO CHAT ABOUT OUR PRODUCTS. SEND SUGGESTIONS OUR WAY TOO—WE’RE ALWAYS LOOKING TO MAKE YOUR EXPERIENCE WITH HINKLEY A POSITIVE ONE. > SERVICE@HINKLEY.COM > 800.HINKLEY > LET’S SEE THAT HINKLEY STYLE @HINKLEY...
-
Page 3: Table Of Contents
INSTALLING THE FAN SMART BY BOND INSTALLING THE FAN - HUGGER CONFIGURATION INSTALLING THE FAN WITH A DOWNROD CONFIGURATION WARNING: Read and follow these instructions carefully and be mindful of all warnings shown throughout. ©2019 Hinkley Lighting, Inc. | hinkley.com |... -
Page 4: Instructions
Do not operate the reverse switch while the fan blades are in motion. The fan must be turned off and the blades stopped before reversing the blades direction. | hinkley.com... -
Page 5: Important Safety Precautions
These factors must be supplied by the person(s) installing, caring for and operating the unit. TOOLS & MATERIALS REQUIRED • PHILLIPS SCREWDRIVER • FLAT SCREWDRIVER • WRENCH OR PLIERS • WIRE CUTTER • STEPLADDER • WIRING SUPPLIES AS REQUIRED BY ELECTRICAL CODE ©2019 Hinkley Lighting, Inc. | hinkley.com |... -
Page 6: Unpacking Your Fan
Fiber Washers, "S" Hook (support fan for wiring), Screws w/lock Washers - Flush Mount (3), Rubber Gasket - Flush Mount, Balance Kit NOTE: Design of parts shown above may look slightly different for your specific model of fan. | hinkley.com... -
Page 7: Preparation
The outlet box must be able to support a minimum of 35 pounds. Attach hanger bracket to outlet box using screws provided with the outlet box. Flat Washer Spring Washer Outlet Box Screw Fig. 1 ©2019 Hinkley Lighting, Inc. | hinkley.com |... -
Page 8: Installing The Fan
This fan has two installation options: Both the 4.5" downrod and hugger configurations are available with your fan. Hugger configuration may be desired in a low ceiling situation. Blades will be approximately 8-10” from the ceiling. HUGGER CONFIGURATION DOWNROD CONFIGURATION | hinkley.com... -
Page 9: Installing The Fan - Hugger Configuration
(Fig. 4), and turn the fan to the right to engage the screws in the keyslot. Insert the 2 remaining screws through the remaining canopy holes and tighten all 4 screws. Fig. 3 Fig. 4 ©2019 Hinkley Lighting, Inc. | hinkley.com |... -
Page 10: Installing The Fan With A Downrod Configuration
Tighten security set screws against downrod using a large flat blade screwdriver to ensure a tight fit against downrod. Downrod Tighten nuts against mounting collar. Security Set Screws Mounting Collar Downrod Pin Cotter Pin Top of Fan Body Fig. 2 | hinkley.com... - Page 11 (Fig. 4) Make wire connections, (refer to section titled "Electrical Connections"). Slide canopy up and fasten to hanger bracket with 4 screws Top of provided. Fan Body Fig. 3 Slot Fig. 4 ©2019 Hinkley Lighting, Inc. | hinkley.com |...
-
Page 12: Electrical Connections
The white wire (common for light kit) is also there. WARNING: If light kit is not used, DO NOT connect blue wire at the ceiling. Fig. 1 Fig. 3 Fig. 2 | hinkley.com... -
Page 13: Blade Attachment
Use a large flat blade screwdriver for final tightening to fully compress the washers. This will help ensure proper alignment of the blades and noise-free, wobble-free running. Blades Assembly Screws Fig. 2 ©2019 Hinkley Lighting, Inc. | hinkley.com |... -
Page 14: Operation
An UPWARD airflow moves warmer air off the ceiling area as shown in Figure 2. This allows you to set your heating unit on a cooler setting without affecting your comfort. SUMMER MODE WINTER MODE Fig. 1 Fig. 2 (COUNTERCLOCKWISE DIRECTION) (CLOCKWISE DIRECTION) | hinkley.com... -
Page 15: Care And Cleaning
6. Use the enclosed Blade Balancing Kit if the blade wobble is still noticeable. WARNING: TO REDUCE THE RISK OF PERSONAL INJURY, DO NOT BEND THE BLADE ARM WHILE INSTALLING, BALANCING THE BLADES, OR CLEANING THE FAN. DO NOT INSERT FOREIGN OBJECTS BETWEEN ROTATING FAN BLADES. ©2019 Hinkley Lighting, Inc. | hinkley.com |... -
Page 16: Energy Guide
SMART BY BOND HINKLEY SMART FAN OPTIONS: In addition to the included wall control, you can control your Hinkley fan through the Bond app. • To use the app, download it for free from the App Store or Google Play. - Page 17 HINKLEY IS PROUD TO PROVIDE YOU WITH CEILING FAN PRODUCTS THAT ENHANCE YOUR SPACE WITH COMFORT, PURPOSE AND STYLE. AS A FAMILY COMPANY, WE ARE COMMITTED TO DESIGN, PERFORMANCE AND QUALITY, AND WHAT’S IMPORTANT TO YOU IS PARAMOUNT TO US.
- Page 18 GLOBAL HEADQUARTERS 33000 Pin Oak Parkway | Avon Lake, Ohio 44012 T (440) 653 5500 | F (440) 653 5555 | hinkley.com...
Need help?
Do you have a question about the 52" PROPEL and is the answer not in the manual?
Questions and answers