Table of Contents
Advertisement
Quick Links
Advertisement
Table of Contents

Subscribe to Our Youtube Channel
Related Manuals for ATD Tools ATD-30321


Summary of Contents for ATD Tools ATD-30321
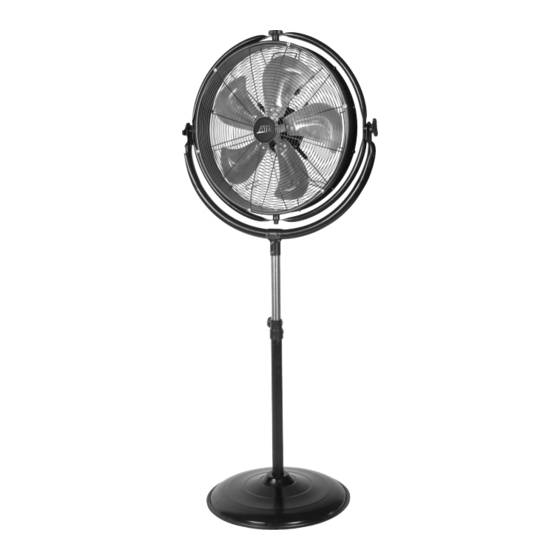
- Page 1 ATD-30321 20” Tilting Pedestal Drum Fan Owner’s Manual Features: Specifications:...
-
Page 2: Intended Use
Intended Use: This product is intended for indoor residential, office, industrial, or other commercial applications. Use only with electrical wiring that is in good working order and that meets applicable codes and ordinances. If you have any questions whether your wiring is adequate, consult a qualified electrician. - Page 3 READ & SAVE THESE INSTRUCTIONS WARNING: Shock Hazard Use your fan only in dry environments. This fan is not intended for use in a bathroom, laundry area, or similar locations, or near sinks, washing machines, swimming pools or other sources of water. Never locate fan where it may fall into a bathtub or other water receptacle.
-
Page 4: Rules For Safe Operation
Do not run power cord under carpeting. Do not cover cord with throw rugs, runners or the like. Arrange cord away from traffic area where it will not be tripped over. Avoid the use of extension cords due to risk of fire. If an extension cord must be used, the cord must be minimum 14 AWG and rated not less then 1875 watts. - Page 5 Assembly Instructions: On both sides of the fan head align the screw hole with the screw, rubber ring, and the hole on the support frame, then insert the wrench knob to tighten them up. (fig.1,2.) Fig.1 Fig.2 2. Align the holes on the bottom of the U-shaped bracket with clamping support, then insert the screw with washer, tighten up with washer and nut.
- Page 6 4. Loosen the L-shaped bolt and big washer on the outer pole, insert the end of the outer pole into the base hole.(see fig. 8, 9) Fig.8 Fig.9 5. Align the hole on the base with the one on the weight. Then insert the L-shaped bolt through the holes with the big washer.
-
Page 7: Care And Maintenance
Care and Maintenance Cleaning: CAUTION-Before cleaning the fan be sure to disconnect power cord from the plug. Clean the grille surface with a clean damp cloth. Do not use harsh chemical or abrasive cleaners. DO NOT IMMERSE THE FAN OR ANY WIRES IN WATER. Replace front grille before fan use. Allow fan to dry completely before use. -
Page 8: Replacement Parts
REPLACEMENT PARTS ITEM# ORDERING PART# PART DESCRIPTION ITEM# ORDERING PART# PART DESCRIPTION P NG... -
Page 9: Warranty
WARRANTY 1 YEAR LIMITED WARRANTY THIS WARRANTY AND CONFIRMED RECEIPT(S) SHOULD BE RETAINED BY THE CUSTOMER AT ALL TIMES...
Need help?
Do you have a question about the ATD-30321 and is the answer not in the manual?
Questions and answers