Advertisement
Advertisement
Table of Contents

Related Manuals for Viavi GigaStor G4-60G-040-1152T


Summary of Contents for Viavi GigaStor G4-60G-040-1152T
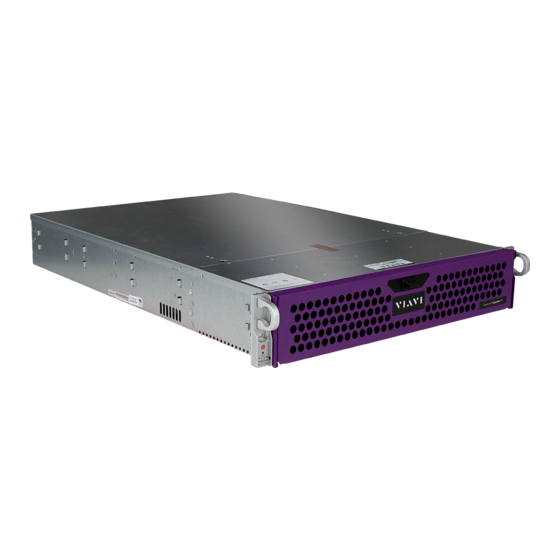
- Page 1 G4-60G-040-1152T Hardware Installation 8 Apr 2020...
-
Page 2: Parts List
1. For SFP, the SFP may be any of Copper 10/100/1000, 1Gb SX/LX. For SFP+, the SFP+ may be any of 10Gb SR/LR. For QSFP+, the QSPF+ may be any 40Gb SR/LR/ BiDi/Universal. For QSFP28, the QSFP28 tranceivers may be SR4, LR4, or BIDI. 2 — © 2020 Viavi Solutions (8 Apr 2020) - Page 3 Mount the head unit and all JBODs in your cabinet. Refer to the instructions on VIAVI Rail Kit (page Connect the cables. ● Power ●...
- Page 4 Press the power button once. The power button is located on the front of the appliance. The control board initiates the power up 1. SFP, SFP+, QSFP+, and QSFP28 transceivers are sold separately. 4 — © 2020 Viavi Solutions (8 Apr 2020)
-
Page 5: Configuring Your System
Configuring your system There are a number of items to do to get your system on your network and ready to use. Startup and shutdown There are several procedures to turn on or off your system. First plug in the power cord Plug the power cords into the rear of the power supplies. - Page 6 You should set up alerts to notify you of any power supply issues. Directly connect using your host computer to the JBOD IPMI port using an Ethernet cable. 6 — © 2020 Viavi Solutions (8 Apr 2020)
- Page 7 Pull the inner rail out of the outer rail until it is fully extended as illustrated below. Press the locking tab down to release the inner rail. Pull the inner rail all the way out. 7 — VIAVI Rail Kit...
- Page 8 Be sure to have This section provides information on installing a chassis into a rack unit with the rails provided. There are a variety of rack units on the market, so 8 — © 2020 Viavi Solutions (8 Apr 2020)
- Page 9 sufficient assistance supporting the chassis when removing it from the rack. Use a server lift. Pull the chassis forward out the front of the rack until it stops. Press the release latches on each of the inner rails downward simultaneously and move the chassis forward in the rack. Technical Support Please contact technical support if your issues are not represented or you need further help.
Need help?
Do you have a question about the GigaStor G4-60G-040-1152T and is the answer not in the manual?
Questions and answers