Advertisement
Table of Contents
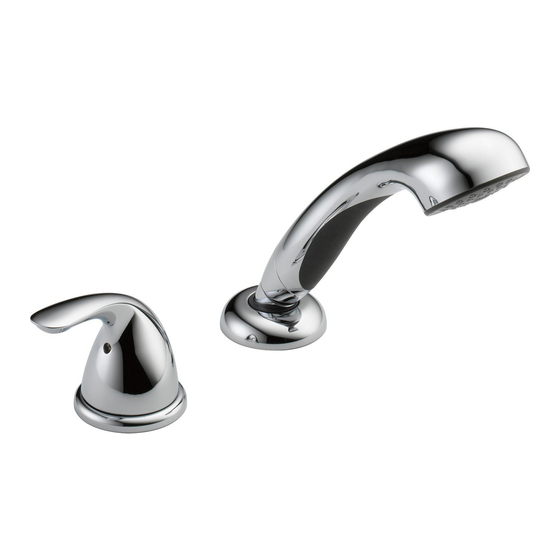
Model/Modelo/Modéle
RP14979
Series/Serie/Seria
Write purchased model number here.
Escriba aquí el número del modelo comprado.
Inscrivez le numéro de modèle ici.
For easy installation of your Delta
faucet you will need:
• To READ ALL the instructions completely
before beginning.
• To READ ALL warnings, care, and maintenance
information.
Para instalación fácil de su llave Delta
usted necesitará:
• LEER TODAS las instrucciones completamente
antes de empezar.
• LEER TODOS los avisos, cuidados, e
información de mantenimiento.
Pour installer votre robinet Delta
facilement, vous devez:
• LIRE TOUTES les instructions avant de débuter;
• LIRE TOUS les avertissements ainsi que toutes
les instructions de nettoyage et d'entretien.
www.deltafaucet.com
62092
You may need/Usted puede necesitar/
Articles dont vous pouvez avoir besoin:
62092
ROMAN TUB HAND HELD
SHOWER AND DIVERTER
DUCHA DE MANO PARA BAÑERAS
ROMANAS Y DESVIADOR
DOUCHE À MAIN ET DÉRIVATION
POUR BAIN ROMAIN
T E FLO N
1
T E FLO N
2/3/12 Rev. B
Advertisement
Table of Contents

Related Manuals for Delta RP14979


Summary of Contents for Delta RP14979
- Page 1 • To READ ALL the instructions completely before beginning. • To READ ALL warnings, care, and maintenance information. Para instalación fácil de su llave Delta usted necesitará: • LEER TODAS las instrucciones completamente antes de empezar. • LEER TODOS los avisos, cuidados, e información de mantenimiento.
-
Page 2: Instructions De Nettoyage
350 South Edgeware Road tial damages, so the above limitation or exclusion may not apply to you. Any damage to this faucet as a result of misuse, abuse, or neglect, or any use of other than genuine Delta 55 E. 111th Street St. - Page 3 RP62097▲ Handle Manija Manette RP62094▲ Base w/Gasket Base y Empaque Embase et joint RP19652 RP40666 Nuts & Washer Hand Spray Tuercas y Arandela Support Assembly Écrous et rondelle RP46683▲ Soporte de la Regadera Hand Piece RP19654▲ de Mano PIeza de Mano Sleeve RP18632▲...
-
Page 4: Maintenance
Maintenance If leaks from hand piece: SHUT OFF WATER SUPPLIES. Replace Diverter Assembly (3)–Repair Kit RP19653. 1. Remove handle. Remove sleeve (1). 2. Reinstall handle. Pull on handle to remove extender (2) and diverter assembly (3) from the valve. 3. Detach handle and replace old diverter assembly (3) with a new one. 4. - Page 5 18" (45.7 cm) max. 1- 1/2" (35mm) 1- 1/2 po (35mm) Install spray support assembly (1) from below. Replace nest (2) on spray SHUT OFF WATER SUPPLIES. Drill two 1-1/2" diameter holes in finished suport assembly and rotate 90° to expose screws (3). surface, one for the transfer valve and one for the spray support assembly.
- Page 6 1-5/8"—1-7/8" (41.3—47.6mm) Remove thin nut (1) from transfer valve (2). Install transfer valve from underside Install handles. If you are installing a lever handle, be sure to install the of mounting surface so that the handle stem (3) is 1-5/8" to 1-7/8" above the fin- retention screw (1) into the stem prior to installing the handle.
- Page 7 From tub valves, connect hot and cold water lines to labeled inlets (1) on Remove and discard the test cap and gasket (1) from braided metal hose (2). transfer valve. Either inlet (1) may be used for hot and cold. Use plumber NOTE: This is an extra gasket, one is supplied with the other hose.
- Page 8 Turn on water supplies. Pull hose (1) to its furthest extension, pointing it down Install base (1) to nest (2) and tighten. OPTION: Use silicone under the into the tub, turn the diverter handle to the hand shower position. Turn bath valve base if deck is uneven.
Need help?
Do you have a question about the RP14979 and is the answer not in the manual?
Questions and answers