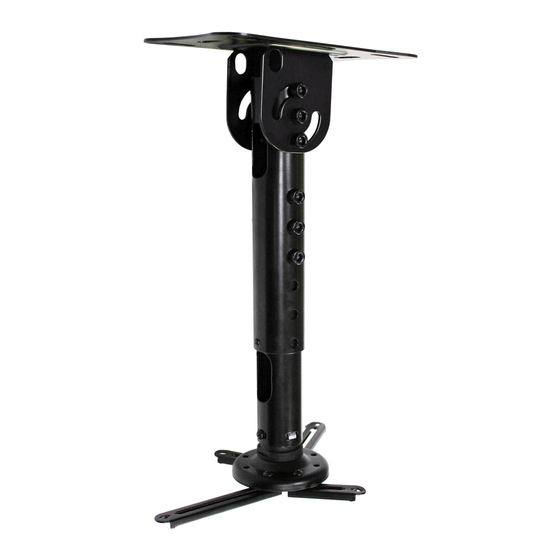
Summary of Contents for Kanto P301
- Page 1 English User Manual P301 Projector Ceiling Mount 90° TILTING EXTENSION PROJECTOR CEILING MOUNT ±90° 22 lb (10 kg) 15”-18” ±20° (38 - 46cm) 360° ™ ™ Supporting your digital lifestyle Supporting your digital lifestyle...
- Page 2 22 lbs (10 kg). This mount kit allows for installations 15” to 18” (37 to 45cm) from the ceiling, and can tilt ±90° to allow mounting to sloped ceilings and on the side of beams. The P301 provides a 360° swivel and ±20°...
- Page 3 Supplied Parts and Hardware Screws M2.5 x 15mm (with washers) M3 x 20mm (with washers) M4 x 15mm M4 x 20mm M: M8 x 55mm N: M8 x 60mm M4 x 25mm Screw (with nut) Screw (with nut) M5 x 15mm M5 x 20mm M5 x 25mm M6 x 15mm...
- Page 4 Step 1: Attach Projector to Projector Adapter There are a wide variety of projectors available that use an assortment of bolt sizes. We provide a selection of mounting bolts to fit most projectors. Step 1.1 Determine correct bolt size. use the extension arms (Y) provided (replacing one by one as required).
- Page 5 Step 2: Attach the Ceiling Plate Insert the Pivot Plate into the Mounting Plate as shown in Diagram E. The P301 Ceiling Plate Assembly (U) has Pivot Plate 8 slots for mounting. The Ceiling Plate Assembly can be mounted to a flat or sloped ceiling, or even to the side of a beam, as it will provide ±90°...
- Page 6 Step 4: Attach Projector to Ceiling The P301 has two spring loaded locking tabs that allow easy installation to the ceiling plate assembly. Push the Projector Adapter (V) up into the ceiling plate or extension tube. The 2 spring loaded locking tabs will catch in 2 of the 4 square holes in the ceiling plate or extension tube.
- Page 7 IF NECESSARY Step 7: Adjust the Projector Adapter Tension The Projector Adapter (V) Tensioning Ring comes pre-tensioned from the factory. Should you find your installation requires this ring to be adjusted and re-tensioned, follow this procedure, referring to Diagram I: Step 7.1 Use the included Wrench (Z) to loosen the locking Step 7.3 Tighten the locking nut with Wrench (Z) to ensure nut.
- Page 8 5 years parts and labour If equipment fails because of such defects and Kanto or an authorized dealer is notified within 5 years from the date of shipment with proof of original invoice, Kanto will, at its option, repair or replace the equipment, provided that the equipment has not been subjected to mechanical, electrical, or other abuse or modifications.


Need help?
Do you have a question about the P301 and is the answer not in the manual?
Questions and answers